Building a Slab Flattening Jig? Here Are the 3 Essential Components
Working with live edge slabs is one of the most rewarding parts of woodworking. However, before you can apply a finish or build a table, you must ensure the wood is perfectly flat. For most hobbyists and professionals alike, a DIY slab flattening jig is the most cost-effective solution. To build a system that produces professional results, you need to focus on three core slab flattening jig components.
Table of Contents
- 1. High-Precision Router Sled Rails
- 2. The Carriage Adapter and Router Plate
- 3. A Powerful Router and Surfacing Bit
- How to Assemble for Success
- Frequently Asked Questions
1. High-Precision Router Sled Rails
The foundation of any rail router system is the rail itself. While some beginners try to build wooden runners, these are prone to warping and friction issues. For a truly professional finish, dedicated router sled rails are essential. Linear rails, such as the SBR20 series, provide the smooth, rigid movement necessary to prevent gouging your workpiece. According to Wikipedia's guide on linear bearings, these systems minimize friction and maximize load capacity, which is vital when supporting a heavy router over a long span.
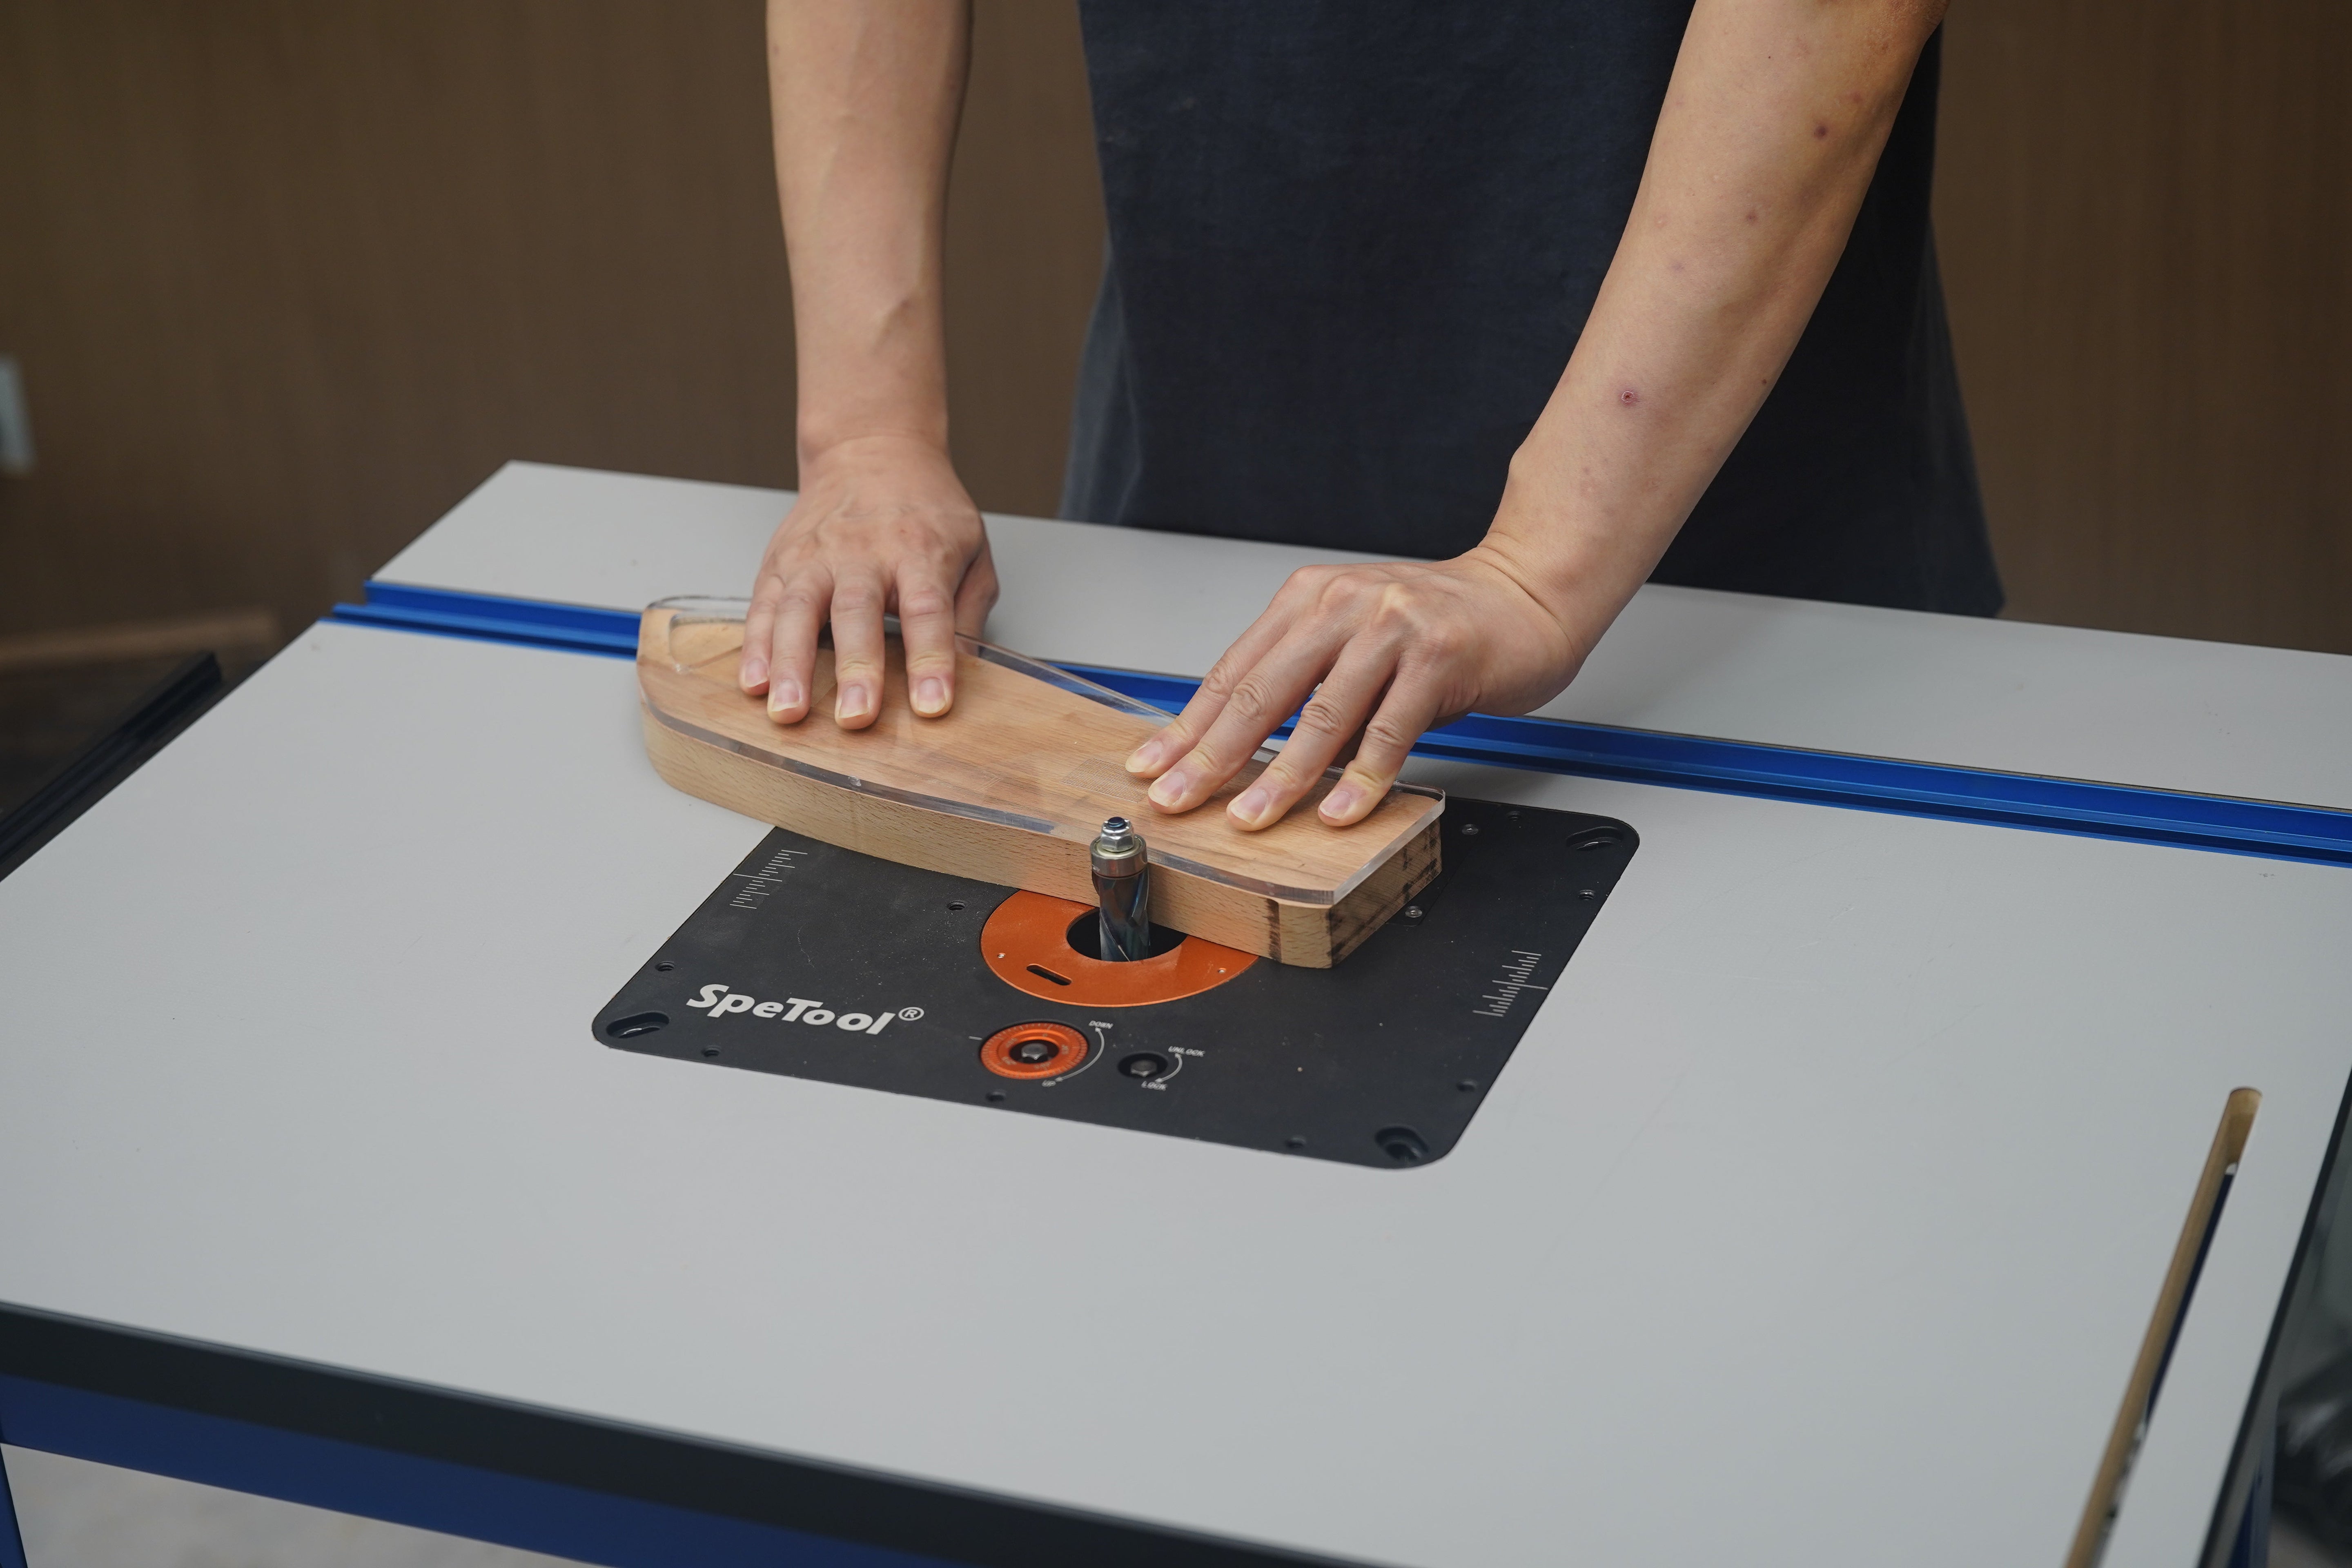
2. The Carriage Adapter and Router Plate
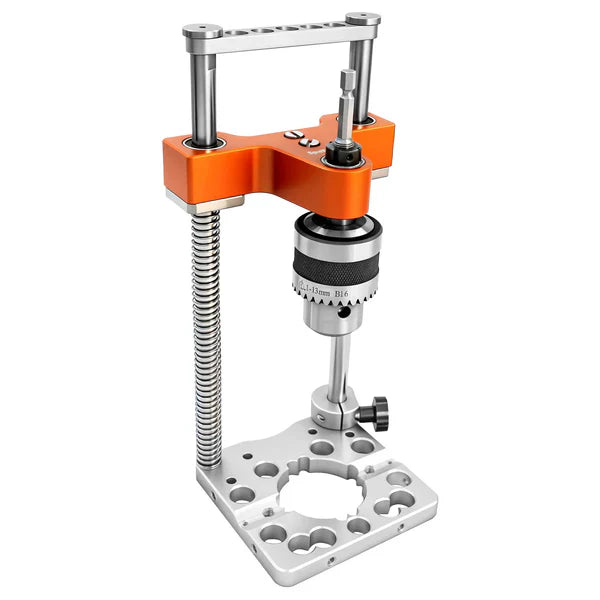
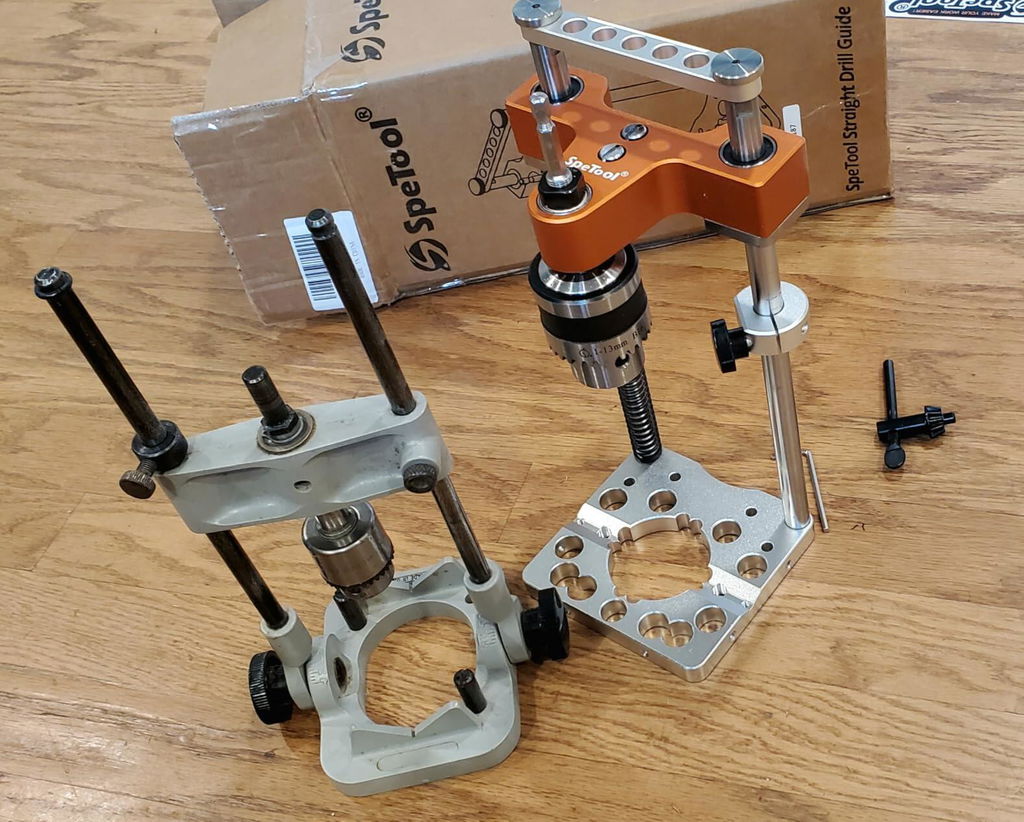
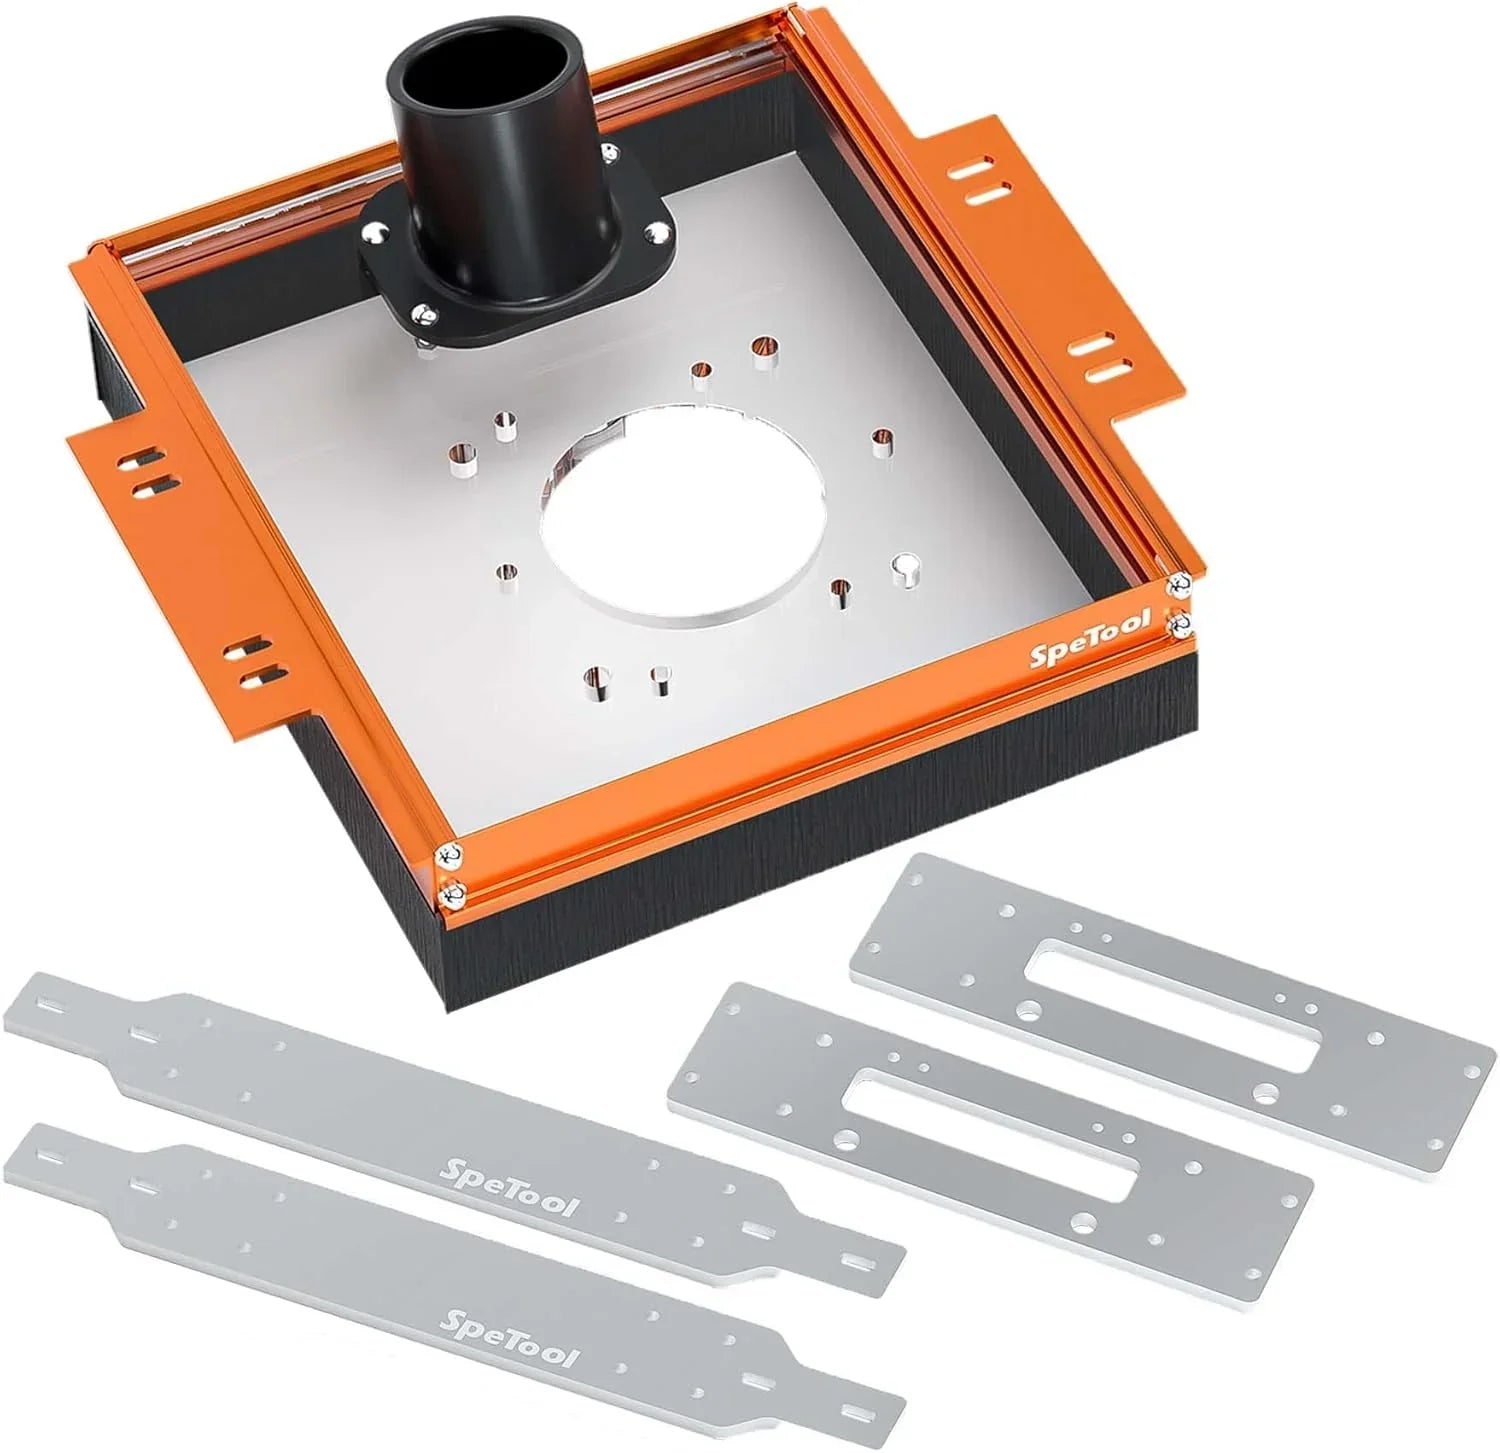
The bridge that connects your router to the rails is the most critical of the slab flattening jig components. If this part is flimsy, your router will tilt, leaving "ridges" in your wood. This is where a high-quality connector system becomes a game-changer.
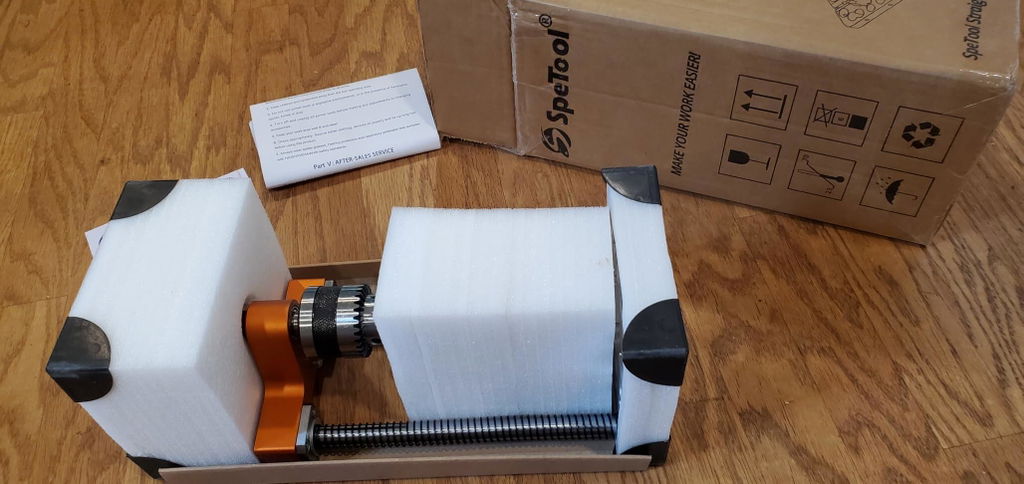
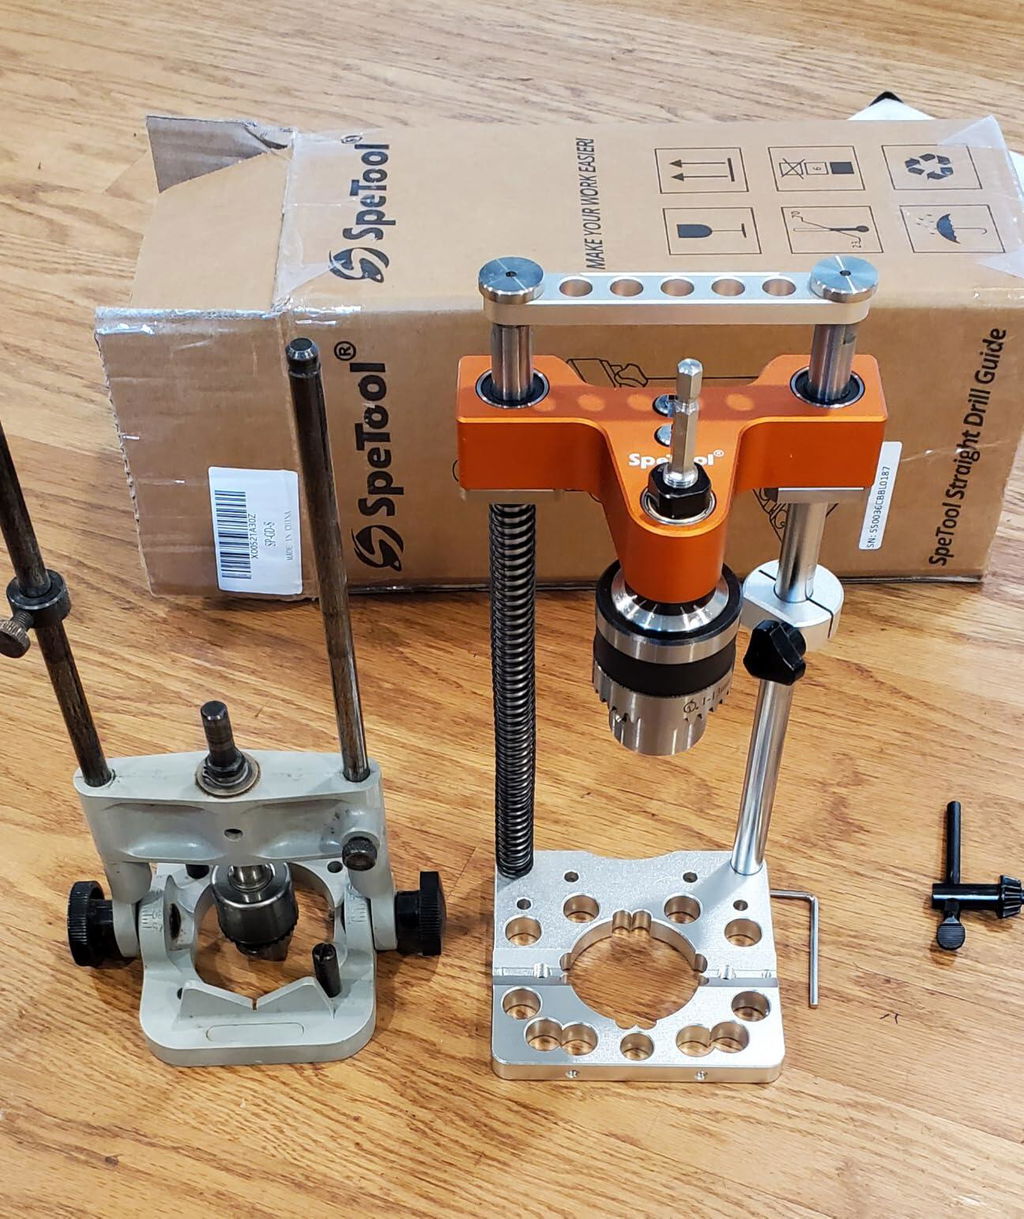
A MUST HAVE for any serious setup is the SPETOOL Linear Rail Router Sled Slide Connector. This component is specifically designed to connect SBR20UU and SCS20UU linear rails via a precision-engineered slide connector. It provides a pre-drilled router plate with an integrated dust collector port, allowing you to flatten your slab with minimal mess.
Why the Spetool Router Sled Adapter Stands Out:
- Effective Dust Collection: The optimal brush hardness and density capture up to 90% of wood particles, directing them into your vacuum system for a healthier workspace.
- Easy Installation: It takes only a few minutes to assemble and fix the position, making it perfect for beginners.
- Sturdy and Lightweight: Made of high-grade aluminum, it offers durability without adding unnecessary weight to your spetool router sled setup.
- Wide Compatibility: The pre-drilled holes support major brands like Bosch, DeWalt, Makita, Porter Cable, and Milwaukee.
3. A Powerful Router and Surfacing Bit
The third pillar of your jig is the cutting tool. You need a mid-to-large size plunge router (at least 2.25 HP) to handle the lateral stress of flattening. Pair this with a high-quality carbide surfacing bit. When choosing a bit, ensure the shank size matches your router's collet. You can find high-performance CNC and router bits at SPETOOLS to ensure your cuts are clean and burn-free.
How to Assemble for Success
Once you have your router sled rails and your rail router adapter, assembly is straightforward. Secure your rails to a flat torsion box or a heavy-duty workbench. Mount your router to the spetool router sled plate, ensuring the dust shroud is properly aligned. Always perform a dry run without the router turned on to check for any snags or height inconsistencies across the entire slab surface.
For more advanced techniques on slab preparation, check out resources from Fine Woodworking to refine your craft.