Precision Cabinet Door Panel Glue Up: Ensuring Square and Flush Joints
The Challenge of Thin Panel Glue Ups
For kitchen remodelers and professional cabinet makers, the cabinet door panel glue up is often the most stressful part of the build. When working with thinner materials—ranging from 1/4 inch to 3/4 inch—traditional pipe clamps often exert force in only one direction. This frequently leads to 'bowing' or 'cupping,' where the panels pop upward under pressure, resulting in uneven joints that require hours of sanding.
Achieving a perfectly flat surface is critical, especially for Shaker-style inserts or raised panel doors. To understand the science behind wood movement during this process, many professionals refer to resources like Wikipedia's guide on wood warping and the Woodworking Network for industry standards.
Why 4-Way Panel Clamps are Essential
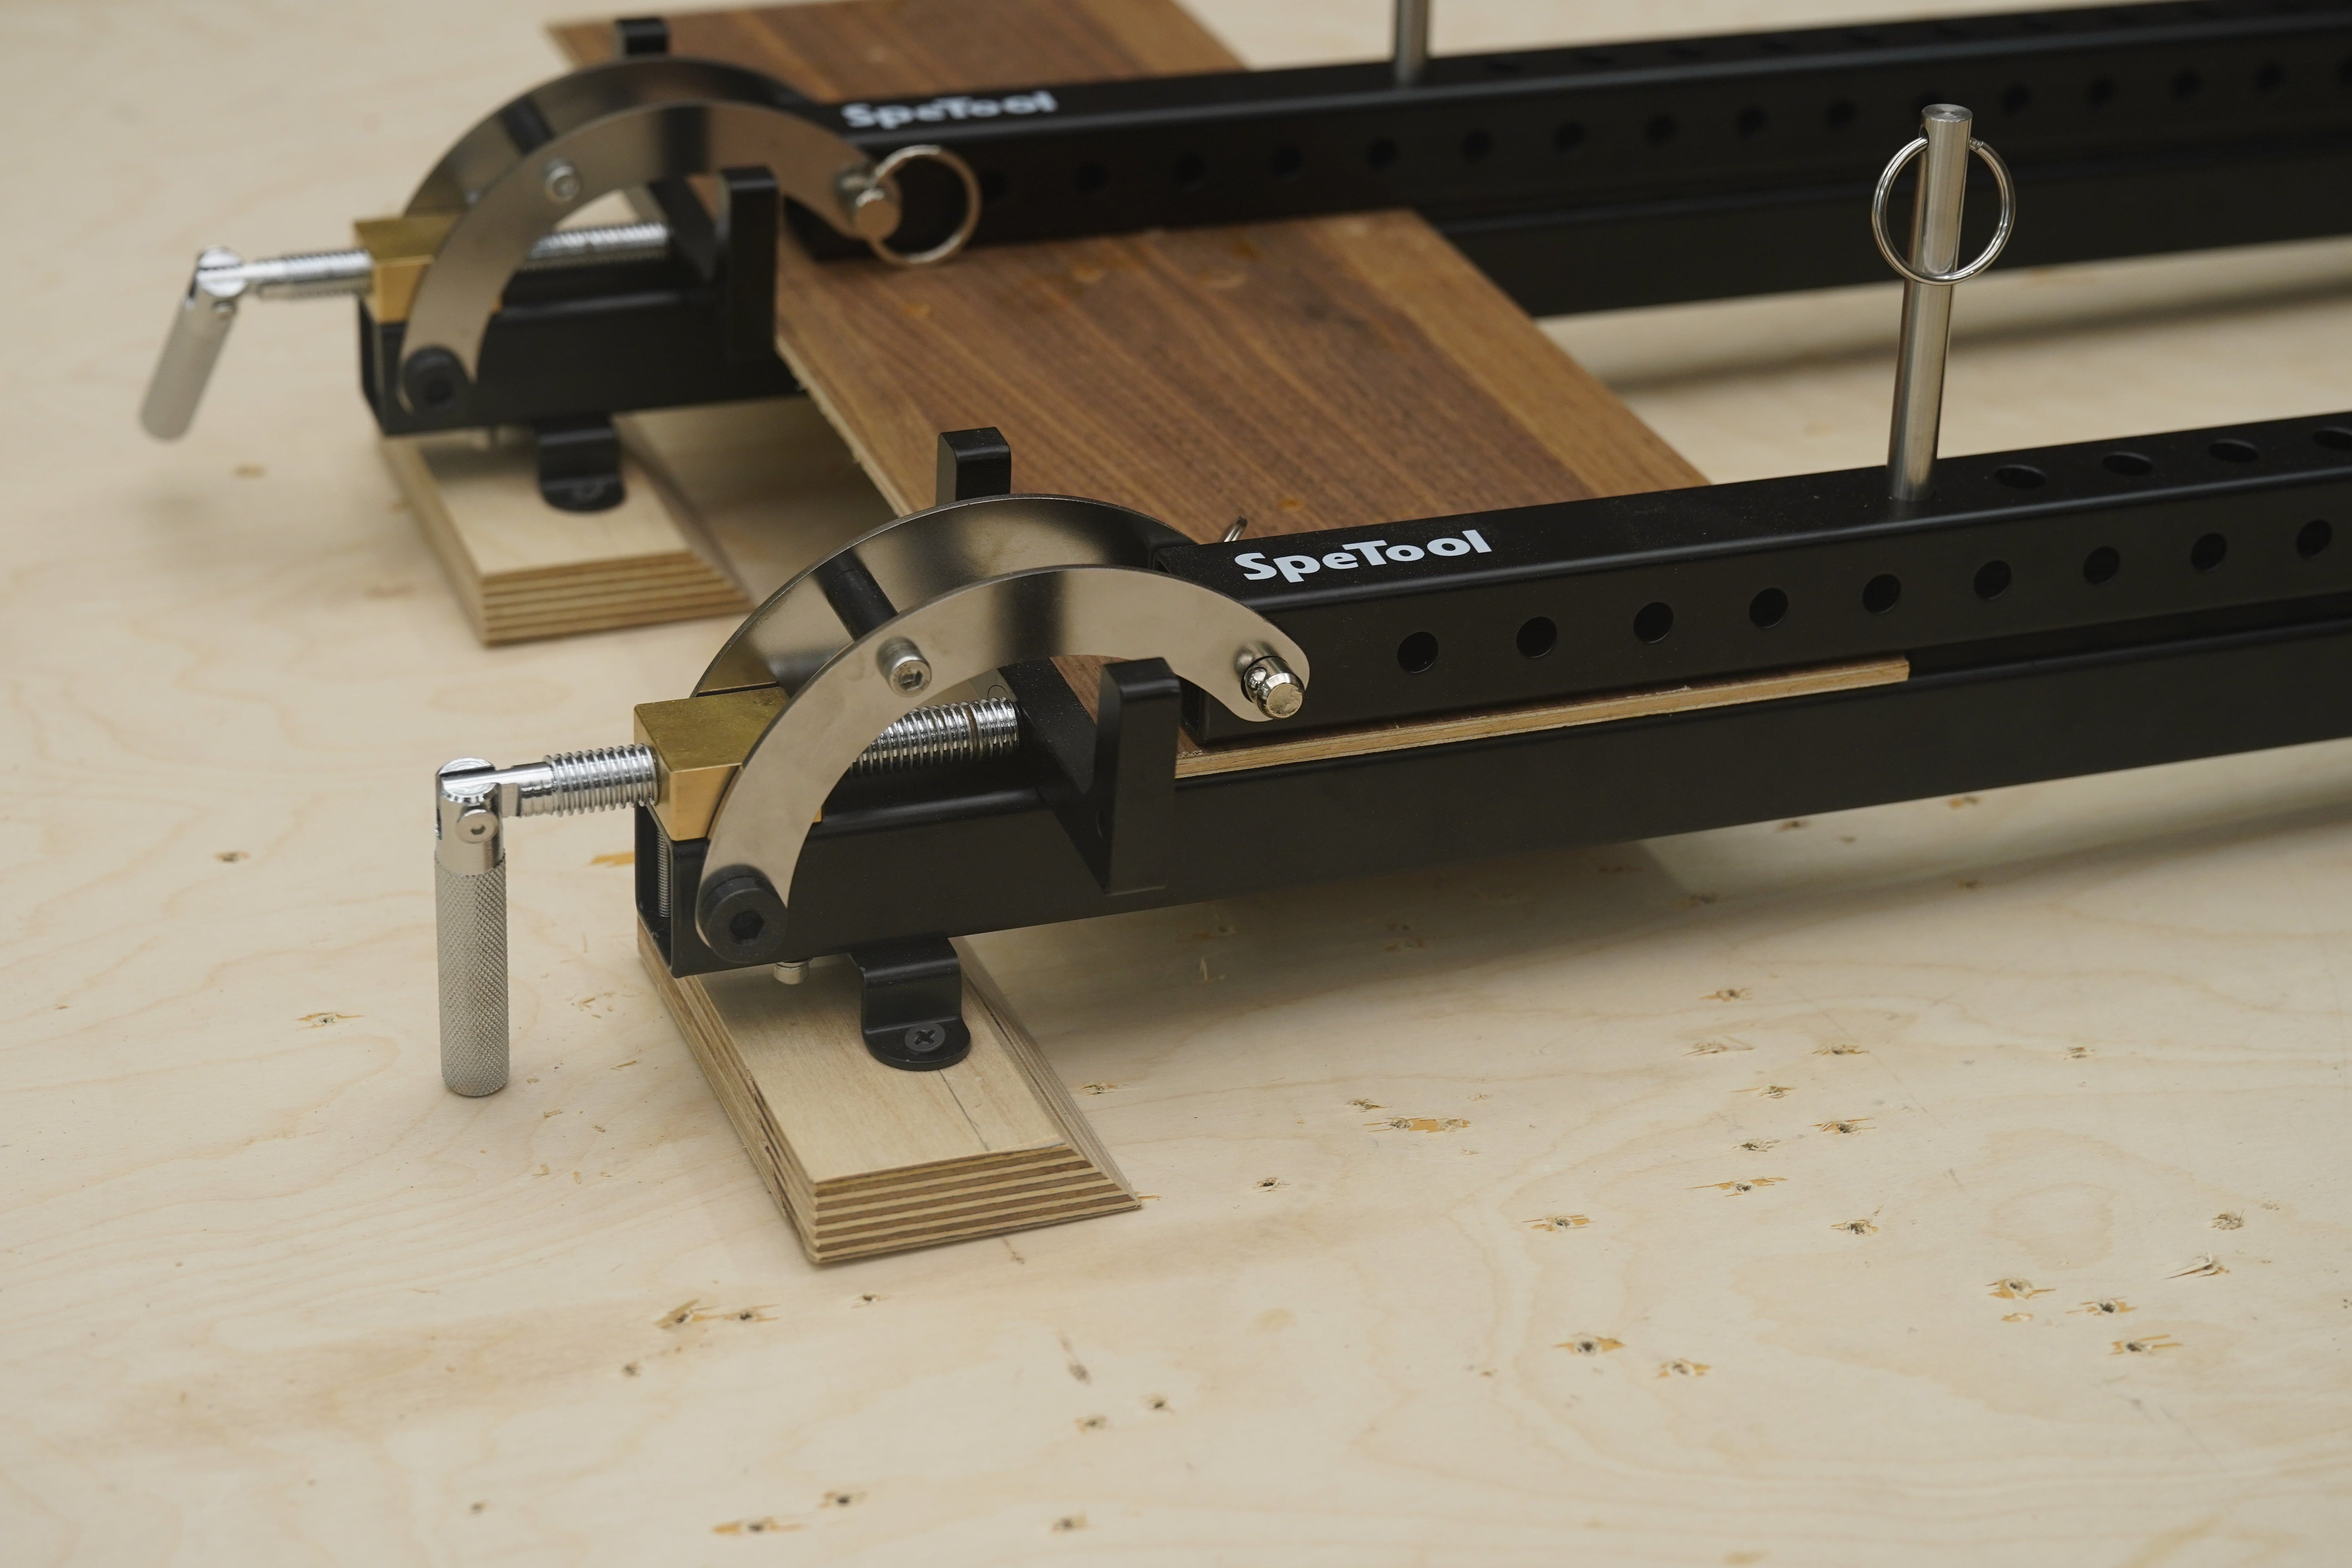
Standard clamps apply lateral pressure, but 4-way panel clamps solve the two-dimensional problem by applying pressure vertically and horizontally simultaneously. This dual-action force ensures that the boards remain flush against each other while the glue sets, eliminating the need for 'cauls' or heavy weights to keep the panel flat.
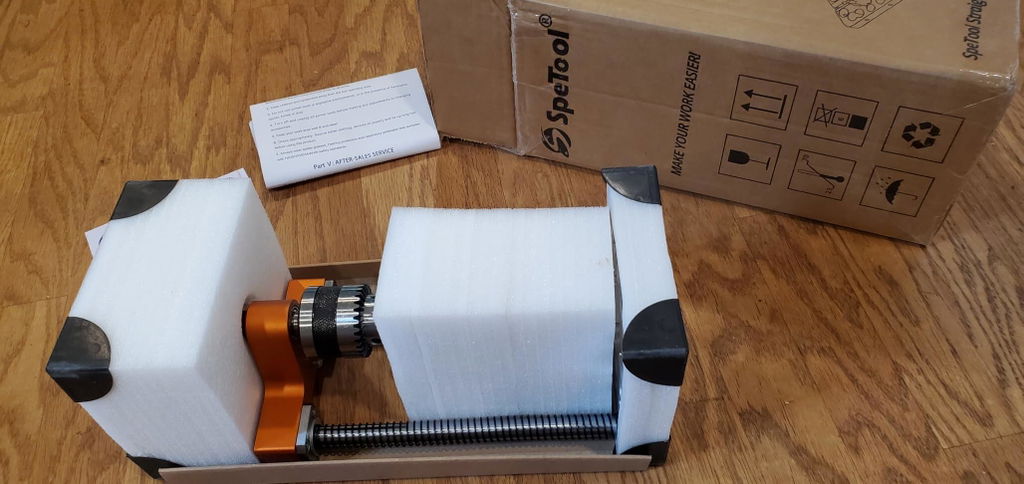
Featured Solution: The Spetool Panel Clamp
If you are looking for professional-grade results, the Spetool 24-inch 4-Way Panel Clamp is an industry standout. Unlike generic alternatives, this spetool panel clamp features parallelogram-action couplers that allow you to adjust the width and thickness with precision. It is specifically designed to handle a thickness range from 1/4" to 3", making it versatile enough for delicate door panels and heavy-duty clamps for cutting boards.
Key Benefits for Cabinet Makers:
- Two-Way Pressure: Clamps in two directions at once to achieve flat panels and flush joints effortlessly.
- Adjustable Versatility: Accommodates panels up to 24'' wide and varying thicknesses, perfect for everything from thin veneers to thick bench tops.
- Durable Construction: Made from steel pipe with a powder-coat finish and copper thread bushings for long-term reliability.
- Easy Cleanup: The special surface treatment ensures that dried glue can be easily removed by hand or a knife without damaging the fixture.
For more high-quality jigs, explore our full range of woodworking tools.
Step-by-Step Guide for a Flush Glue Up
- Dry Fit: Always arrange your boards first without glue. Adjust the 4-way panel clamps to the approximate width of your panel.
- Apply Glue: Use a high-quality wood glue. For thin 1/4" panels, a thin, even bead is essential to prevent excessive squeeze-out.
- Set the Parallelogram Couplers: Position the boards inside the spetool panel clamp. The fix pins allow you to quickly lock in the required thickness.
- Tighten Gradually: Rotate the handle. You will see the top and bottom bars compress the panel while the sides squeeze the joint. This ensures the panel stays square and flush.
- Check for Square: Use a machinist square to verify the corners before the glue begins to tack.
Maintenance and Glue Cleanup
One of the biggest frustrations with 4-way panel clamps is glue sticking to the bars. Spetool has addressed this with a durable powder-coat finish. If glue drips onto the clamp, wait for it to partially dry (to a rubbery consistency) and peel it off, or use a plastic scraper. Regular maintenance of the copper thread bushings with a light machine oil will keep the action smooth for years of use.