Mastering the Build: Using a Router Sled for Large Dining Table Tops
Creating a custom dining table is a rite of passage for many furniture builders. However, the biggest challenge often isn't the joinery, but achieving a perfectly flat surface on a massive slab. When a table top exceeds the width of a standard jointer or planer, a router sled for planing becomes your most critical tool. In this guide, we will explore how to use a professional-grade router flattening sled to achieve workshop-level precision on heavy-duty projects.
Table of Contents
- Why Precision Matters in Large Table Builds
- Choosing the Right Router Planer Sled
- The SpeTool Cratos Advantage
- Step-by-Step Flattening Process
- Managing Dust and Safety
Why Precision Matters in Large Table Builds
Large dining tables, especially those made from live-edge slabs or wide-glued panels, are prone to natural movement. Cup, bow, and twist can ruin the aesthetics and functionality of a high-end piece. According to woodworking principles, a surface must be perfectly co-planar for the finish to reflect light evenly and for the base to sit flush.
Choosing the Right Router Planer Sled
Many DIY solutions involve plywood rails that can sag under the weight of the router. For professional furniture builders, a rigid system is non-negotiable. Using an inferior router planer sled leads to 'scalloping' or deep gouges that require hours of sanding to fix. This is where high-strength materials like 6061 aluminum alloy become essential.
The SpeTool Cratos Advantage
For those looking to elevate their craft, the SpeTool Cratos S01001 Router Sled offers a sturdy and precision rail system designed specifically for heavy-duty applications. Unlike wooden alternatives, its rail is made of 6061 high-strength anodized aluminum alloy, ensuring it will never bend or warp even after extensive use.
Key Features for Professionals:
- Accurate Height Adjustment: It features 5 pre-set Z-axis positions, allowing you to adjust the sled's height from 1.5 to 6 inches without the need for manual balancing. This makes it suitable for thinner wood compared to other sleds on the market.
- Easy Slide-In Brackets: An opening breach in the brackets enables the router to slide in effortlessly, saving time during setup.
- Universal Compatibility: The package includes two router plates—one pre-drilled and one blank for DIY customization—ensuring it fits most routers available in the US.
- Dust Efficiency: When paired with SpeTool dust collection systems, it captures 90% of wood chips, keeping your shop clean.
Step-by-Step Flattening Process
To use your router flattening sled effectively, follow these steps:
1. Secure the Slab
Ensure the wood is stationary. The SpeTool Cratos comes with all-inclusive clamping tools to fix your wood plate securely. Use shims to eliminate any wobble before you start the first pass.
2. Set the Depth
Identify the lowest point of the slab. Use the laser pre-set positions on the Z-axis to lock in your height. If your bit isn't long enough, consider a Router Collet Chuck Extension.
3. The Planing Pass
Move the router across the width of the slab in consistent, overlapping strokes. The smooth sliding action of the 6061 aluminum rails ensures that the router doesn't skip or vibrate, which is vital for a clean finish.
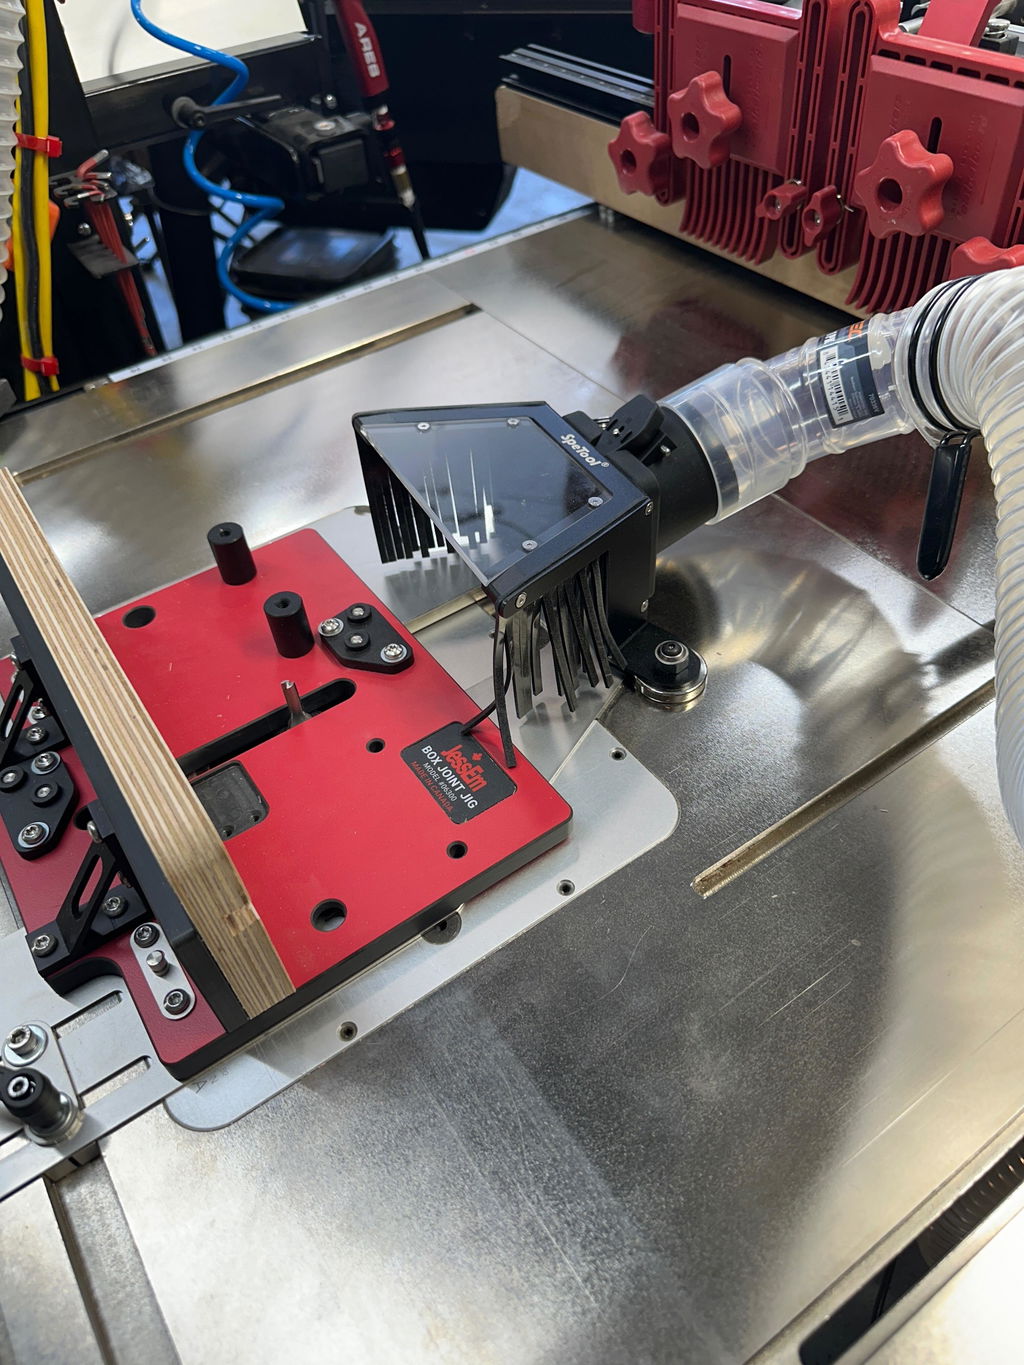
Managing Dust and Safety
Planing a large table creates a massive volume of shavings. Using a router sled for planing without dust collection can quickly obscure your cut line. It is highly recommended to use the SpeTool dust collection attachment (ASIN: B0D78YXTK8) to maintain visibility and protect your respiratory health.
Conclusion
Mastering large table tops requires a blend of skill and the right equipment. By investing in a high-precision router flattening sled like the SpeTool Cratos, you eliminate the guesswork and physical strain of manual leveling, allowing you to focus on the artistry of your furniture.