The Ultimate Guide to Flattening Epoxy River Tables Without Chipping
Creating a stunning epoxy river table is a rite of passage for many modern woodworkers. However, the most stressful stage often comes after the pour: flattening. Because epoxy resin and natural wood have different densities and brittle points, using an unstable setup can lead to disastrous chipping or 'tear-out' in the resin. To achieve a professional, glass-smooth finish, you need a high-precision Slab Flattening Mill.
Table of Contents
- Why Epoxy Chips During Flattening
- The Importance of Stability and UHMW Glide Pads
- The SpeTool Xpert PRO Solution
- Step-by-Step Flattening Process
- Maintaining Your Router Sled
Why Epoxy Chips During Flattening
Epoxy resin is essentially a hard plastic. Unlike wood fibers that peel away, epoxy can shatter or chip if the router bit vibrates or if the depth of cut is too aggressive. Common culprits include loose carriage movement, axial play in the router mount, and heat buildup from poor dust evacuation. According to industry standards for epoxy resins, maintaining a consistent temperature and minimizing mechanical shock are vital for material integrity.
The Importance of Stability and UHMW Glide Pads
When you are sliding a heavy router across a large surface, vibration is your greatest enemy. Standard DIY sleds often suffer from 'stuttering' as they move. A professional Router Sled for Flattening Slabs solves this by using high-quality materials. The inclusion of UHMW (Ultra-High Molecular Weight) glide pads under the carriage is a game-changer. These pads provide a low-friction surface that reduces vibration and wear, ensuring the router glides across the wood-to-epoxy transition without a hitch.
The SpeTool Xpert PRO: Precision Meets Ease of Use
If you are looking for a professional-grade setup that doesn't require a weekend to assemble, the SpeTool Xpert PRO Router Sled is the ideal choice for epoxy artists. This system is designed specifically to handle the rigors of large-scale projects like dining tables and conference desks.
Key Features for Epoxy Artisans:
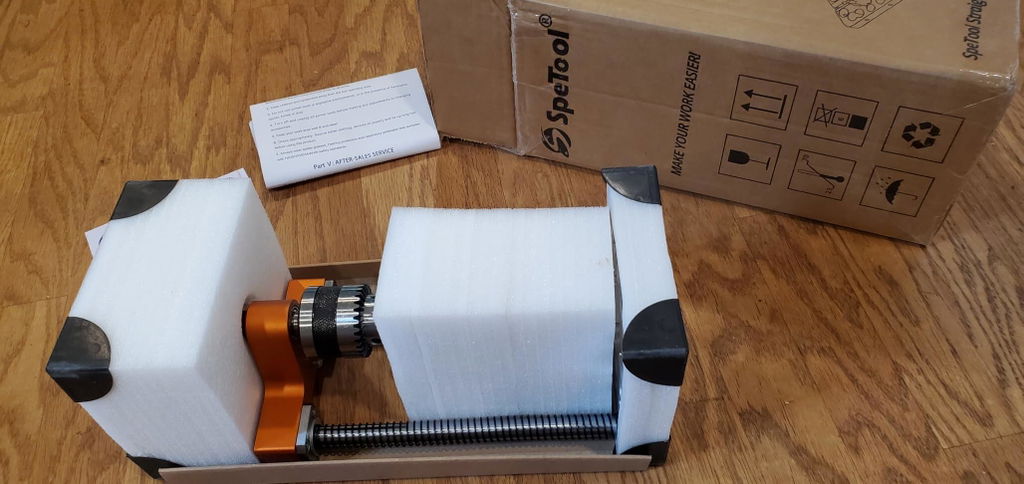
- Modular Build for Quick Setup: Most components are pre-assembled. You can go from unboxing to milling in under 20 minutes, allowing you to focus on your art rather than tool assembly.
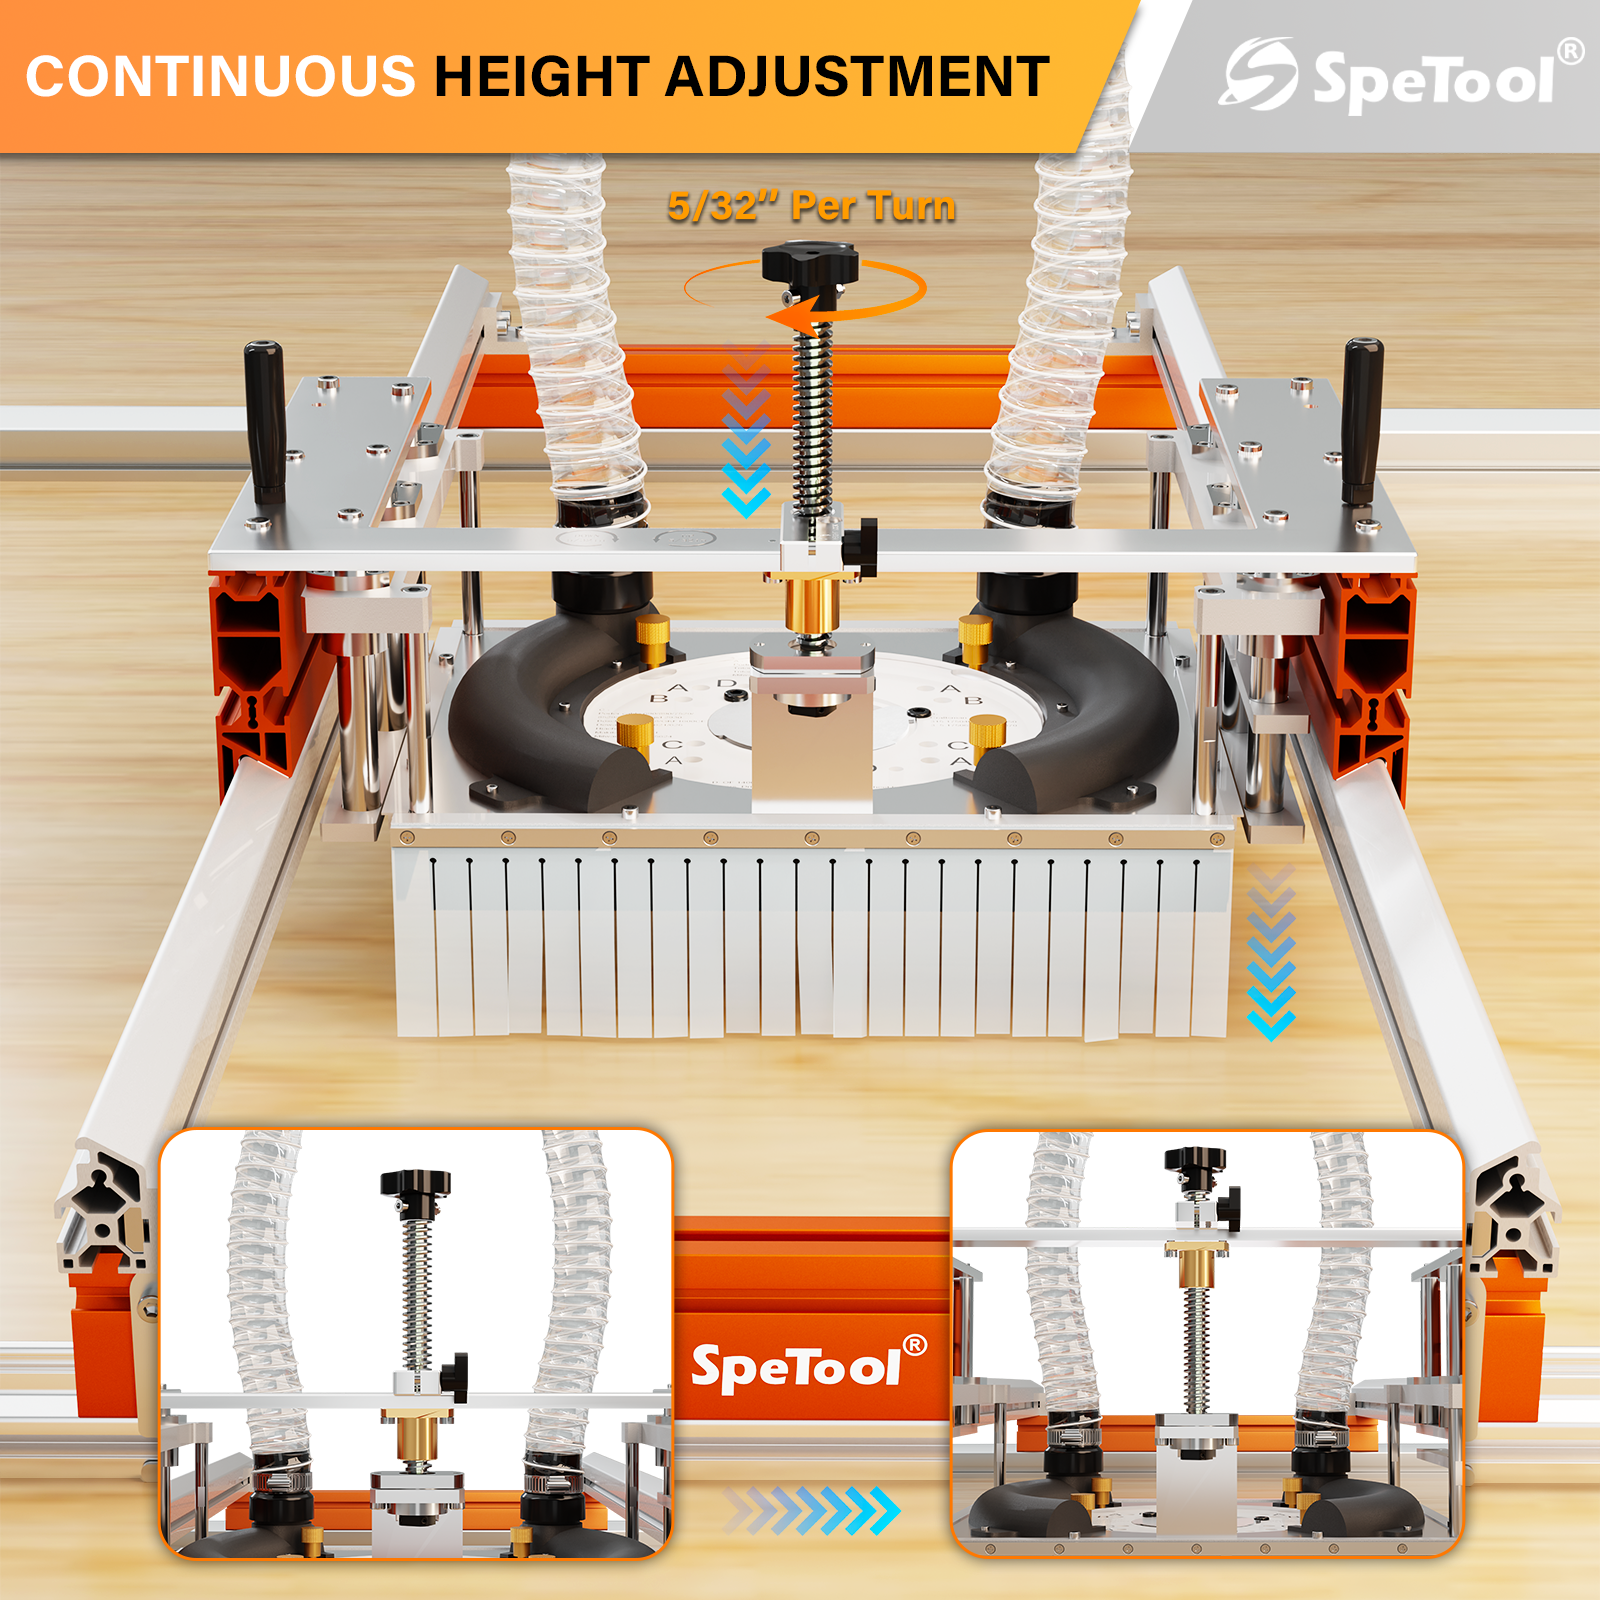
- Precision Height Adjustment: With a custom bearing housing that eliminates axial play, each full turn delivers exactly 5/32” depth change. This is critical when taking the light 'whisper passes' required to prevent epoxy chipping.
- Upgraded Dust Collection System: Chipping is often caused by the bit hitting old debris. This sled features dual dust ports and a full-surround brush that captures over 90% of waste.
Step-by-Step Flattening Process
1. Secure the Slab
Ensure your river table is perfectly shimmed on your workbench. Any movement in the slab will translate to an uneven cut. Use the spetool router sled's durable aluminum rails to frame your work area.
2. Set Your Depth
Using the precision height adjustment on the spetool xpert PRO, lower your bit until it touches the highest point of the slab. For epoxy, it is better to take multiple light passes (1/16" or less) rather than one deep cut.
3. The Flattening Pass
Engage your Dust Collection System and move the router carriage at a steady pace. The UHMW glide pads will ensure the movement is fluid. Always move the router in the direction recommended by the bit manufacturer to avoid climb cutting, which is a common cause of resin chipping.
Maintaining Your Slab Flattening Mill
To keep your Slab Flattening Mill performing at its peak, regularly check the rails for resin buildup. Clear the dust ports frequently to ensure maximum visibility of the cutting path. For more tips on maintaining precision tools, refer to guides on Wood Magazine.
Ready to elevate your epoxy projects? Invest in a tool that matches your craft. The SpeTool Xpert PRO offers the stability, precision, and cleanliness required for professional results every time.