Introduction:
You’ve spent hours carefully milling a beautiful piece of live-edge hardwood, but when you turn off the machine and run your hand across the surface, it feels like a washboard. Or worse, the center is visibly hollowed out. Don't panic, and don't blame your woodworking skills—this isn't your fault, it's physics. As a woodworking machinist and tooling expert, I approach these issues with a "clinical" mindset. A router sled is a mechanical system, and when specific variables are misaligned, your slab pays the price. Let’s diagnose the four fatal flaws causing your slab flattening problems.
Why Precision Troubleshooting Matters
-
Matches slab size for smoother, faster flattening
-
Increases precision and reduces errors across the entire surface
-
Saves time and effort by eliminating excessive post-process sanding
-
Improves safety and router control by stabilizing mechanical variables
Common Router Sled Problems and Their Diagnostic Fixes
Diagnostic 1: The "Stair-Step" Ridges
-
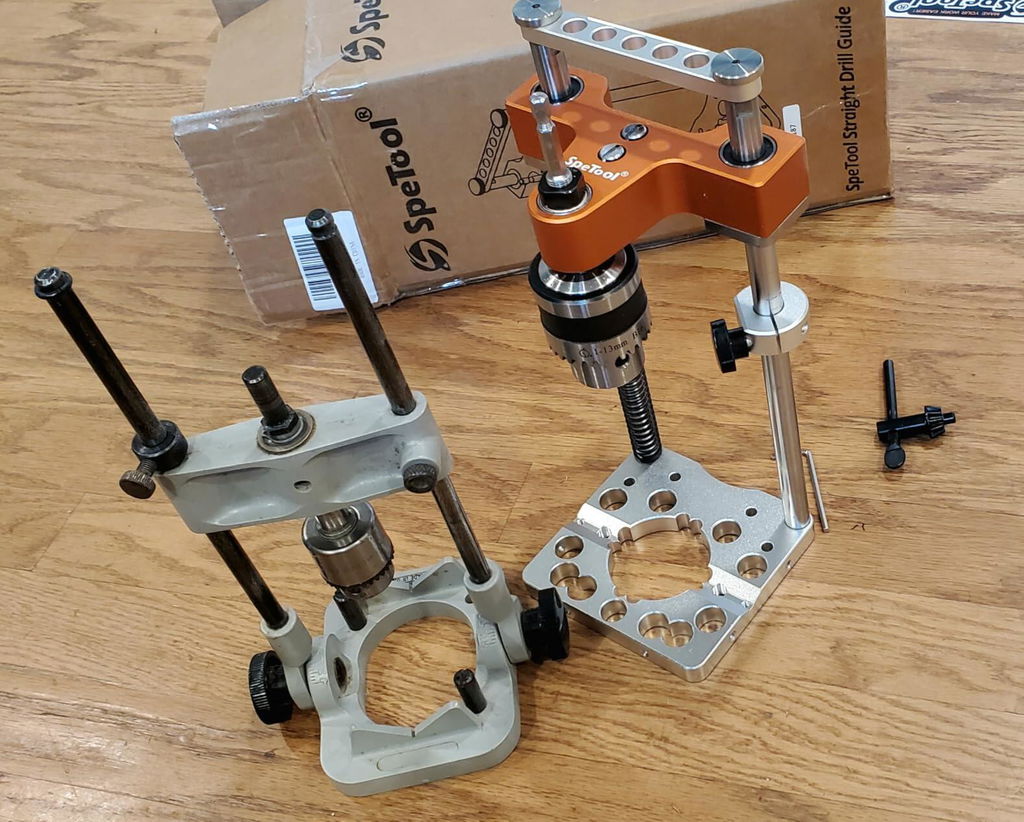
Root Cause: Your router is out of tram (Spindle out of square).
-
The Physics: If your router tilts even 1 degree, the edge of a wide spoilboard bit acts like a miniature plow, digging into the wood on one side.
-
Quick Fix: Use a precision square to check the collet against the sled base. Insert ultra-thin shims under the router base plate until the spindle is perfectly 90 degrees in all directions.
Diagnostic 2: The "Bowl" Effect / Center Dip
-
Root Cause: Rail Deflection (Gravity-induced sagging).
-
The Physics: The longer the span, the more gravity pulls on the center. When a heavy 2HP+ router moves to the middle of a wide span, flimsy wood or thin aluminum rails will bow downward.
-
Quick Fix: Upgrade to thick-walled aluminum extrusions or add a vertical "strongback" (rib) to the back of your existing rails to resist the downward flex.
Diagnostic 3: Severe Tear-Out and Burn Marks
-
Root Cause: Incorrect tool geometry, dull edges, or poor chip evacuation.
-
The Physics: Cheap HSS or brazed bits lose their edge instantly on hardwoods and resin. They stop slicing and start tearing fibers while trapping heat, which melts epoxy and scorches wood.
-
Quick Fix: Upgrade to an Industrial Insert Spoilboard Bit. These feature four-sided carbide inserts that can be rotated for a factory-sharp edge, and large flutes that eject heat and chips instantly.
Diagnostic 4: The Slab Shifts Mid-Cut
-
Root Cause: Internal stress release or inadequate bottom support.
-
The Physics: When you remove the top "skin" of a slab, internal tension is released, causing the wood to warp. If it isn't supported, the router's pressure pushes the warped wood down, causing an uneven cut.
-
Quick Fix: Use shims and hot melt glue to fill every gap beneath the slab before starting. Secure the workpiece so it cannot rock or move under pressure.
Comparing Common Router Sled Problems
| Problem | Main Benefit of Fixing | Best For | Pros | Cons |
| "Stair-Step" Ridges | Eliminates washboard feel | High-precision finish | Flat surface, less sanding | Requires fine shimming |
| Center Sagging | Ensures uniform thickness | Wide dining tables | Industrial-grade results | May require rail upgrade |
| Tear-out/Burns | Prevents wood damage | Hardwoods & Epoxy | Flawless, burn-free finish | Initial bit investment |
| Workpiece Shift | Prevents gouging | Twisted or thin slabs | Consistent thickness | Requires careful setup |
How to Perform a Pre-Cut Check
-
Spindle Squareness: Check tramming before every major project.
-
Rail Rigidness: Test for flex at the center point of your span.
-
Bit Condition: Inspect carbide inserts for chips or dullness.
-
Slab Stability: Ensure shims and glue are locked in tight.
Real-World Examples
-
The "Washboard" Surface: * Phenomenon: Finger-detectable ridges.
-
Solution: Tramming the router base (Diagnostic 1).
-
-
The Ruined River Table:
-
Phenomenon: Melting resin and dark burn marks.
-
Solution: Upgrading to an industrial insert bit (Diagnostic 3).
-
Conclusion:
Troubleshooting a router sled is simply a matter of isolating mechanical variables. Once you address spindle squareness, rail deflection, and bit quality, the "washboard" surface disappears. Planning ahead with the right diagnostic steps ensures that your sled will grow with your woodworking journey—from small projects to full-sized conference tables. With a properly tuned setup, every slab project begins with confidence and ends with professional-quality results.
Related Blog Topics:
-
Advanced Slab Flattening Techniques for DIY Woodworkers