How to Glue Up Wide Panels Without Biscuits or Dominos
Many beginner woodworkers believe that expensive joinery tools like biscuit joiners or Festool Dominos are mandatory for creating flat, wide panels for tabletops or cutting boards. However, professional woodworkers have been gluing up panels for centuries using nothing more than straight edges and consistent pressure. In this guide, we will show you how to achieve perfectly flush joints and flat panels without spending hundreds on extra machinery.
Table of Contents
- Why Skip Biscuits and Dominos?
- Step 1: Wood Selection and Preparation
- The Secret Weapon: 4-Way Pressure
- Step 2: The Glue-Up Process
- Step 3: Post-Glue Cleanup
Why Skip Biscuits and Dominos?
Biscuits and Dominos do not actually add significant strength to a long-grain-to-long-grain glue joint. According to wood science principles, a properly glued edge joint is often stronger than the wood itself. The primary purpose of these tools is alignment. By mastering your clamping technique and using the right panel clamps, you can achieve the same alignment for a fraction of the cost.
Step 1: Wood Selection and Preparation
The foundation of a flat panel is perfectly square edges. Before reaching for your spetool clamp, ensure your boards are jointed. If you don't have a jointer, you can use a table saw with a jointing jig or a hand plane. Always alternate the growth rings (smile/frown) to minimize the effects of wood movement over time.
The Secret Weapon: 4-Way Pressure
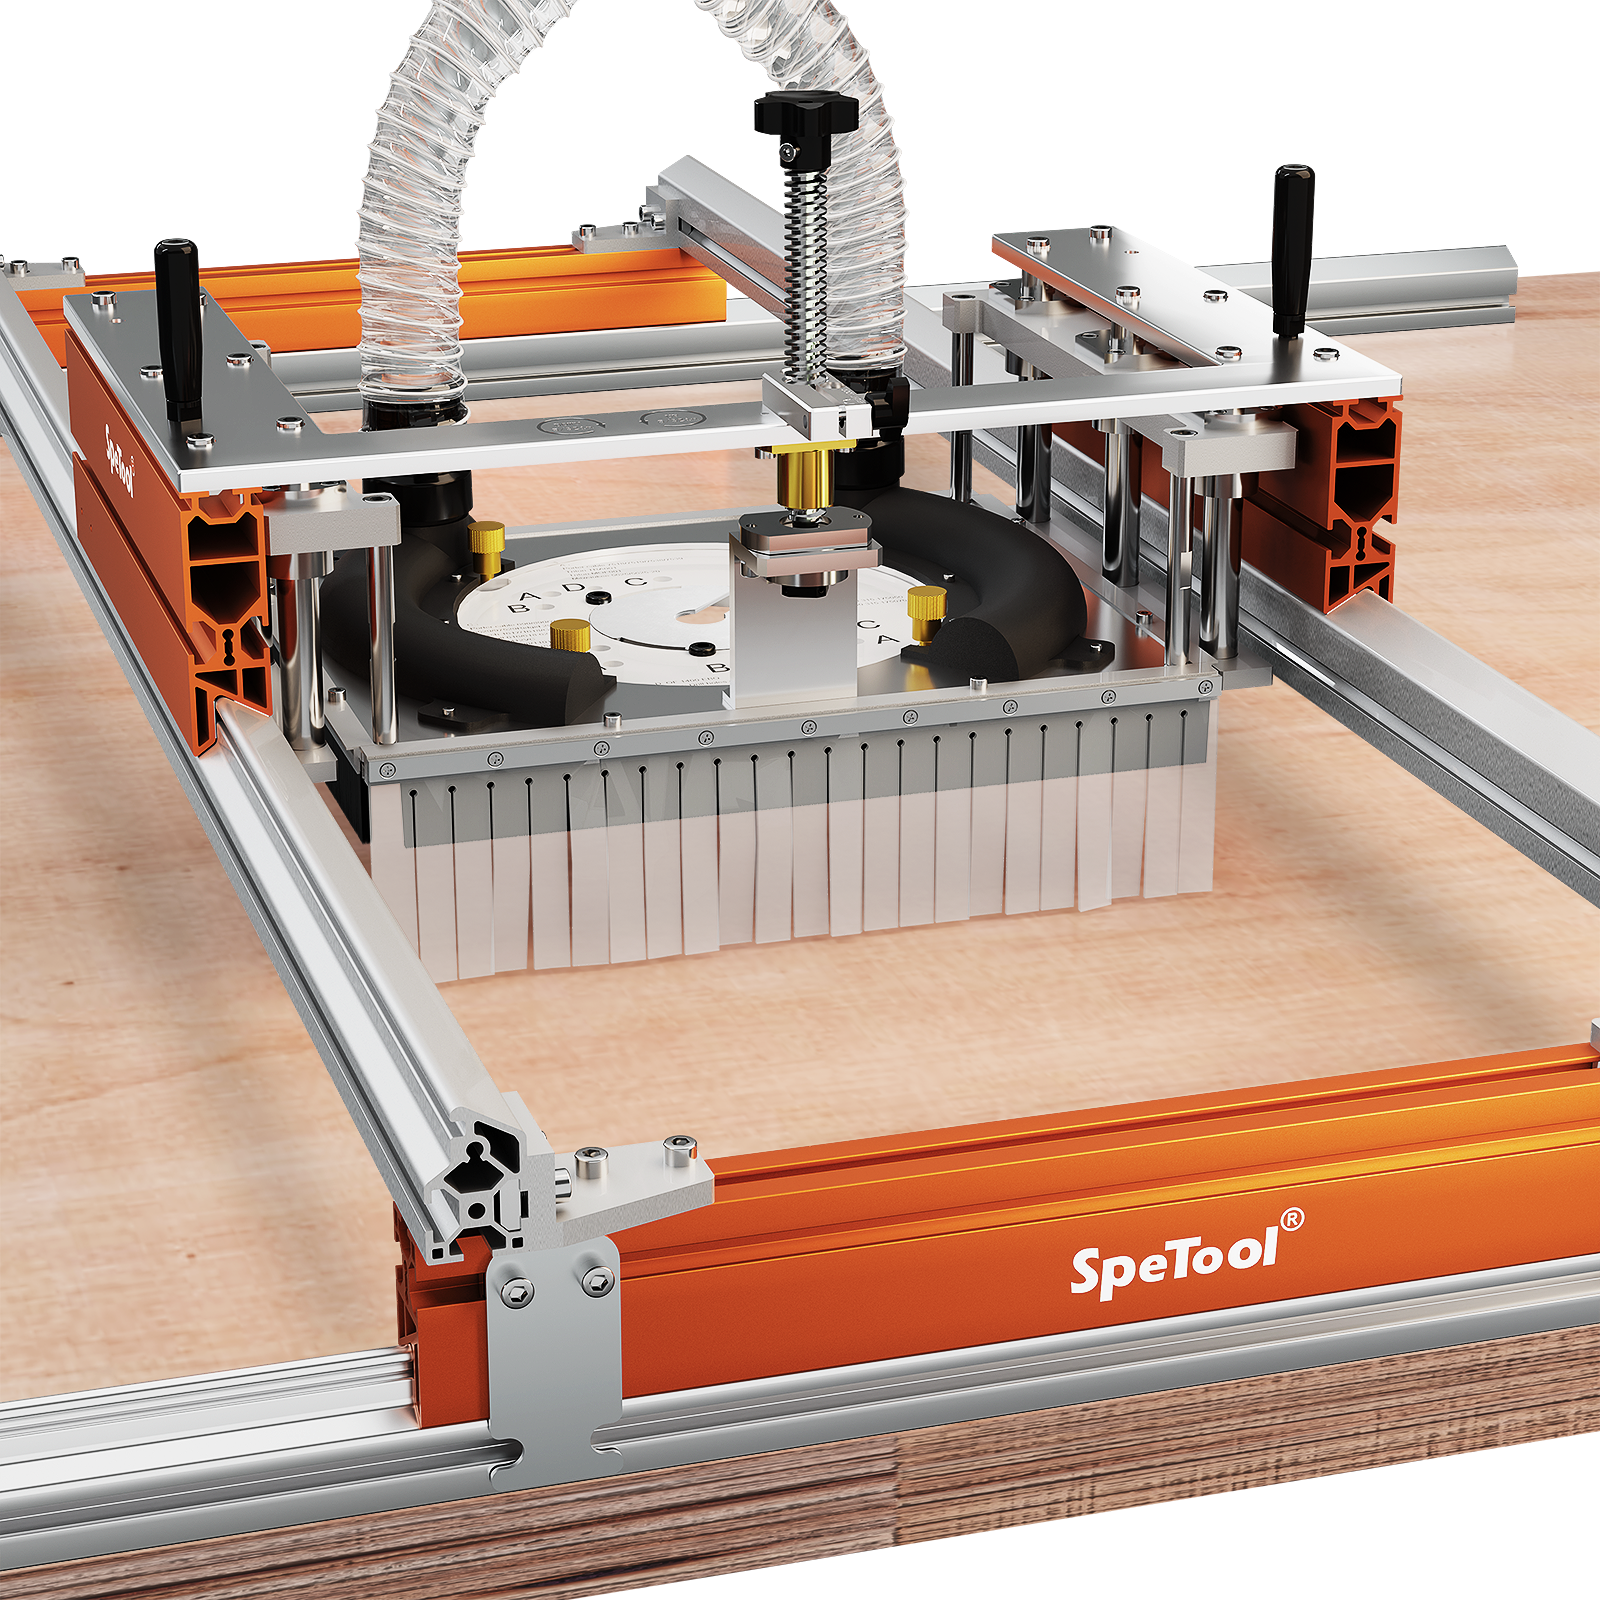
The biggest challenge in gluing up wide panels without biscuits is the "buckling" effect, where boards pop up under heavy side pressure. This is where the spetool panel clamp becomes a game-changer for budget-conscious shops.
The spetool panel clamp features parallelogram-action couplers that apply pressure from all four sides simultaneously. Unlike traditional bar clamps that only squeeze the sides, these 4-way panel clamps force the boards down and together, ensuring flush joints without the need for internal alignment pins. They accommodate panels up to 24 inches wide and thicknesses from 1/4" to 3", making them ideal for everything from thin cutting boards to thick workbench tops.
Step 2: The Glue-Up Process
1. **Dry Fit:** Always test your layout. Lay your boards in the spetool panel clamp to ensure there are no gaps.
2. **Apply Glue:** Use a high-quality PVA glue. Apply an even bead and spread it with a brush or roller.
3. **Tighten Slowly:** Begin tightening your panel clamps. The parallelogram couplers will automatically apply downward pressure to keep the boards flat.
4. **Check for Flushness:** Run your hand across the joints. If one board is slightly higher, the 4-way pressure of the spetool clamp allows for easy adjustment before the glue sets.
Step 3: Post-Glue Cleanup
Glue squeeze-out is a sign of a good joint, but it can be a pain to clean. One major advantage of the spetool panel clamp is its durable powder-coat finish and steel pipe construction. The special surface treatment allows spilled glue to be easily removed by hand or a putty knife without damaging the fixture. Once the glue has reached a leathery consistency (usually 30-45 minutes), scrape away the excess to save hours of sanding later.
Conclusion
Gluing up wide panels doesn't require a massive investment in specialized joinery power tools. By focusing on square edges and utilizing the 4-way pressure of a spetool panel clamp, you can create professional-grade tabletops and panels on a hobbyist budget.