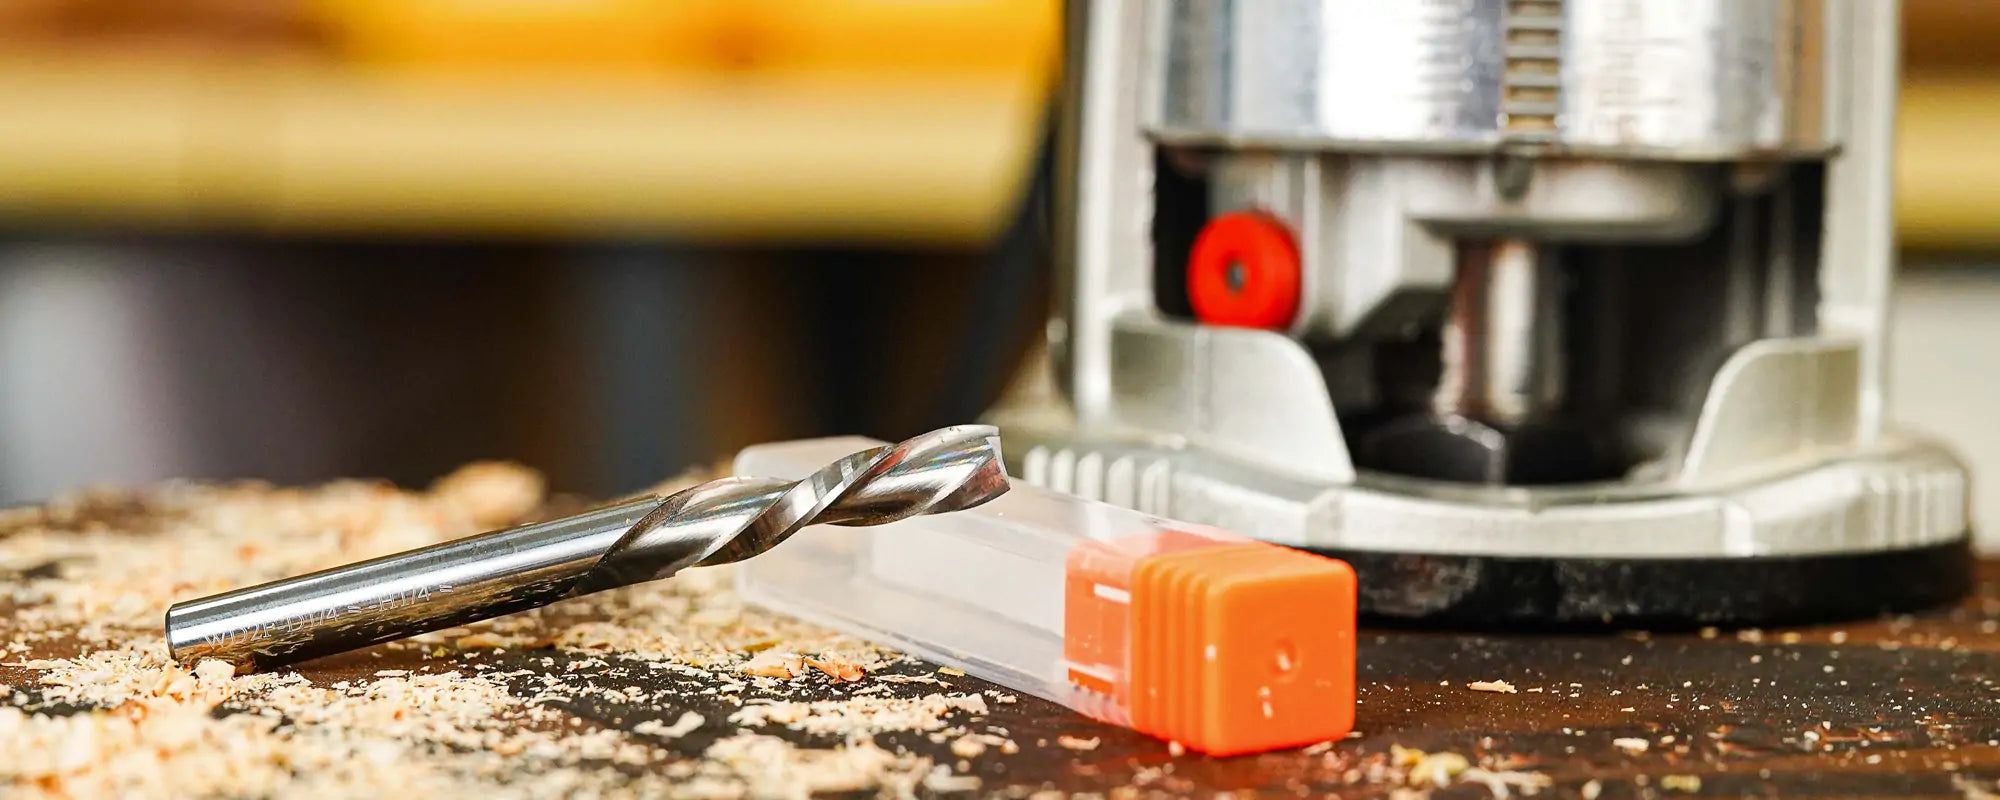
🔍 It’s a two-step process using a template of the shape you want. First, **attach the guide bushing and collar** to your router base and use the appropriate bit (often the 1/8\" for fine detail). When the collar is on, you rout the **recess (the cavity)** in your workpiece by running the bushing along the inside of your template. The collar offsets the cut slightly outward. Once that’s done, you remove the collar (leaving just the guide bushing) and then rout the **inlay piece** out of a second piece of stock using the same template – now the path is slightly smaller because there’s no collar, producing an inlay that exactly fits the recess. You’ll cut out that inlay piece (carefully on a bandsaw or scroll saw if it’s big, or it’ll be freed if it’s a through-cut) and then glue it into the recess. The result is a snug-fitting inlay. The kit’s two bit sizes can be used interchangeably; many start with the larger bit to hog out waste, then switch to the 1/8\" for fine edges. Always use the centering pin first to ensure your bushing is centered in the router before you begin – that’s critical for a good fit. The kit’s instructions cover these steps, and once you do it a couple of times, it becomes straightforward.
Related product: → View product page