Introduction:
Live edge slabs offer stunning natural beauty for woodworking projects, but they require thoughtful preparation before flattening. A little work upfront — like cleaning, inspecting, and stabilizing your slab — can mean the difference between a flawless finish and hours of frustrating rework. Let’s dive into the essential steps you should take before placing a slab under your router sled.
Why Proper Slab Preparation Matters
-
Prevents router bit damage from hidden debris
-
Minimizes slab warping during flattening
-
Reduces router sled stress and uneven cuts
-
Protects your investment in premium hardwood slabs
Step 1: Choose the Right Slab
-
Assess Moisture Content
-
Wood should have a moisture content below 10% for flattening.
-
Use a moisture meter to check readings across several slab points.
-
-
Inspect for Cracks, Rot, and Voids
-
Look for structural flaws that might require filling or reinforcement.
-
Plan stabilization strategies before starting.
-
-
Size and Shape Considerations
-
Select slabs that comfortably fit your router sled setup or plan for extensions if needed.
-
-
Project Suitability
-
Match the slab’s size and character to your intended project (table, countertop, art piece).
-
Step 2: Clean the Slab Surface Thoroughly
-
Remove Bark and Loose Debris
-
Use a chisel, drawknife, or sturdy brush to peel off bark, moss, or dirt.
-
-
Power Wash (Optional)
-
For dirty or rough-sawn slabs, a light power wash helps.
-
Allow sufficient time (weeks) for full drying post-washing.
-
-
Metal Detection Sweep
-
Always run a metal detector over the slab to find hidden nails or screws that could destroy your router bit.
-
Step 3: Dry and Stabilize the Slab
-
Air-Drying and Kiln-Drying
-
Air-dried slabs need 1 year per inch of thickness unless kiln-dried.
-
If air-drying, use stickers (spacers) between slabs for airflow.
-
-
Acclimate the Slab to Your Workspace
-
Let the slab adjust to your shop’s temperature and humidity for at least 2–3 weeks.
-
-
Stabilize Large Cracks and Voids
-
Fill large cracks with epoxy or resin to prevent tear-out during flattening.
-
Use bowties (Dutchman joints) to mechanically stabilize severe splits.
-
Step 4: Mark and Plan Before Flattening
-
Identify High and Low Spots
-
Use a long straightedge and chalk to map slab contours.
-
-
Plan the "Good Face"
-
Choose which side to flatten first based on defects and grain figure.
-
-
Determine Desired Thickness
-
Account for minimum slab thickness after removing high spots.
-
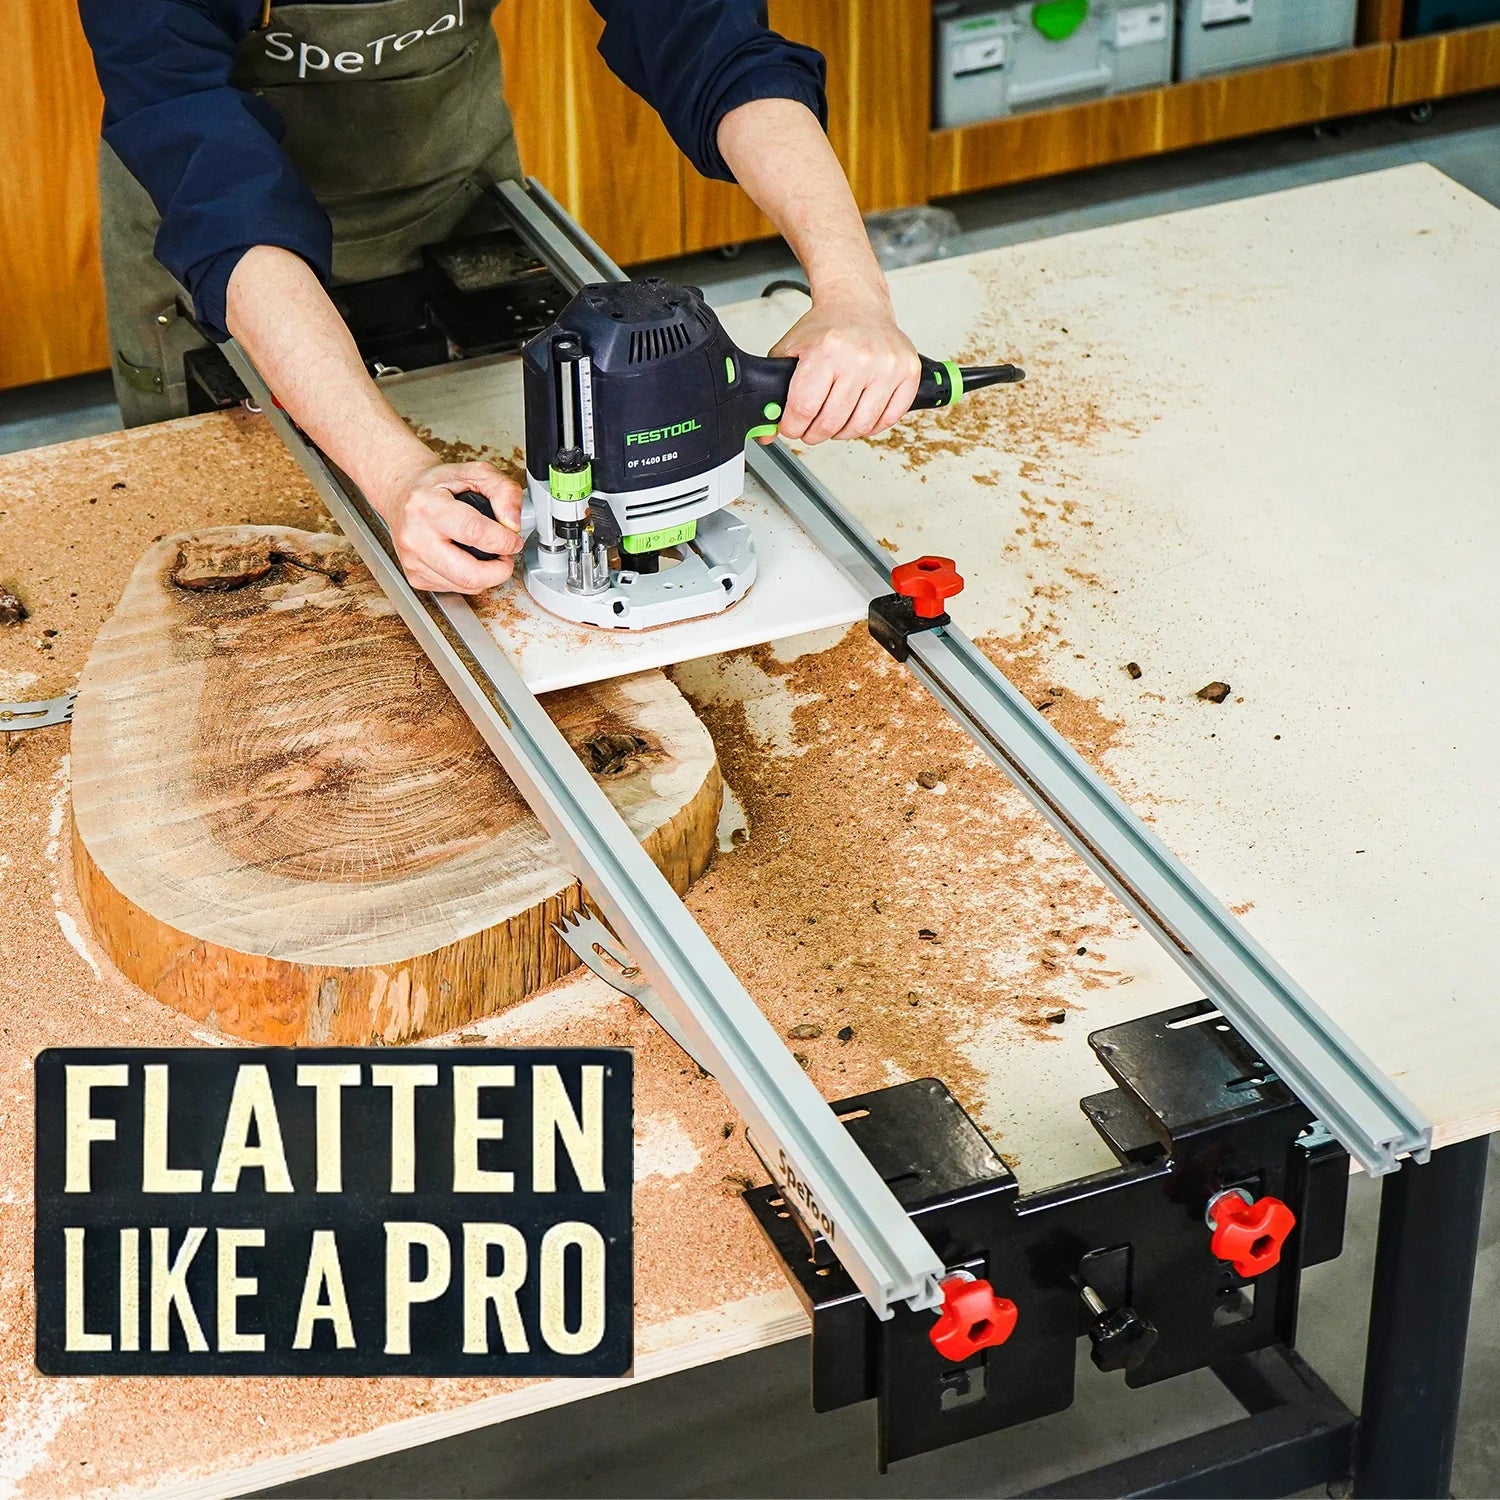
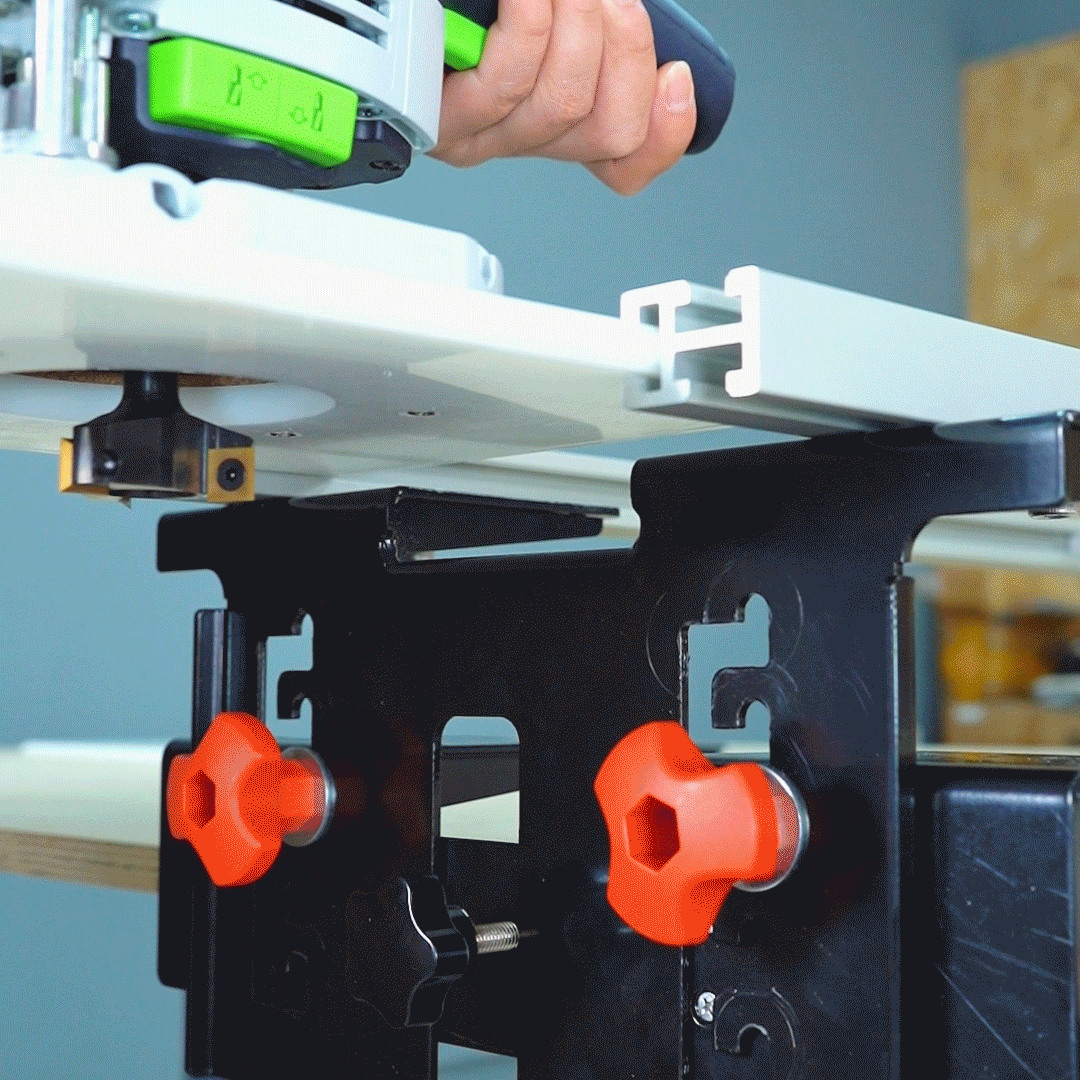
Step 5: Secure the Slab Properly on Your Workbench
-
Use Strong Clamping
-
Perimeter clamping with multiple heavy-duty clamps ensures no slab movement.
-
-
Add Non-Slip Support Mats
-
Prevent sliding without needing excessive clamping pressure.
-
-
Frame the Slab (Optional for Irregular Shapes)
-
Build a temporary wood frame around odd-shaped slabs to keep router sled travel safe and contained.
-
Comparing Unprepared vs. Prepared Slabs
| Factor | Unprepared Slab | Prepared Slab |
|---|---|---|
| Moisture Content | High, unstable | Dry, stable |
| Surface Cleanliness | Debris risks router damage | Clean, safe to flatten |
| Stability | Cracks may worsen | Stabilized with resin or bowties |
| Slab Movement Risk | High | Minimal |
| Final Surface Quality | Rough, uneven | Smooth, professional |
Conclusion
Great woodworking projects start with great preparation. By choosing, cleaning, drying, stabilizing, and securing your live edge slabs before router sled flattening, you massively improve your odds of achieving a smooth, professional finish. Take the time to set up properly, and every project — whether a river table or rustic bench — will reward you with better results and fewer headaches.
Related Blog Topics:
-
How to Choose the Right Router Sled Size for Your Woodworking Projects
-
How to Flatten Large Live Edge Slabs Safely with a Router Sled
Want flawless results on your next slab project? Start by mastering slab preparation — and let your router sled deliver truly professional finishes every time!