Introduction:
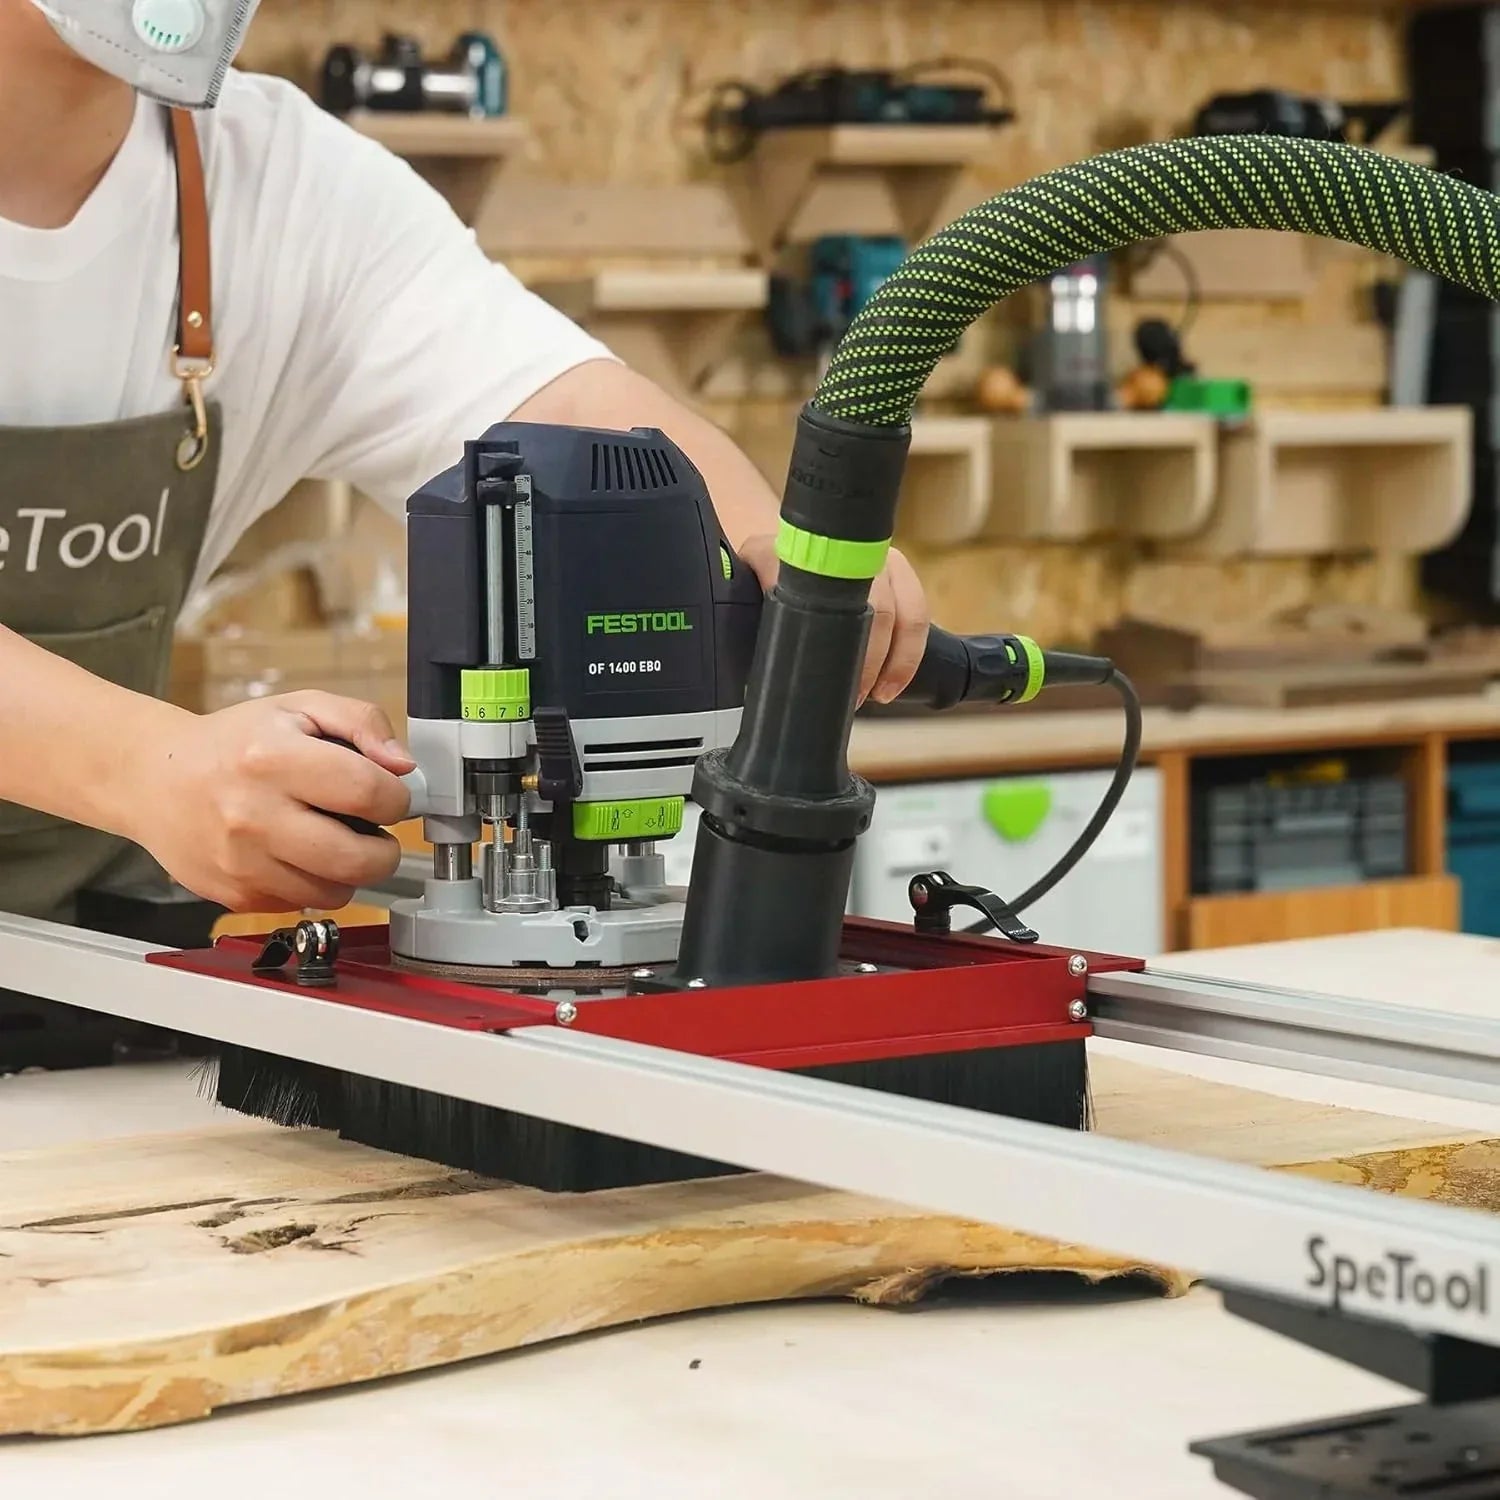
Live edge slabs are among the most beautiful materials to work with, perfect for tables, counters, and statement furniture. But their size and natural irregularities create real challenges. Flattening large slabs safely and precisely requires careful preparation, the right tools, and proven techniques. Let’s dive into how you can master big slab flattening with your router sled.
Why Flattening Large Slabs Requires Special Techniques
-
Heavy slabs are harder to move and position
-
Wider, longer slabs need stronger workbench support
-
Natural wood movements (warps, cups) are magnified in large pieces
-
Safety risks increase with heavy material handling
Preparing Your Workspace for Large Slab Flattening
-
Ensure Sufficient Work Area
-
Clear at least 3–4 feet around the slab for movement and safety.
-
-
Build or Use a Heavy-Duty Workbench
-
Strong enough to support the full slab weight without sagging.
-
Add side supports or roller stands for slabs over 8 feet.
-
-
Protective Equipment
-
Wear steel-toe boots, gloves, and eye protection.
-
Have lifting straps or get help to safely position large slabs.
-
-
Secure Lighting and Ventilation
-
Good lighting ensures you spot surface irregularities.
-
Dust extraction is crucial during prolonged flattening sessions.
-
Setting Up the Slab for Safe Flattening
-
Inspect the Slab Carefully
-
Check for deep cracks, rot, or inclusions needing stabilization first.
-
-
Mark High and Low Spots
-
Use a straightedge and chalk to visualize the areas needing the most removal.
-
-
Support and Clamp Properly
-
Use multiple heavy-duty clamps or build a perimeter frame.
-
Apply even support under the slab to prevent sagging during milling.
-
-
Level Your Router Sled Rails
-
Use a long spirit level to check the rails across the entire slab.
-
Shim where necessary to maintain perfect parallel alignment.
-
Flattening Techniques for Large Live Edge Slabs
-
Start with Light Passes
-
Begin removing only 1/16" or less per pass, especially if the slab has significant cupping.
-
-
Flatten One Side First
-
Focus on creating a single perfectly flat face before flipping.
-
-
Use a Crosshatch Cutting Pattern
-
Reduces router marks and ensures even removal across a wide area.
-
-
Manage Dust Efficiently
-
Pause frequently to vacuum debris and maintain router sled glide performance.
-
-
Double-Check Slab Stability Mid-Process
-
Re-secure or re-clamp if needed as the slab relaxes during material removal.
-
Comparison Table: Small vs. Large Slab Flattening
| Factor | Small Slabs | Large Slabs |
|---|---|---|
| Setup Time | Quick | Extended preparation needed |
| Workbench Requirements | Standard bench | Heavy-duty, reinforced setup |
| Clamping Complexity | Simple | Multi-point and perimeter clamping |
| Cutting Strategy | Straight passes | Crosshatch + staged passes |
| Safety Considerations | Minimal | High (weight handling, stability) |
Conclusion
Flattening large live edge slabs is an incredibly rewarding challenge for any woodworker. With the right preparation, a stable work surface, proper clamping, and controlled router sled techniques, even oversized slabs can be transformed into stunning, professional-quality surfaces. Prioritize safety, patience, and precision — and watch your massive woodworking dreams come to life.
Related Blog Topics:
Ready to tackle your biggest woodworking projects yet? With the right router sled setup and techniques, you can flatten even the largest live edge slabs safely and with professional results!