Introduction: If you've mastered basic router sled use, it’s time to step up your game. Professional-level slab flattening requires more than just moving your router back and forth — it's about technique, precision, and efficiency. Here’s how DIY woodworkers can achieve glass-smooth surfaces and minimize extra work with a few expert methods.
Why Advanced Flattening Techniques Matter
-
Achieve ultra-smooth slab finishes
-
Reduce sanding time dramatically
-
Minimize router marks and tear-out
-
Extend tool lifespan through efficient cutting
Key Advanced Techniques for Slab Flattening
-
Strategic Cutting Patterns
-
Move the router sled in a diagonal or crosshatch pattern instead of strictly back-and-forth.
-
This reduces visible router marks and ensures a more even surface.
-
-
Controlled Depth of Cut
-
Remove no more than 1/16"–1/8" per pass.
-
For harder woods, lighter passes prevent tear-out and extend router bit life.
-
-
Router Speed and Feed Rate Optimization
-
Match router RPMs to the material density.
-
Maintain a steady feed rate to avoid burning or chatter marks.
-
-
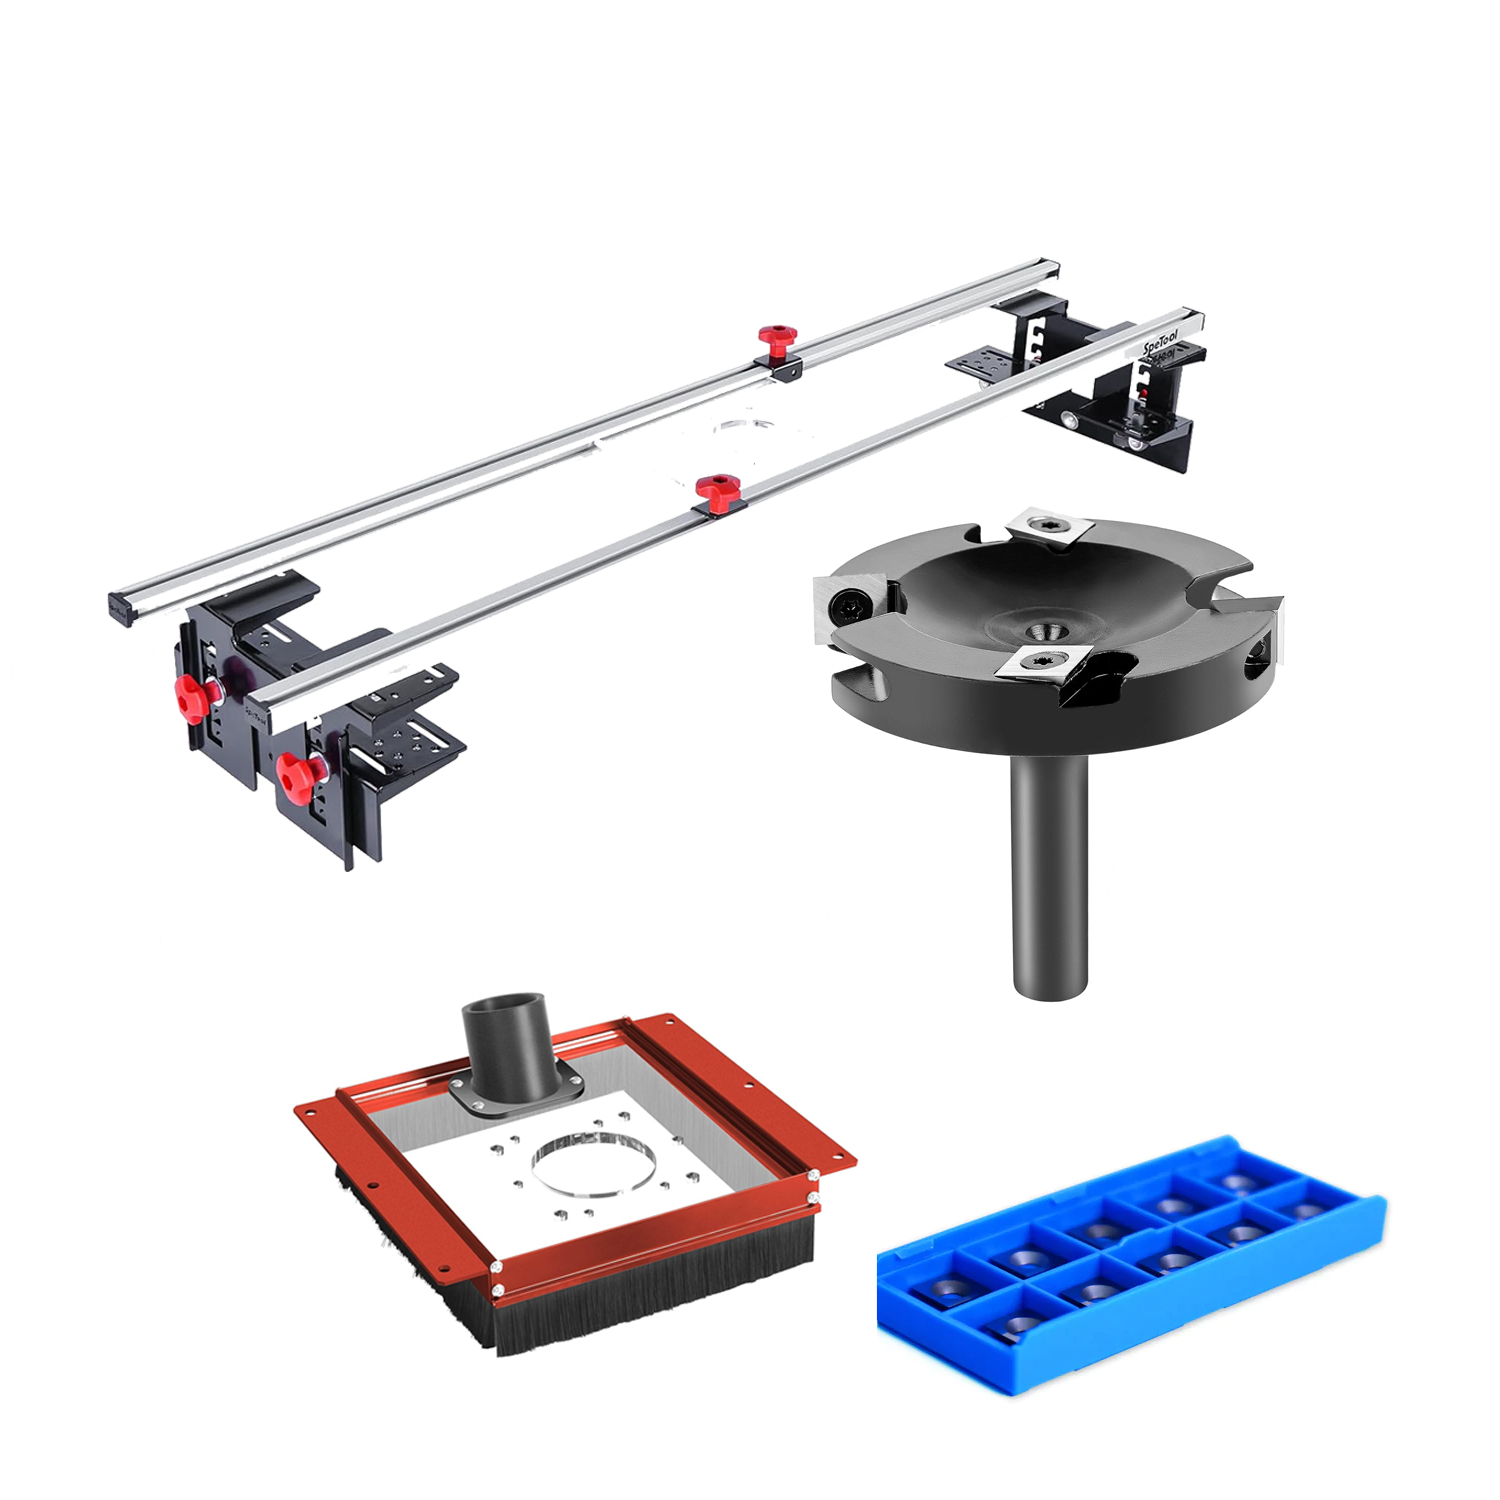
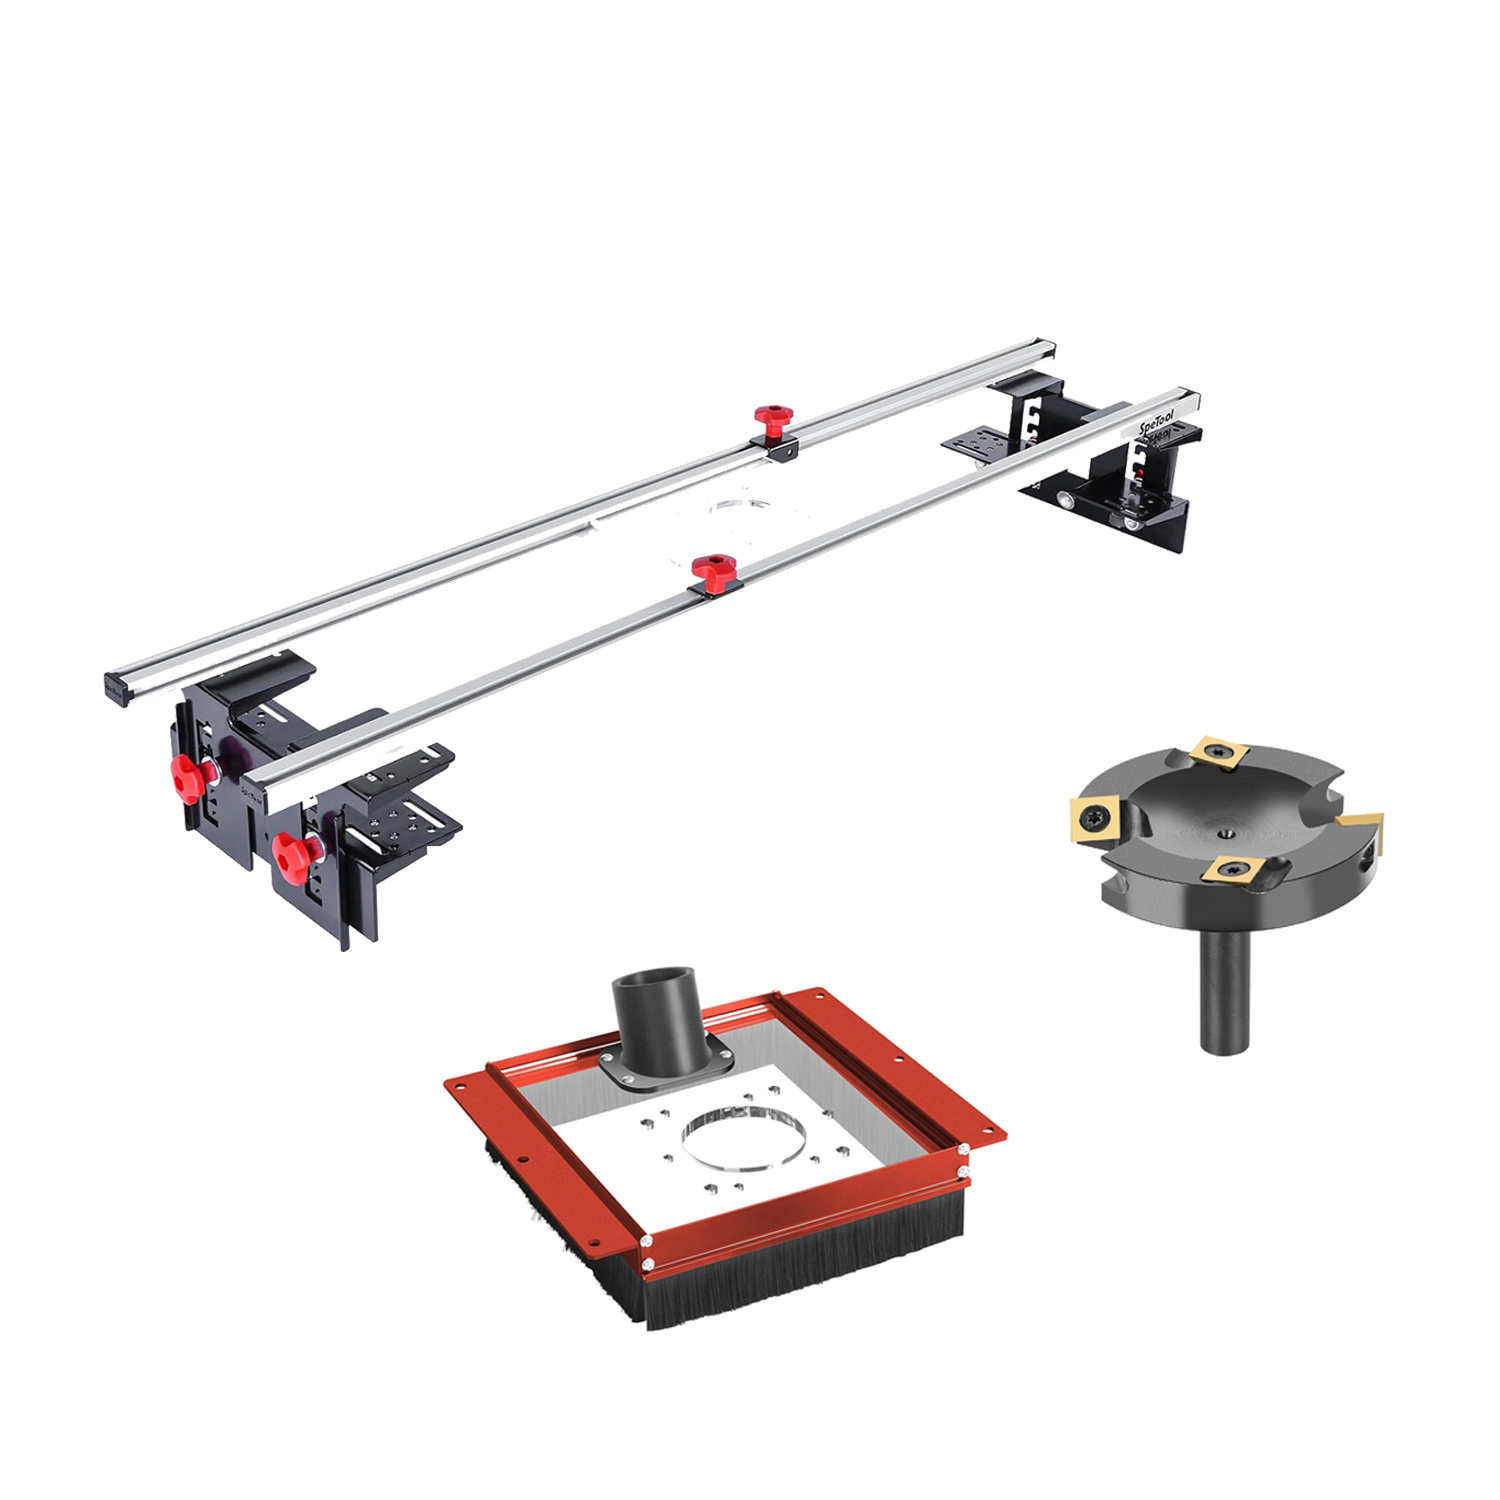
Use of Proper Router Bits
-
Prefer carbide-insert surfacing bits for larger slabs.
-
Keep bits clean and sharp; replace or rotate inserts when necessary.
-
-
Surface Preparation and Slab Securing
-
Thoroughly vacuum slab and rails before every pass.
-
Rigid clamping or non-slip mats prevent micro-movements during cutting.
-
Comparing Basic vs. Advanced Flattening Approaches
| Technique Level | Method | Surface Finish | Effort Level | Final Result |
|---|---|---|---|---|
| Basic | Straight passes only, random depth | Rough, visible passes | High sanding needed | Acceptable for beginners |
| Advanced | Crosshatch passes, optimized speed | Smooth, minimal marks | Less sanding | Near professional quality |
Conclusion
Advanced router sled techniques can transform your slab flattening results from "good enough" to professional-level perfection. By controlling your cutting patterns, router speed, and pass depth, you not only save time on finishing but also extend your tools' working life. Master these methods and your woodworking projects will stand out with glass-smooth, flawless surfaces.
Related Blog Topics:
Ready to perfect your woodworking craft? Apply these advanced router sled techniques and achieve professional-grade slab flattening results starting today!