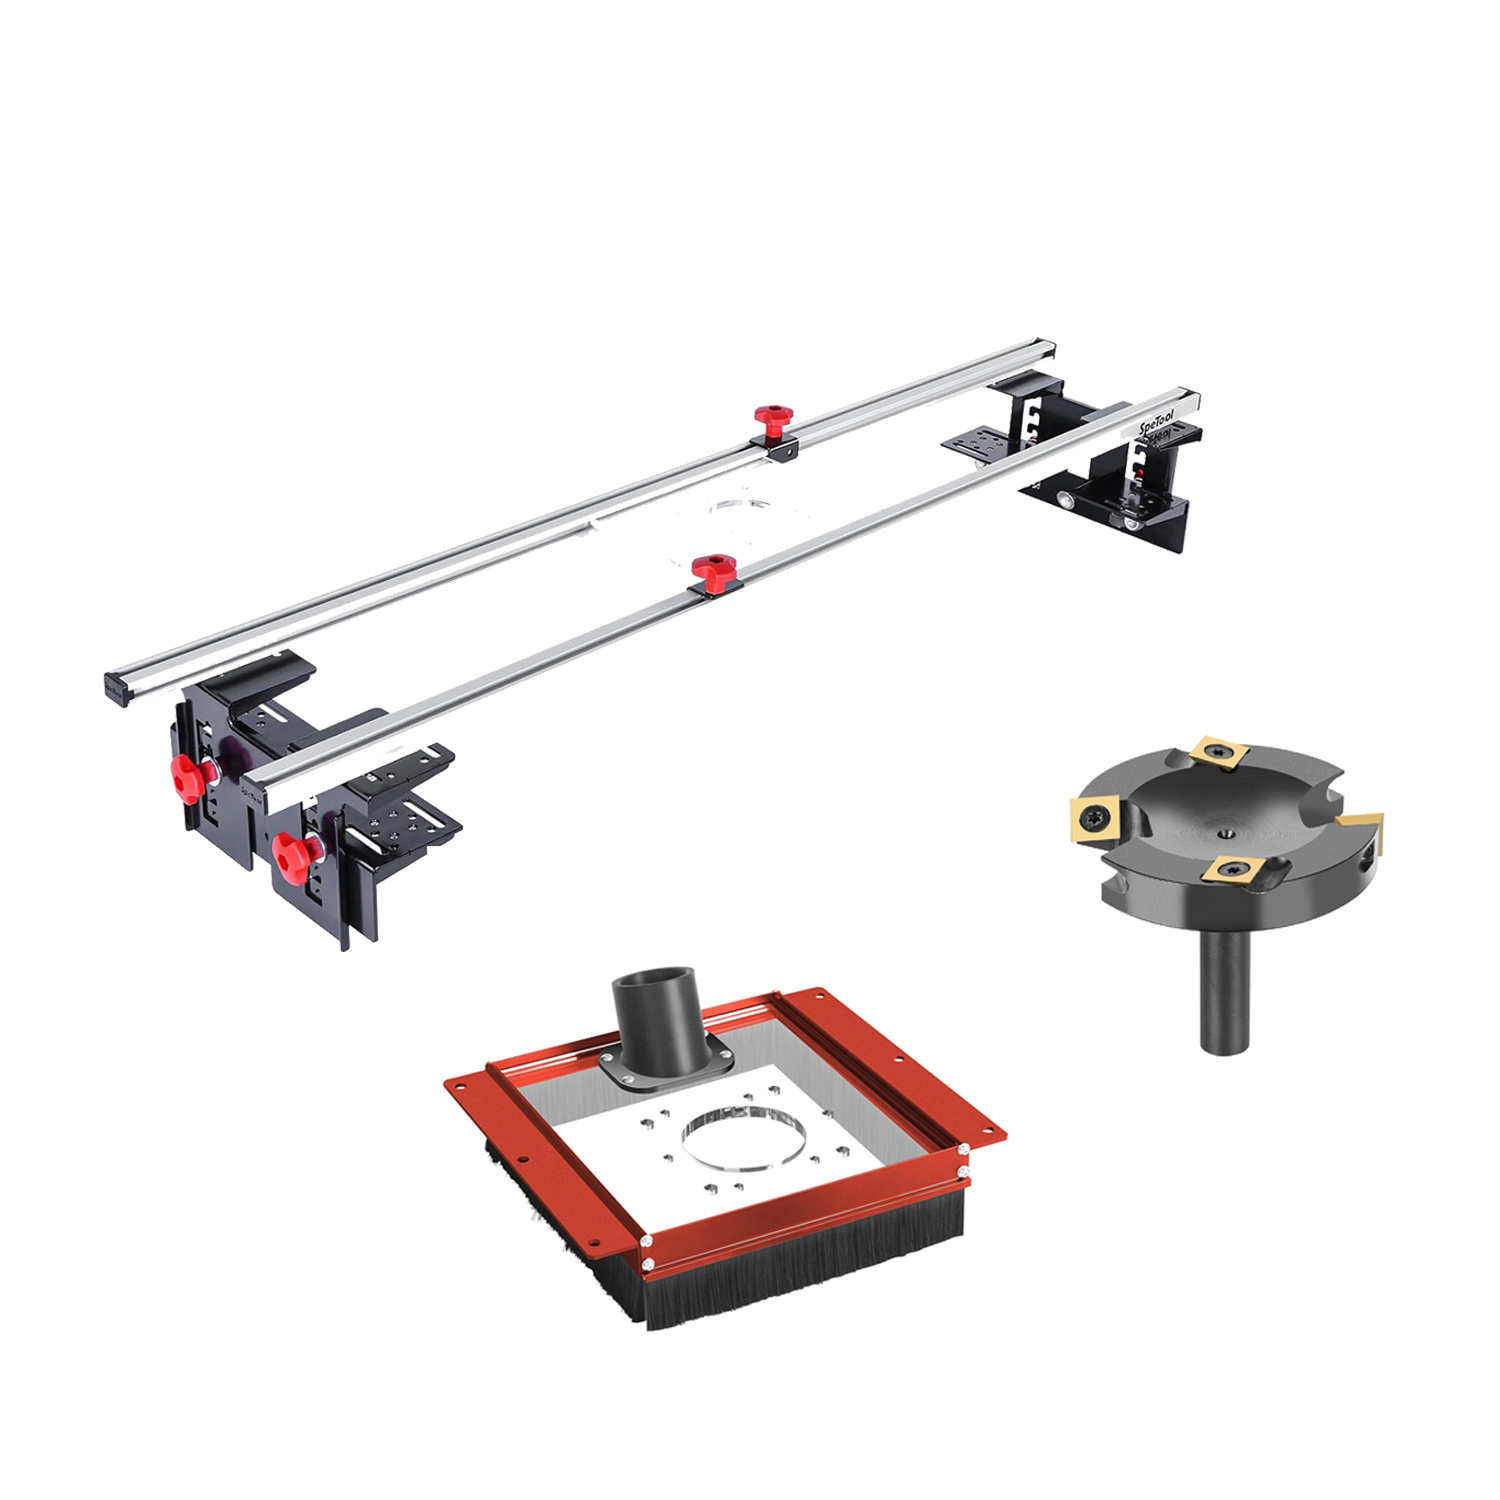
Introduction:
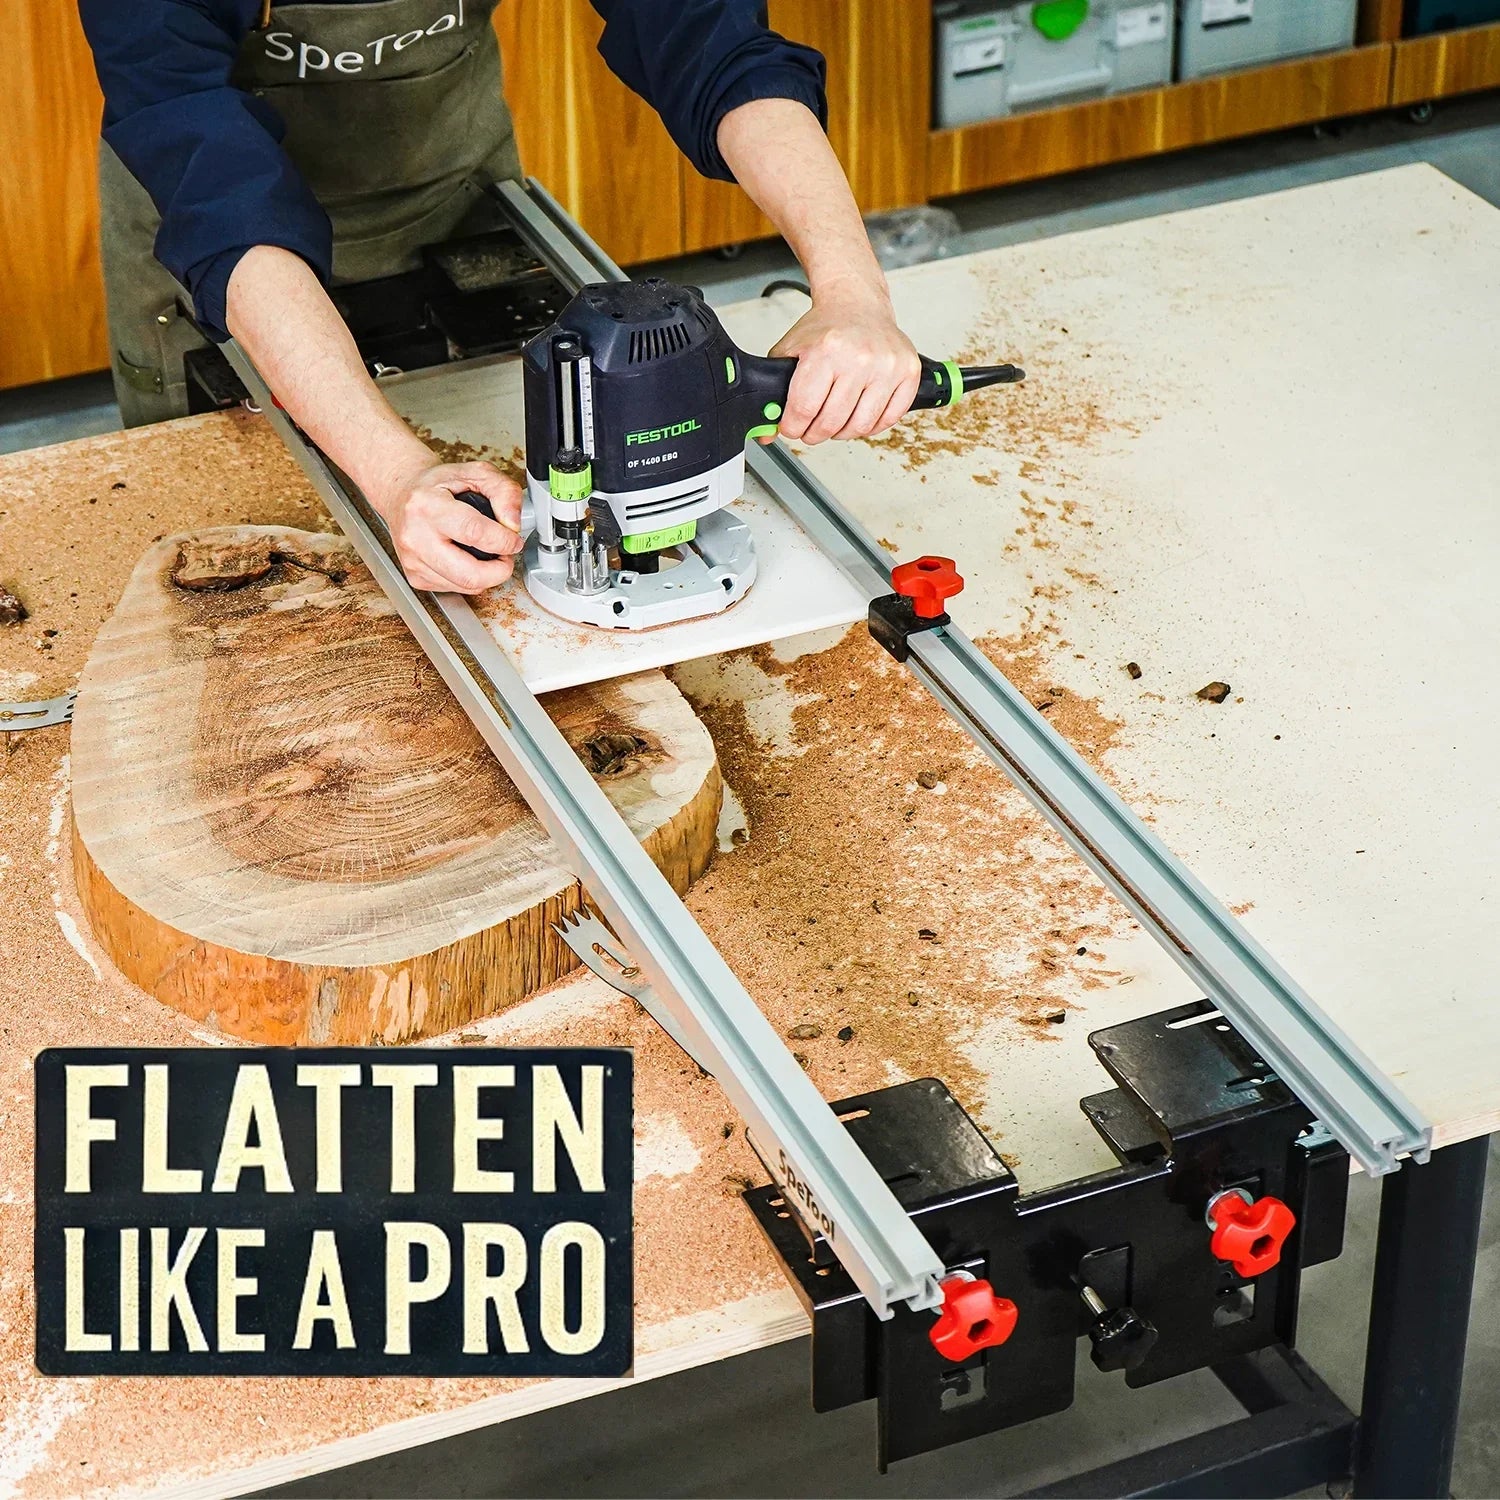
Setting up your router sled correctly is the key to transforming rough wood slabs into beautifully flat surfaces. The SpeTool Cratos S01001 router sled is a powerful tool designed for precision woodworking. Let’s walk through the essential steps to ensure your router sled is set up perfectly for flawless results.
Step 1: Prepare Your Workspace
Choose a flat, stable surface for your setup area. Clear the workspace thoroughly to ensure safety and accuracy during assembly and operation.
Step 2: Unpack and Inspect Parts
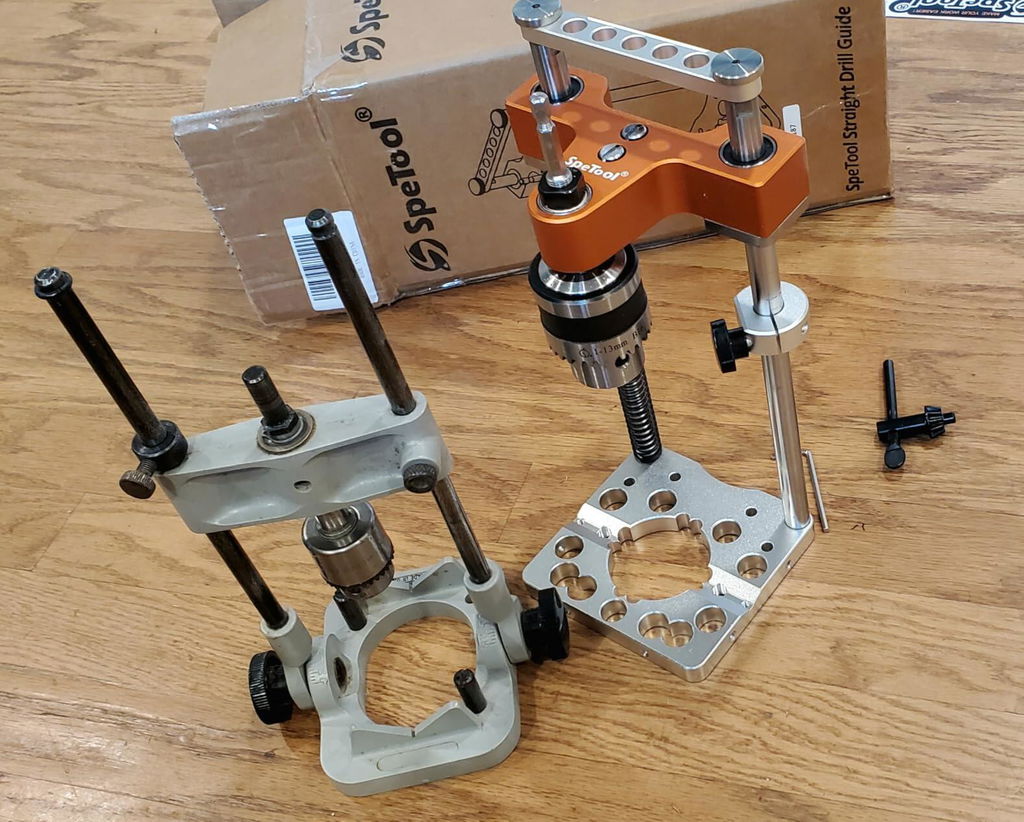
Carefully unpack your SpeTool Cratos S01001, checking all components against the provided inventory list to ensure nothing is missing or damaged.
Step 3: Assemble Rails and Frame
Assemble the sled’s rails and frame meticulously, making sure the rails are parallel and level using a reliable straightedge and a carpenter’s level.
Step 4: Secure the Router
Mount your router securely to the sled carriage. Ensure the router bit is perpendicular to the base and moves smoothly along the rails without obstruction.
Step 5: Adjust Depth of Cut
Set your initial cutting depth conservatively, typically around 1/16 to 1/8 inches, to avoid overloading your router and ensure smoother passes.
Step 6: Properly Clamp the Wood Slab
Secure your slab firmly to prevent any movement during cutting. Proper clamping is crucial for accurate and safe operations.
Step 7: Check Alignment
Regularly verify alignment throughout the assembly process. Misaligned rails can lead to uneven cuts and compromised results.
Step 8: Setup Dust Collection
Ensure your dust collection system is connected and fully operational. Effective dust management helps maintain clear visibility and protects equipment longevity.
Step 9: Conduct a Test Run
Perform a test run on scrap wood to check the sled’s operation, router bit effectiveness, and overall alignment.
Step 10: Fine-Tune the Setup
Make minor adjustments as needed after the test run. Fine-tuning ensures your setup is optimized for your specific woodworking needs.
Comparison: Proper vs. Improper Setup
| Setup Factor | Proper Setup Result | Improper Setup Result |
|---|---|---|
| Rail Alignment | Accurate, smooth cuts | Uneven surfaces |
| Router Security | Safe, precise operation | Unsafe and erratic cuts |
| Depth Adjustment | Consistent, high-quality finish | Strained router, rough surfaces |