Introduction
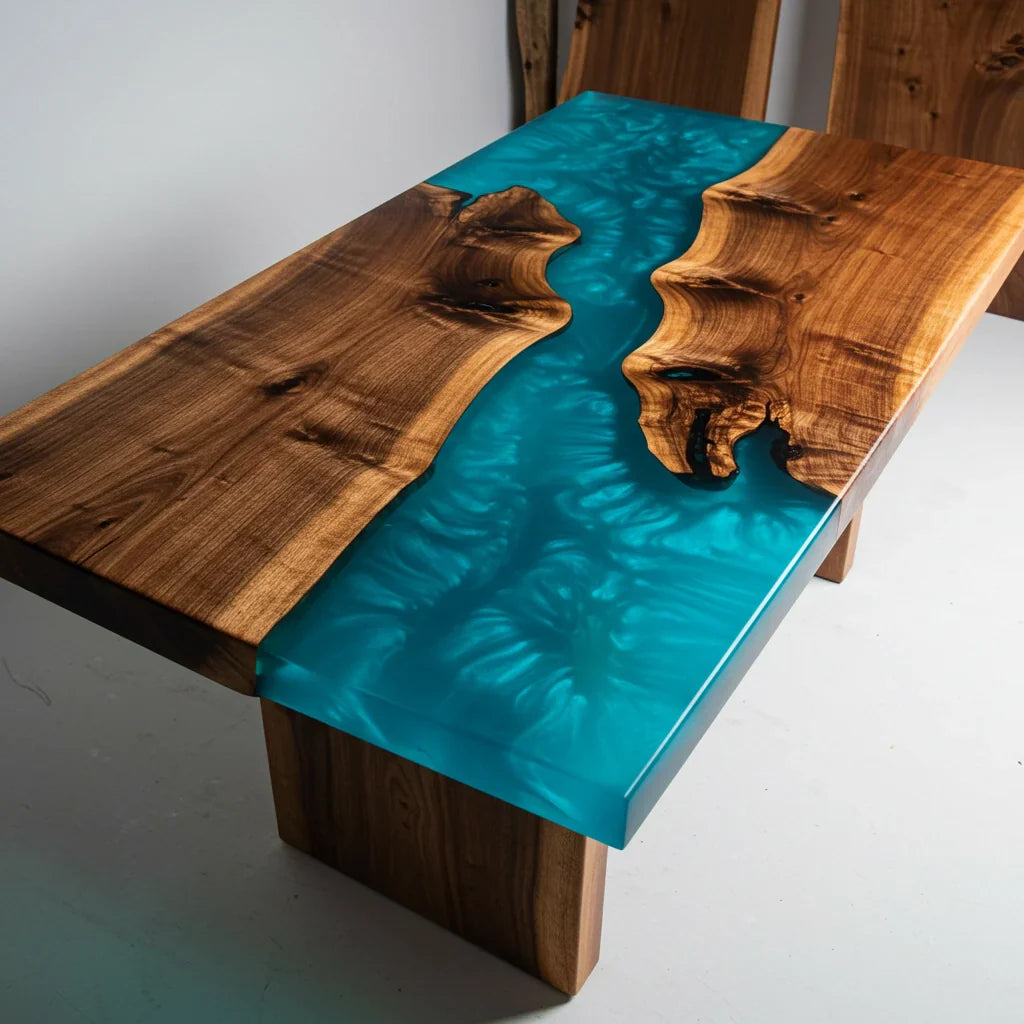
The epoxy resin river table has become a symbol of modern woodworking. Its stunning blend of natural wood grain and vibrant epoxy colors captivates hobbyists and professionals alike. If you're a woodworking beginner, this might seem like a daunting project, but with the right tools, like a router sled, it’s totally achievable.
This blog is a complete guide to help you build your first epoxy resin river table, with a focus on using a router sled for flattening slabs. Whether you're new to woodworking or just new to epoxy, this project will help you level up your skills and create a centerpiece for any room.
Materials and Tools Needed
| Category | Item |
|---|---|
| Wood | Two live-edge wood slabs (maple, walnut, etc.) |
| Epoxy | Deep-pour epoxy resin & color pigments |
| Tools | Router, router bit, router sled, clamps, circular saw, chisel, heat gun |
| Finishing | Orbital sander, sandpaper (80 to 400 grit), wood finish or oil |
| Extras | Mixing cups, stir sticks, silicone sealant, level, tape |
| Mold | Melamine or HDPE boards to create a pouring mold |
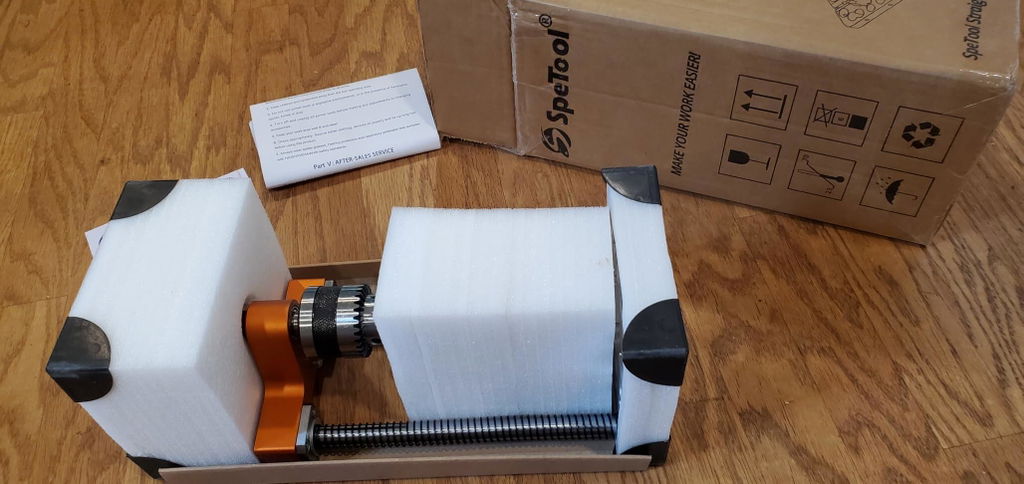
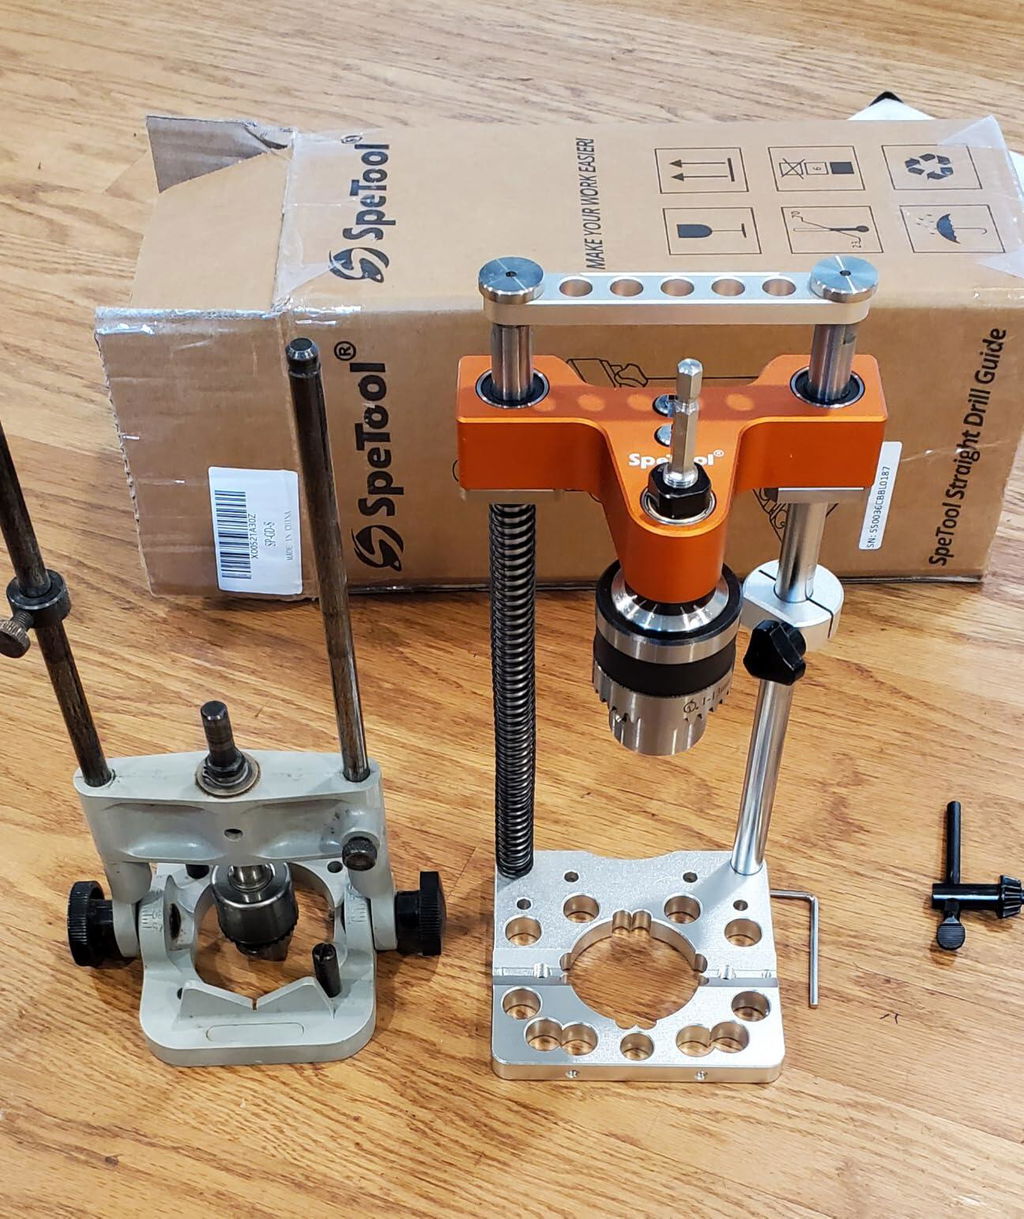
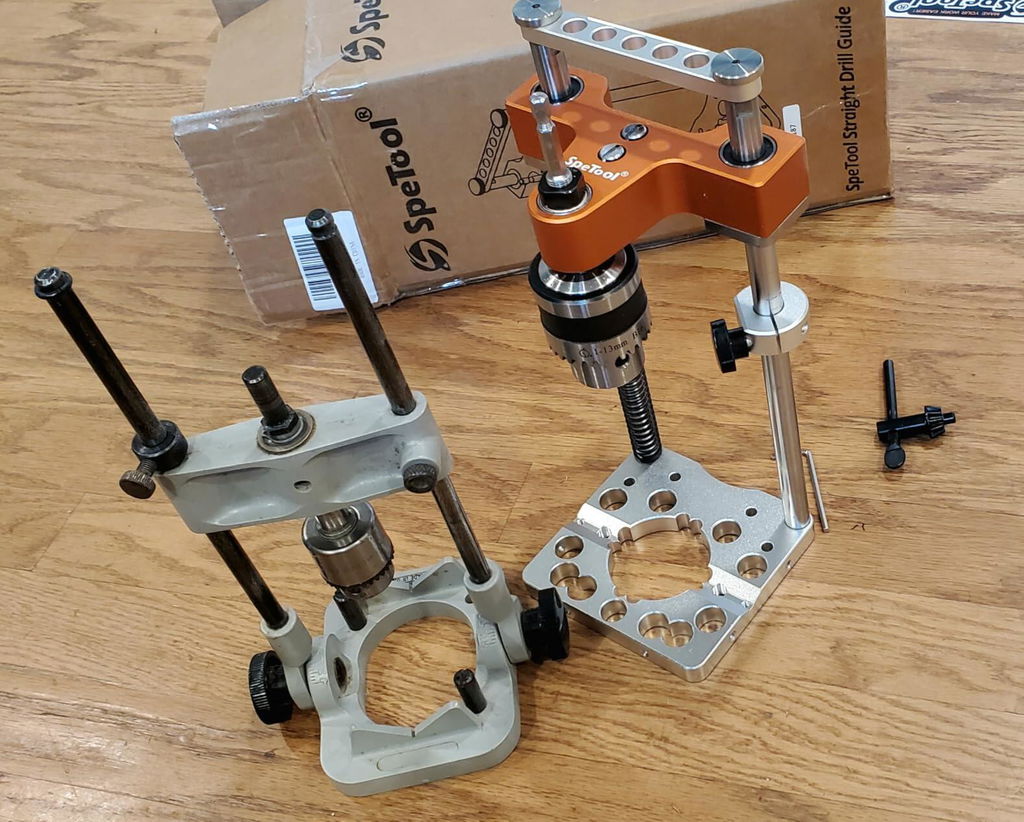
💡 Tip: Use a professional router sled like the SpeTool Cratos S01001 for smoother, easier slab flattening.
Step-by-Step: How to Make a River Table Using a Router Sled
Step 1: Choose and Prepare Your Wood
-
Select two live-edge slabs with a pleasing grain pattern.
-
Cut the inner edges straight with a circular saw or jointer.
-
Arrange them so the natural edges face each other, forming the "river."
Step 2: Build the Mold
-
Use melamine boards to create a tight, leak-proof mold.
-
Seal all joints with silicone and apply tape or mold release.
-
Place your slabs inside with the edges facing inward.
Step 3: Flatten the Slabs with a Router Sled
-
Secure each slab to your workbench.
-
Mount your router onto the router sled.
-
Slide the router sled back and forth to remove high spots.
-
Ensure both slabs are equally flat and level for a clean epoxy pour.
✅ Why use a router sled? It ensures your slabs are perfectly flat, avoiding uneven pours and sanding later.
Step 4: Mix and Pour the Epoxy
-
Mix deep-pour epoxy resin per the manufacturer’s instructions.
-
Add pigments or metallic powder to match your desired color.
-
Slowly pour the resin between the slabs in layers.
-
Use a heat gun to remove bubbles.
Step 5: Cure the Epoxy
-
Let the epoxy cure for 2–5 days, depending on depth and temperature.
-
Avoid moving or disturbing the mold during this time.
Step 6: Demold and Flatten the Whole Slab
-
Remove the mold and inspect the surface.
-
Flatten the entire tabletop again using your router sled.
-
This step helps blend epoxy and wood surfaces into one smooth plane.
Step 7: Sand and Finish
-
Sand the surface starting with 80 grit up to 400 or higher.
-
Apply a finish like tung oil or polyurethane for protection and shine.
Step 8: Attach Legs or Base
-
Choose a base (metal or wood) and attach it securely.
-
Make sure the table is level before tightening.