Introduction:
A router sled alone can flatten slabs, but dealing with the frustration of "tiger stripes"—deep, parallel ridges and burn marks—is a nightmare. These marks demand hours of painful, low-grit sanding. As a senior master woodworker and tool consultant, I can tell you that the physical limitations of a router planing sled make it highly sensitive to error. Any microscopic spindle runout or sled deflection is instantly magnified. Whether you're a custom furniture maker aiming for high yield efficiency or an advanced DIYer chasing a smooth finish, adding these 5 core mechanical tips to your workflow will transform your woodworking experience. Here’s what to consider.
Why Precision Flattening Matters
-
Increase overall project efficiency and workshop yield
-
Improve cut precision and achieve a "sandpaper-free" surface quality
-
Reduce post-process sanding and cleanup time drastically
-
Enhance tool safety and longevity by preventing bit chatter
Essential Tips to Upgrade Your Router Sled Technique
The Geometry of the Bit
-
Captures the essence of the cut: The quality of your spoilboard bit dictates your success. Standard brazed carbide bits often suffer from slight imbalances.
-
Benefits: Precision chip clearance prevents heat buildup, while indexable cutters ensure a constant cutting diameter.
-
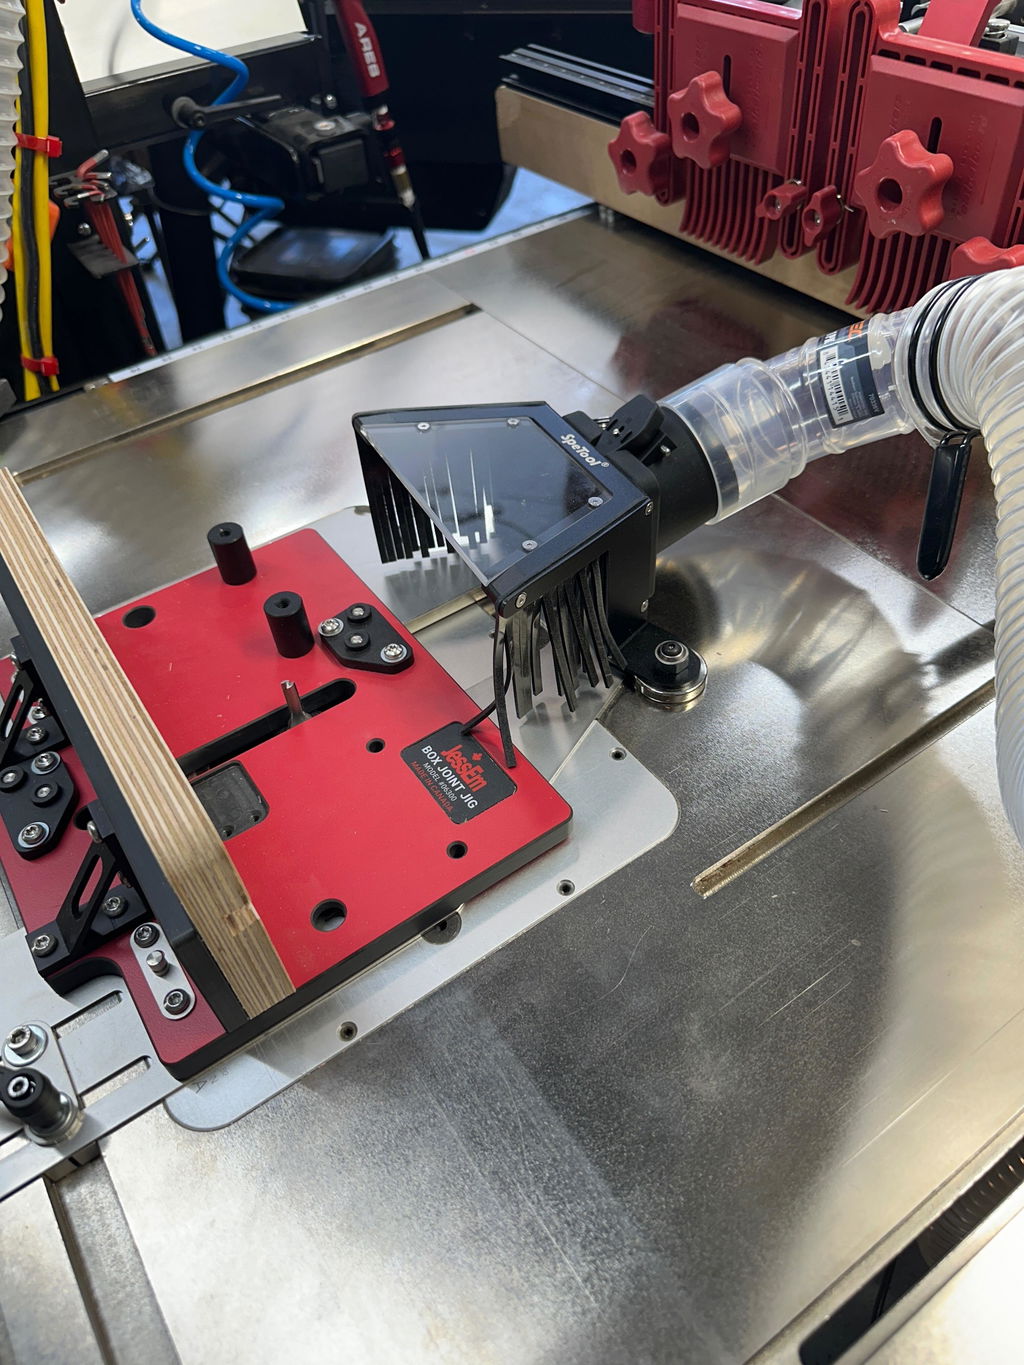
Example: SpeTool Indexable Carbide Insert Surfacing Bits. When an edge dulls, simply rotate the insert for a brand-new, razor-sharp edge.
Eliminating Sled Deflection
-
Fixes physical sagging: Gravity causes microscopic downward flexing in the center of the rails if they are not heavy-duty.
-
Benefits: Prevents the center of your slab from dipping, ensuring true flatness.
-
Example: Upgrading to thick-walled aluminum extrusions. Test the span with a dial indicator to ensure the tolerance is less than 0.1mm.
Master the Overlap & Feed Rate
-
Controls the cutting dynamics: Never take a full-width cut. Keep your step-over percentage between 30% and 50% of the bit diameter.
-
Benefits: Reduces spindle load, allows for a secondary clean-up pass, and prevents burn marks.
-
Example: Adjusting feed rates based on density—slow and steady for Hard Maple or Black Walnut, but slightly faster for Pine to avoid heat accumulation. Use conventional milling for bulk removal, and cautious climb milling for highly figured grain.
Spindle Alignment (Tramming)
-
Fine-tunes router depth settings: If you see "step" marks where one side of the cut is deeper, your router spindle is not perfectly perpendicular (90 degrees).
-
Benefits: Eliminates the root cause of one-sided gouges and ridges.
-
Example: Using a precision machinist square and ultra-thin metal shims under the router base to tram the spindle perfectly flat.
The "Light Finish Pass" Strategy
-
Mimics metal machining protocols: Never expect a flawless finish on a heavy material removal pass.
-
Benefits: Leaves a mirror-like, smooth finish that requires minimal sanding.
-
Example: Raising the bit after the slab is flat to take a final pass of only 0.3mm to 0.5mm at a slightly higher RPM.
Comparing Core Strategies for Router Sleds
| Strategy | Main Benefit | Best For | Potential Drawback |
| Indexable Carbide Bits | Constant sharpness & diameter | All slab projects | Higher initial setup cost |
| Spindle Tramming | Eliminates "step" ridges | Wide slabs | Requires precision measuring tools |
| Light Finish Pass (0.3mm) | "Sandpaper-free" surface | Final surface prep | Adds one extra pass to workflow |
| 30-50% Overlap | Reduces ridges and tool load | Hardwoods and Resin | Takes longer than a 90% overlap |
Conclusion
Small upgrades to your mechanical setup and cutting strategy can lead to massive improvements in your woodworking projects. By investing in industrial-grade bits, eliminating rail deflection, perfectly tramming your spindle, and mastering the finish pass, your router planing sled will consistently produce professional, gallery-quality slabs. Invest smartly, and your projects—and your workflow—will thank you.