Stop the Slide: 5 Safe Ways to Clamp Wood for Your Router Sled
Table of Contents
- Why Proper Clamping Matters
- Method 1: Hot Glue and Shims
- Method 2: Side Stop Blocks
- Method 3: Double-Sided Woodworking Tape
- Method 4: Toe Kicker Clamps
- Method 5: The All-Inclusive Professional Solution
- Summary Checklist
Flattening a large wood slab or an uneven board is one of the most satisfying parts of woodworking. However, using a router sled comes with a significant challenge: how do you keep the wood from moving without the clamps getting in the way of the router? If your workpiece shifts even a millimeter, you risk ruining the surface or, worse, causing a dangerous kickback.
For many, clamping wood for router sled tasks is the most frustrating part of the setup. While most woodworking routers are powerful enough to chew through hardwood, they also create significant lateral force. In this guide, we will explore five safe ways to secure your lumber, ranging from DIY hacks to professional-grade solutions.
Why Proper Clamping Matters
When you use a router flattening sled, your router is moving across the top of the wood. Traditional F-clamps or C-clamps usually stick up too high, obstructing the path of the sled. This forces woodworkers to get creative. Proper clamping must provide enough downward or lateral pressure to hold the wood still while maintaining a clear path for the rails.
Method 1: Hot Glue and Shims
For beginner woodworkers working on smaller pieces, hot glue is a surprisingly effective method for clamping wood for router sled use. By placing shims under the high spots of the wood to prevent rocking and then applying generous beads of high-temp hot glue at the contact points on the workbench, you can create a temporary bond. This keeps the wood still without any mechanical obstructions.
Method 2: Side Stop Blocks
Stop blocks are a classic technique. By screwing small scraps of wood into your sacrificial workbench surface around the perimeter of your slab, you trap the piece in place. This prevents lateral movement. However, this method doesn't always provide downward pressure, so it is best used for slabs that are heavy enough to stay down by their own weight.
Method 3: Double-Sided Woodworking Tape
High-strength double-sided tape (often called turner's tape) is a favorite for CNC and router work. It provides a low-profile hold that is invisible from the top. The downside? It can be difficult to remove from raw, porous wood and may leave a residue that affects your finish. It is also less reliable for very dusty or uneven surfaces.
Method 4: Toe Kicker Clamps
Toe kicker or 'cam-action' clamps apply pressure to the side of the board at a very low angle. These are excellent for router sled work because they stay below the cutting plane. The challenge is that most commercial router flattening sled kits do not include them, forcing you to spend extra money on hardware.
Method 5: The All-Inclusive Professional Solution
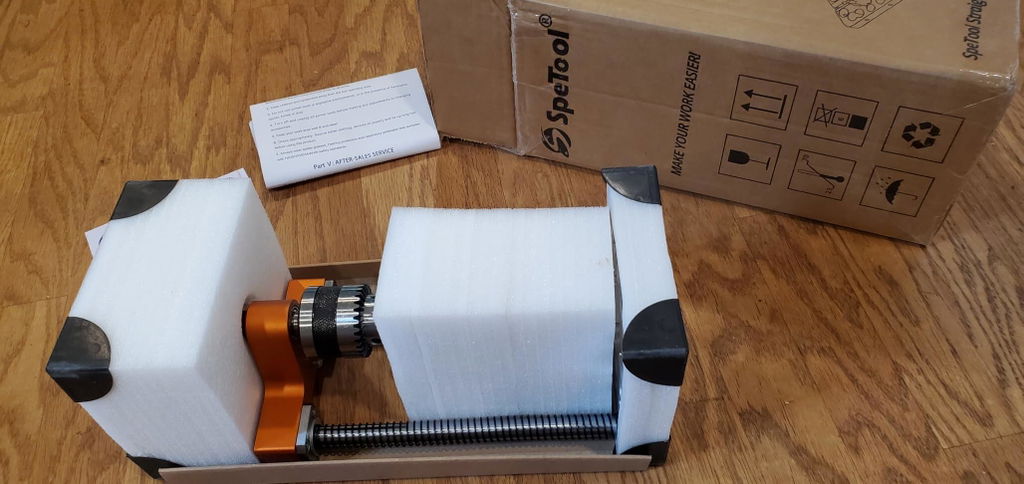
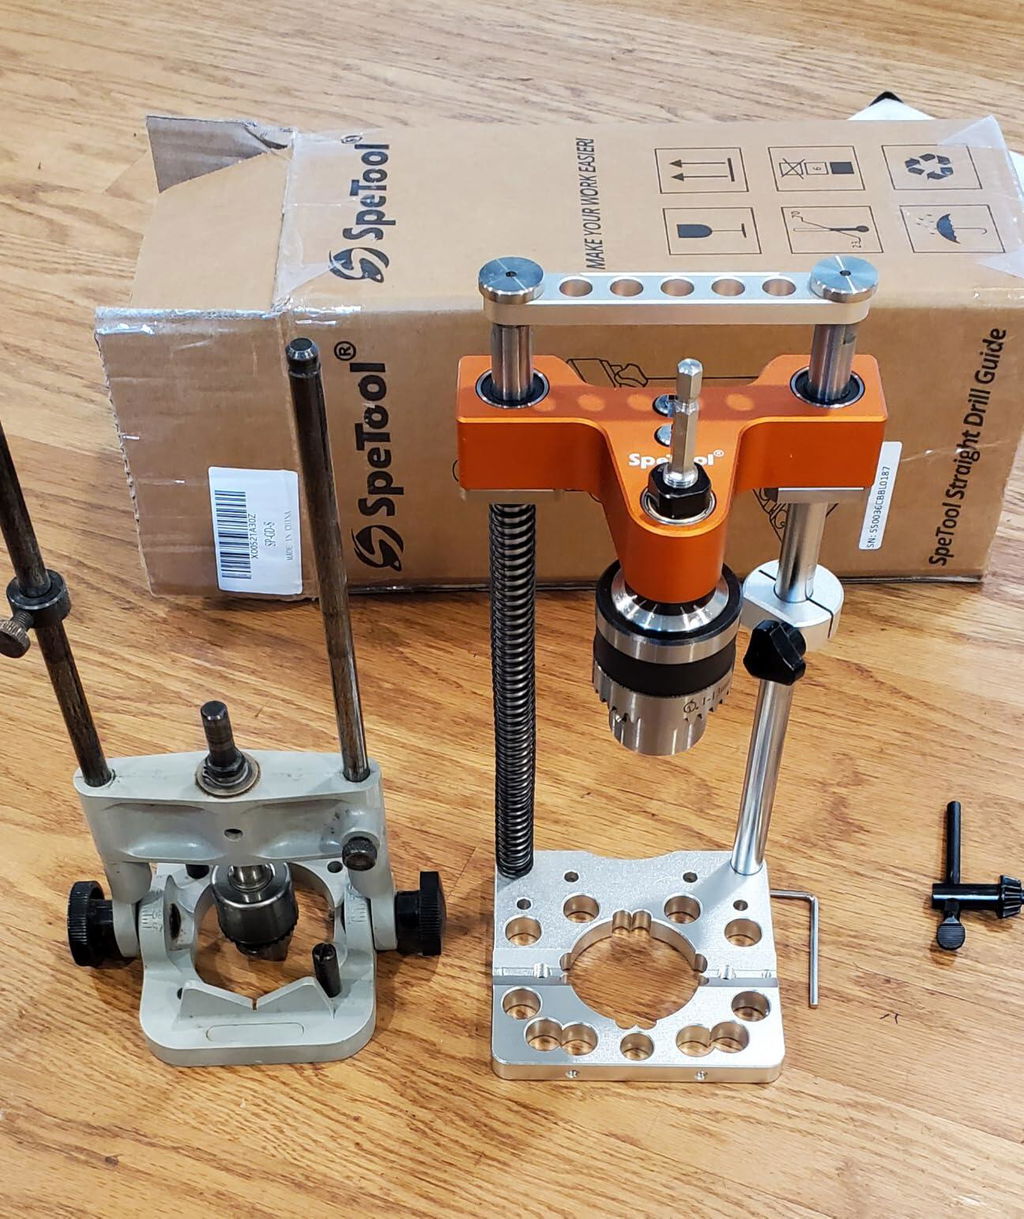
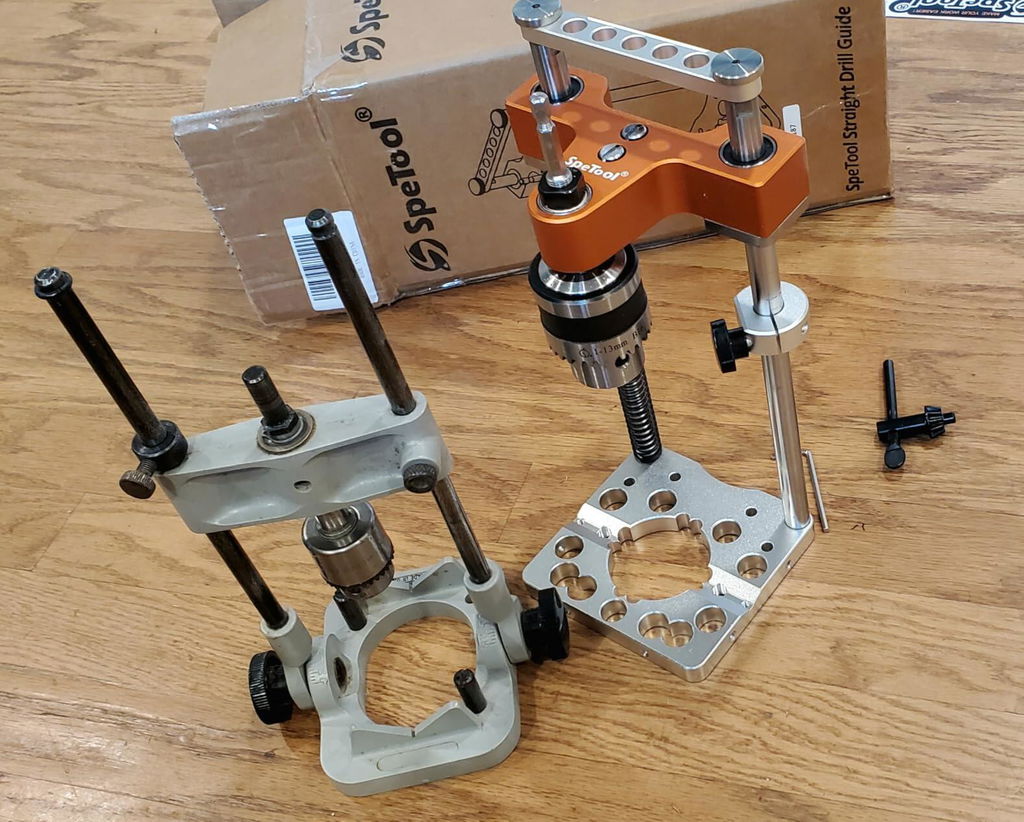
The most common complaint woodworkers have when buying a router flattening sled is that they have to source their own clamping hardware. This is where the SpeTool Cratos S01001 Router Sled changes the game. Unlike competitors, this all-inclusive package comes with specialized clamping tools designed to fix your wood plate perfectly.
Built with 6061 high-strength anodized aluminum alloy, the rails are designed to never bend or warp. This kit solves the common issues found in fine woodworking by offering:
- Accurate Height Adjustment: 5 pre-set Z-axis positions ranging from 1.5 inch to 6 inch, making it suitable for thinner wood compared to other sleds.
- Sturdy and Precision: A laser pre-set position for the Z-axis ensures you can adjust height without slipping.
- Universal Fit: Includes two router plates (one pre-drilled and one blank) to fit almost any router on the market.
- Dust Control: It integrates with SpeTool dust collection (ASIN: B0D78YXTK8) to capture 90% of wood chips.
By choosing an all-inclusive system, you eliminate the guesswork of clamping wood for router sled setups. You get the stability of professional-grade aluminum and the convenience of included clamps in one box.
Summary Checklist
Before you start your next flattening project, ensure you have checked the following:
- Is the wood shimmed to prevent rocking?
- Is the clamping method below the path of the router bit?
- Are the rails of your router sled securely fastened to your workbench?
- If using the SpeTool Cratos, have you utilized the included clamping tools for maximum safety?