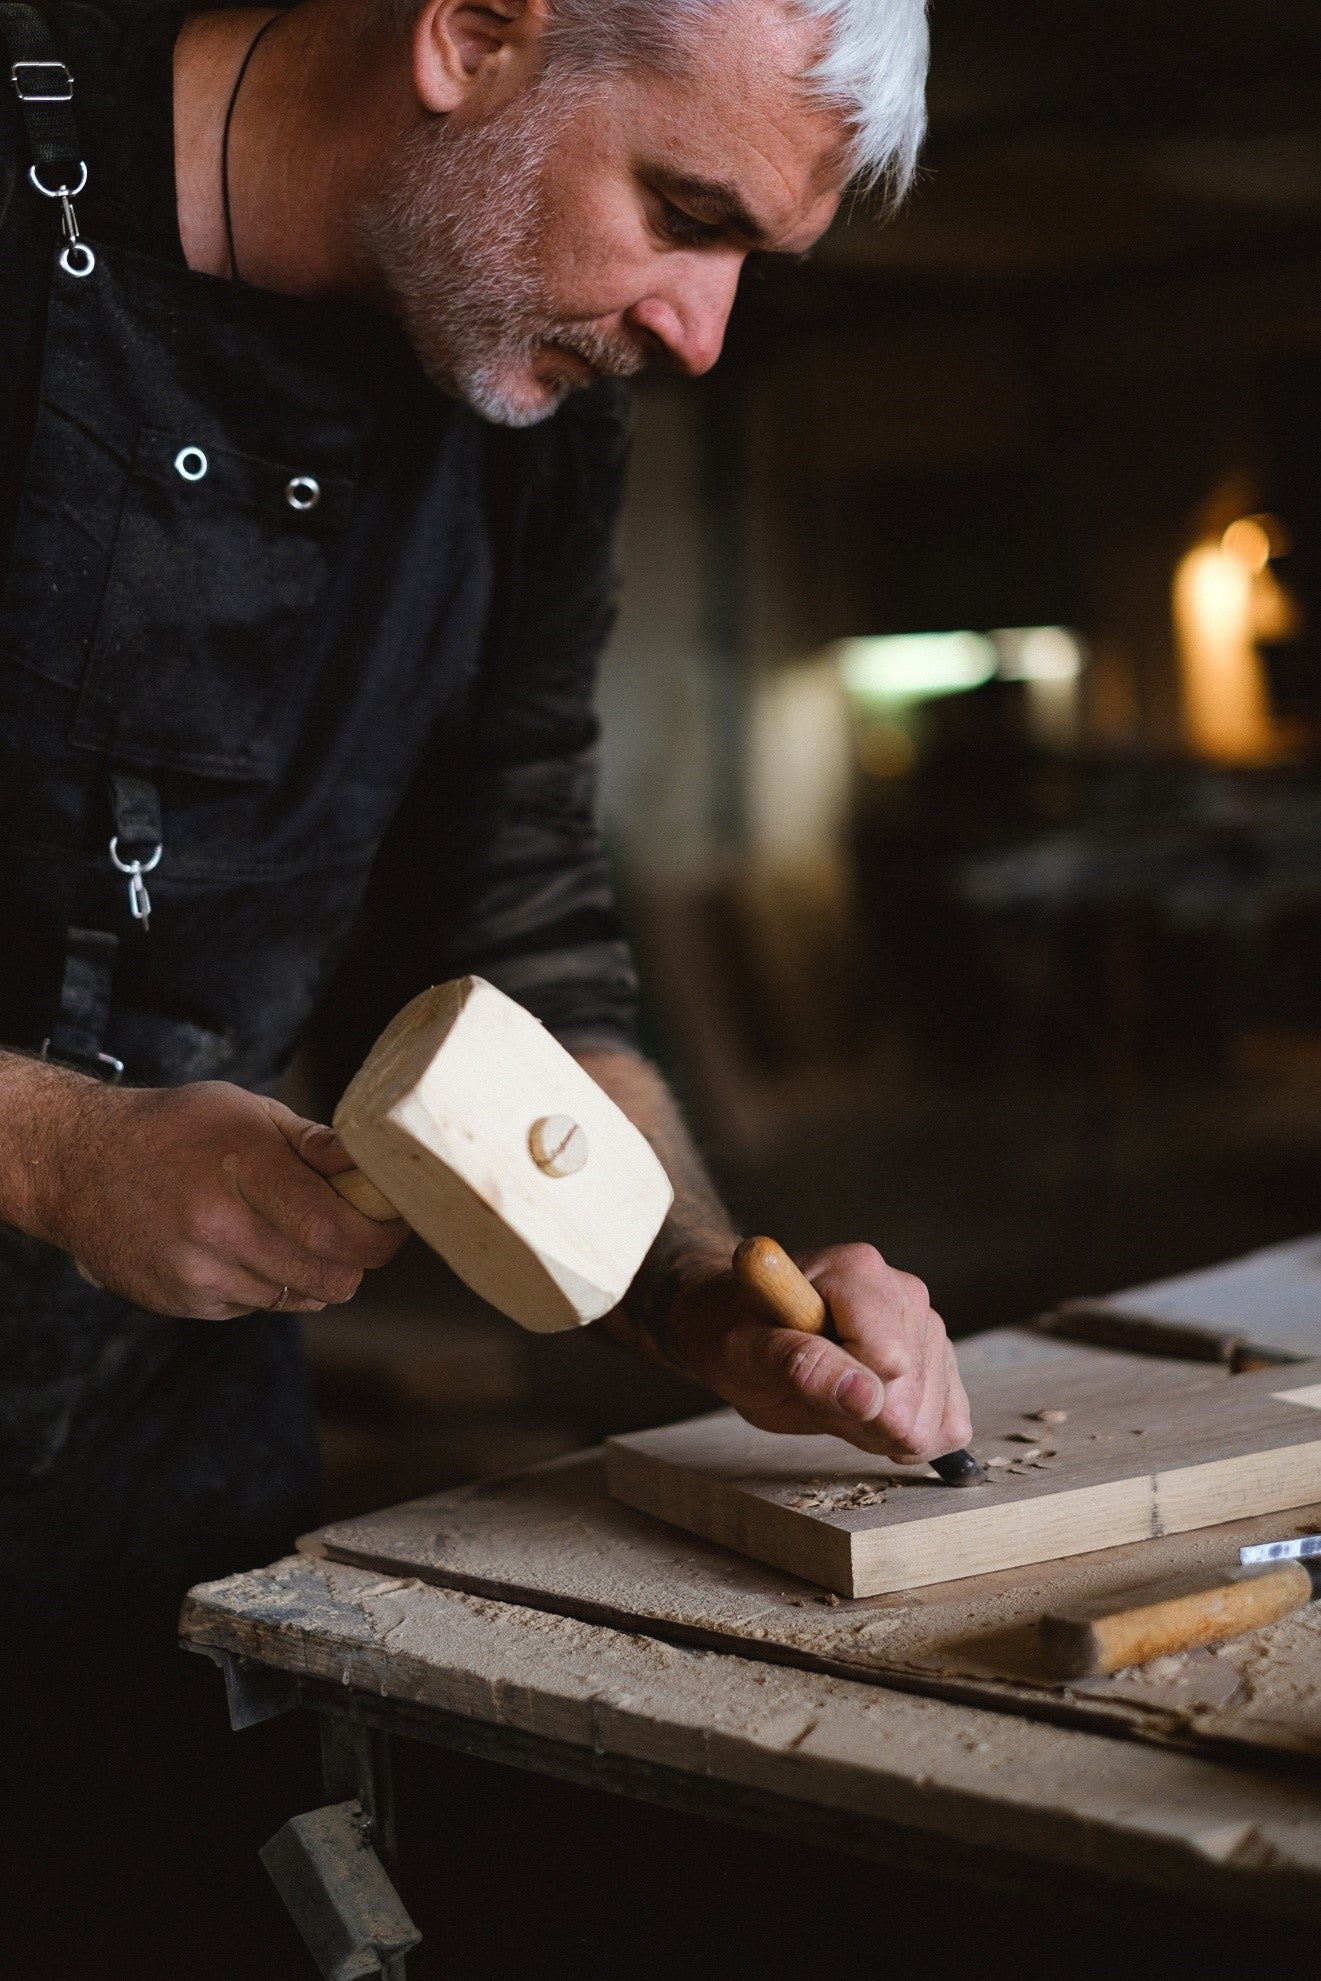

Whether you are a professional or beginner woodworker, a router is a must-have tool in your workshop. A router is an excellent tool for different woodworking activities and comes in handy when cutting dovetail joints or adding a profile to a work's edge.
However, using a router can be a daunting task, especially for a beginner woodworker.
Do you want o use a woodworking router but don’t know how to go about it? If so, this piece is for you. Here are the right procedures to using a router with a bit.
Understand the Types
First, it is important to mention that routers are of two categories: plunge base and fixed base. The difference between the two is in setting the bits.

While a plunge router lets you plunge the bit in and out of the material, a fixed base router has a fixed bit depth throughout the activity. This means that once you set the bit in a plunged router and the base is locked, the position is fixed.
One advantage of a fixed base router is the ease of changing the bit by removing the base. Also, a fixed base router comes with micro-adjusting bit height, making this type of router common in woodworking.
However, plunge routers come with their own advantages, including the ease of making cuts with distinct starting and stopping points. Plus, a plunge router is useful in making dadoes and mortises.
The good news about routers is that you can find some packs with both plunge and fixed base routers. With this kit, you can enjoy the benefits of both options, making your woodworking job easier. Though not all manufacturers offer this option, it is widely available in woodworking stores.
Adjust the Speed
When preparing your router for use, it is wise to adjust the speed to the desirable rpm (revolutions per minute). This is most important when incorporating large diameter bits.
You will do yourself some harm by running a large diameter bit at full speed. Hence, adjusting your router speed to the right rpm helps enhance safety.
Set the Shanks
You have two options when choosing a shank for your router. A bit shank is the solid part of the bit that goes into the collet of the router. Router shanks are available in two options: 1/2” and 1/4”. Choose your shank based on the size that your router can take.
If your router can take both options, it is best to opt for the 1/2” shank, as it comes with some advantages over the 1/4” counterpart.
The first advantage of a 1/2" is that it provides the collet with a more grabbing surface, resulting in a lower risk of the bit coming loose. Secondly, larger shanks are effective at stabilizing the bit under cutting pressure, giving less chatter and nicer cuts.
Tip: when shopping for a router, choose the one that can accept both shank options.
Install the Bit
Now that you know which shank to use in your router, the next step is to install the bit into the router.
First, unplug the router to ensure you don’t trigger it when inserting or removing the bit. Also, it is a no-brainer to first remove the router base before removing or inserting a bit.
The rule of thumb of installing a bit in a router is to insert 2/3 of the shank into the collet. Do this and tighten the collet.
Using a router with a bit
After installing the bit into your router and getting your router ready for use, it is equally important to get yourself and your workpiece ready for the task at hand.
Here are a few things to get done:
Clamp Your Work
There is no way to achieve a desirable cut with your workpiece placed freely on your workbench. It is wise to secure your work to the bench. Else you start chasing your work across your workshop.
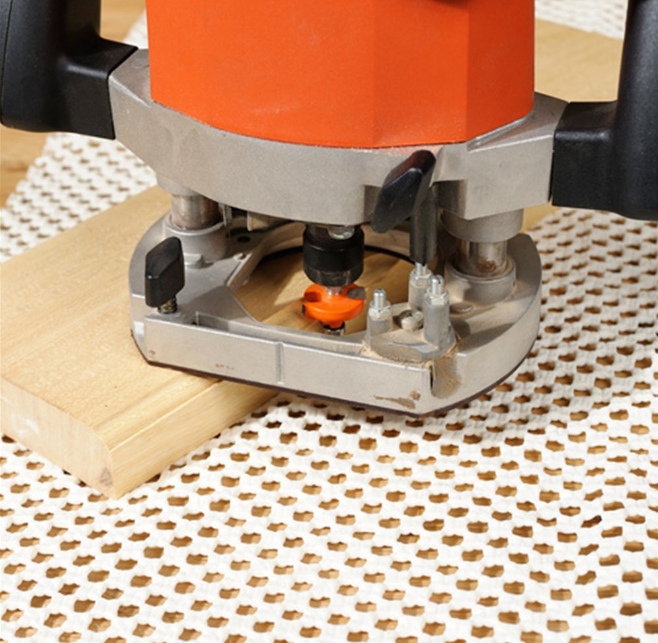
While you can secure your work to the workbench with a clamp, the practice will result in the clamp coming in the way of the router, meaning that you have to change the position of the clamp, which doesn’t sound professional. The way out is to invest in a router mat.
A router mat provides a non-skid surface, preventing the work from slipping away. With this option, you can work on all edges of your workpiece without any interference. Getting a router mat shouldn’t be a hassle, as they are available in special woodworking stores.

It is also worth mentioning that router mats tend to lose their grip over time due to dust accumulation. The best way to prevent this is to rinse the mat in water, restoring its grab.
Safety
The first thing to consider when embarking on routing activity is your safety. Ensure you take your safety seriously by wearing your safety gear, such as your goggle, which helps protect your eyes from dust emanating from the cut.
Also, remember that the router can make a loud sound that can destroy your hearing, hence the need for ear protection.
Choose the right direction
You might think that direction does matter when routing, which is wrong. Using a router requires following the right direction, depending on which part of the material to route. When routing the outside edges of the work, it is recommended to go counterclockwise. This direction is said to prevent the router from getting away from you and reduce the risk of climb cutting.
On the other hand, the clockwise direction is professionally recommended when routing the insider of a frame.
Choose the Right Starting Spot
This is another point where beginner woodworkers get it wrong. You might want to start routing from any spot of the piece. This is also wrong, especially if when routing the four edges.
The best practice is to start from the end grain. Starting from this spot gives some slight chips in the adjacent edge, but you automatically clean up the chipping when it is the turn to route the edge.
Conclusion
Using a router can be a daunting task for a beginner woodworker, but achieving your desired work shouldn’t be a hassle with the right guide.
However, note that the bit chosen for your router goes a long way in determining the outcome of your job. If you are looking for quality bits for your router, check with us. At SpeTool, we sell all types of router bits.
Contact us today for your bit.