How to Make a Juice Groove in a Cutting Board: The Stress-Free Professional Method
For many woodworkers, routing a juice groove is the most intimidating part of making a cutting board. It usually happens at the very end of the process, meaning a single mistake can ruin hours of hard work. The secret to a professional finish is not just a steady hand, but using a high-quality juice groove jig that eliminates the guesswork. In this guide, we will show you how to achieve precision without the stress of manual calibration.
Table of Contents
- Why You Need a Juice Groove
- The Challenges of Manual Routing
- The Ultimate Solution: Spetool 2-IN-1 Professional Router Jig
- Step-by-Step Guide to Routing the Perfect Groove
- Maintenance and Safety Tips
Why You Need a Juice Groove
A juice groove serves a vital functional purpose: it catches liquids from meat, fruits, and vegetables, preventing them from spilling onto the countertop. Beyond utility, a well-executed groove adds a level of professional aesthetic that separates a hobbyist project from a high-end kitchen tool. For more information on woodworking standards, check out woodworking router techniques.
The Challenges of Manual Routing
Traditionally, woodworkers had to build custom frames for every board size. These 'one-off' jigs are often imprecise, prone to slipping, and require tedious calibration. This is where most errors occur—misaligned corners or uneven depths. To avoid these issues, using a specialized juice groove router jig is highly recommended.
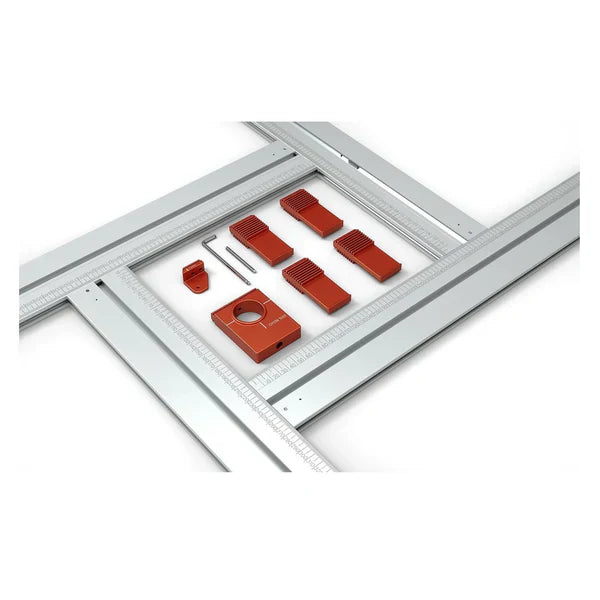
The Ultimate Solution: Spetool 2-IN-1 Professional Router Jig
To eliminate the fear of the final cut, we recommend the Spetool S02002 Juice Groove Router Jig. This tool is a game-changer for beginner and intermediate woodworkers. It features a [2-IN-1 Professional Router Jig] design, specially created to simplify the entire routing process. It allows you to complete precision machining of juice grooves and circles without needing two different router jigs.
The standout feature is its [Automatic Vertical Function], which allows you to start cutting quickly with ease rather than having to calibrate beforehand. Each jig router setup also includes built-in dual metric and imperial scales to help you make the precise cut every time. Constructed from 15mm thick, high-strength aluminum, it achieves a cross-cut accuracy of 0.003". Plus, the [Quick Setup & Detachable Design] means no more piles of dusty, disposable frame jigs in your workshop.
Step-by-Step Guide to Routing the Perfect Groove
Step 1: Prep Your Board
Ensure your cutting board is sanded and flat. Any wobble in the board will cause an uneven depth in your groove. Secure your board to your workbench using non-slip pads or bench dogs.
Step 2: Set Up the Juice Groove Jig
Adjust the Spetool jig to match the dimensions of your board. Because it is [Adjustable Without Effort], you simply loosen the top screws and slide the guides. The maximum work area is up to 18” X 18” square, making it versatile for various projects. The [Automatic Vertical Function] ensures the jig is perfectly squared to your workpiece without manual squaring tools.
Step 3: Select Your Bit and Depth
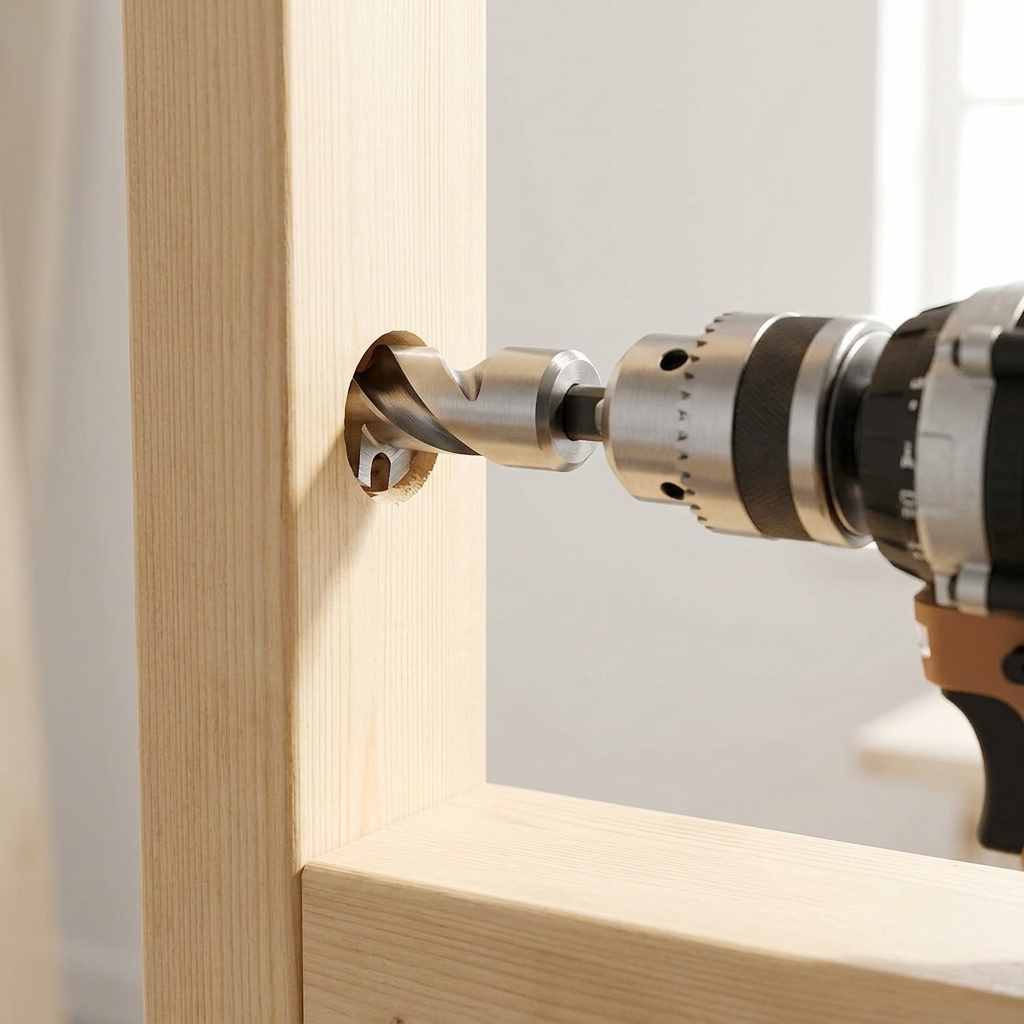
Use a high-quality core box bit from Spetools for a smooth, rounded groove. Set your router depth to approximately 1/8 to 1/4 inch. It is always better to make two shallow passes rather than one deep pass to avoid burning the wood.
Step 4: The Routing Process
Place your router against the wider guides of the juice groove router jig. These guides increase the contact area, making the router much more stable. Move the router in a clockwise direction. The high-precision aluminum construction ensures the path remains true to 0.003".
Step 5: Final Sanding
Once the groove is cut, use a piece of sandpaper wrapped around a dowel to smooth out any minor tool marks inside the groove. Apply a food-safe mineral oil to finish.
Maintenance and Safety Tips
Always wear eye protection and ensure your router bit is sharp. A dull bit is more likely to burn the wood or kick back. For more tips on workshop safety, visit WOOD Magazine. When finished, the Spetool jig can be easily disassembled for compact storage, keeping your workspace clean and organized.