Perfectly Flush: How to Level Your SpeTool Router Plate Like a Pro
There is nothing more frustrating in woodworking than a piece of stock snagging halfway through a critical cut. If you have ever felt your workpiece 'catch' as it moves from the table onto the insert plate, you know exactly why leveling is the most important step in your shop setup. In this guide, we will walk you through how to level router table insert plate components to ensure a seamless workflow.
Table of Contents
- Why Leveling Matters for Precision
- Step-by-Step: Leveling Your SpeTool Router Plate
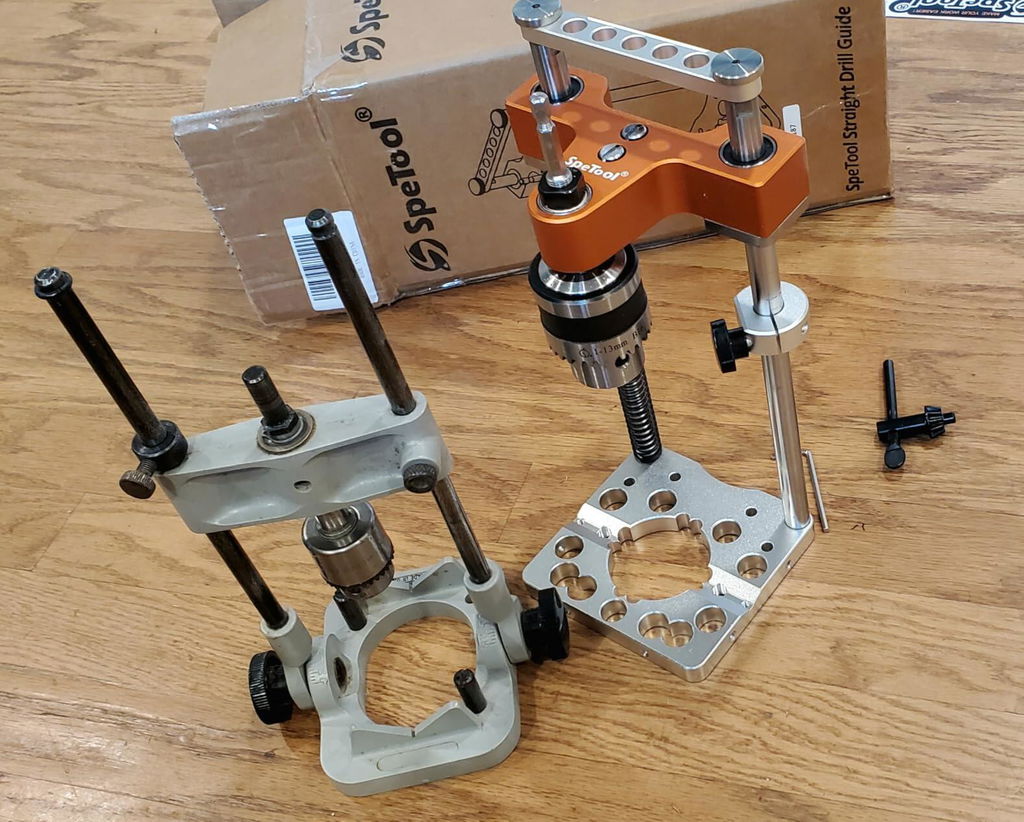
- Featured: The SpeTool Router Table Lift System
- Common Mistakes to Avoid
- Maintaining Your Flush Surface
Why Leveling Matters for Precision
When using a router table, your workpiece must glide across the surface without any vertical deviation. Even a difference of 0.005 inches—less than the thickness of a piece of paper—can cause the wood to dip or snag. This not only ruins the profile of your cut but can also be a safety hazard. This is why investing in a high-quality router table lift system like the SpeTool P01002 is vital for serious DIYers and professionals alike.
Step-by-Step: Leveling Your SpeTool Router Plate
1. Clean the Rebate
Before placing your router table insert plate with lift into the table, ensure the ledge (rebate) is completely free of sawdust and debris. A single wood chip trapped under a leveling screw will prevent a true flush fit.
2. Initial Placement
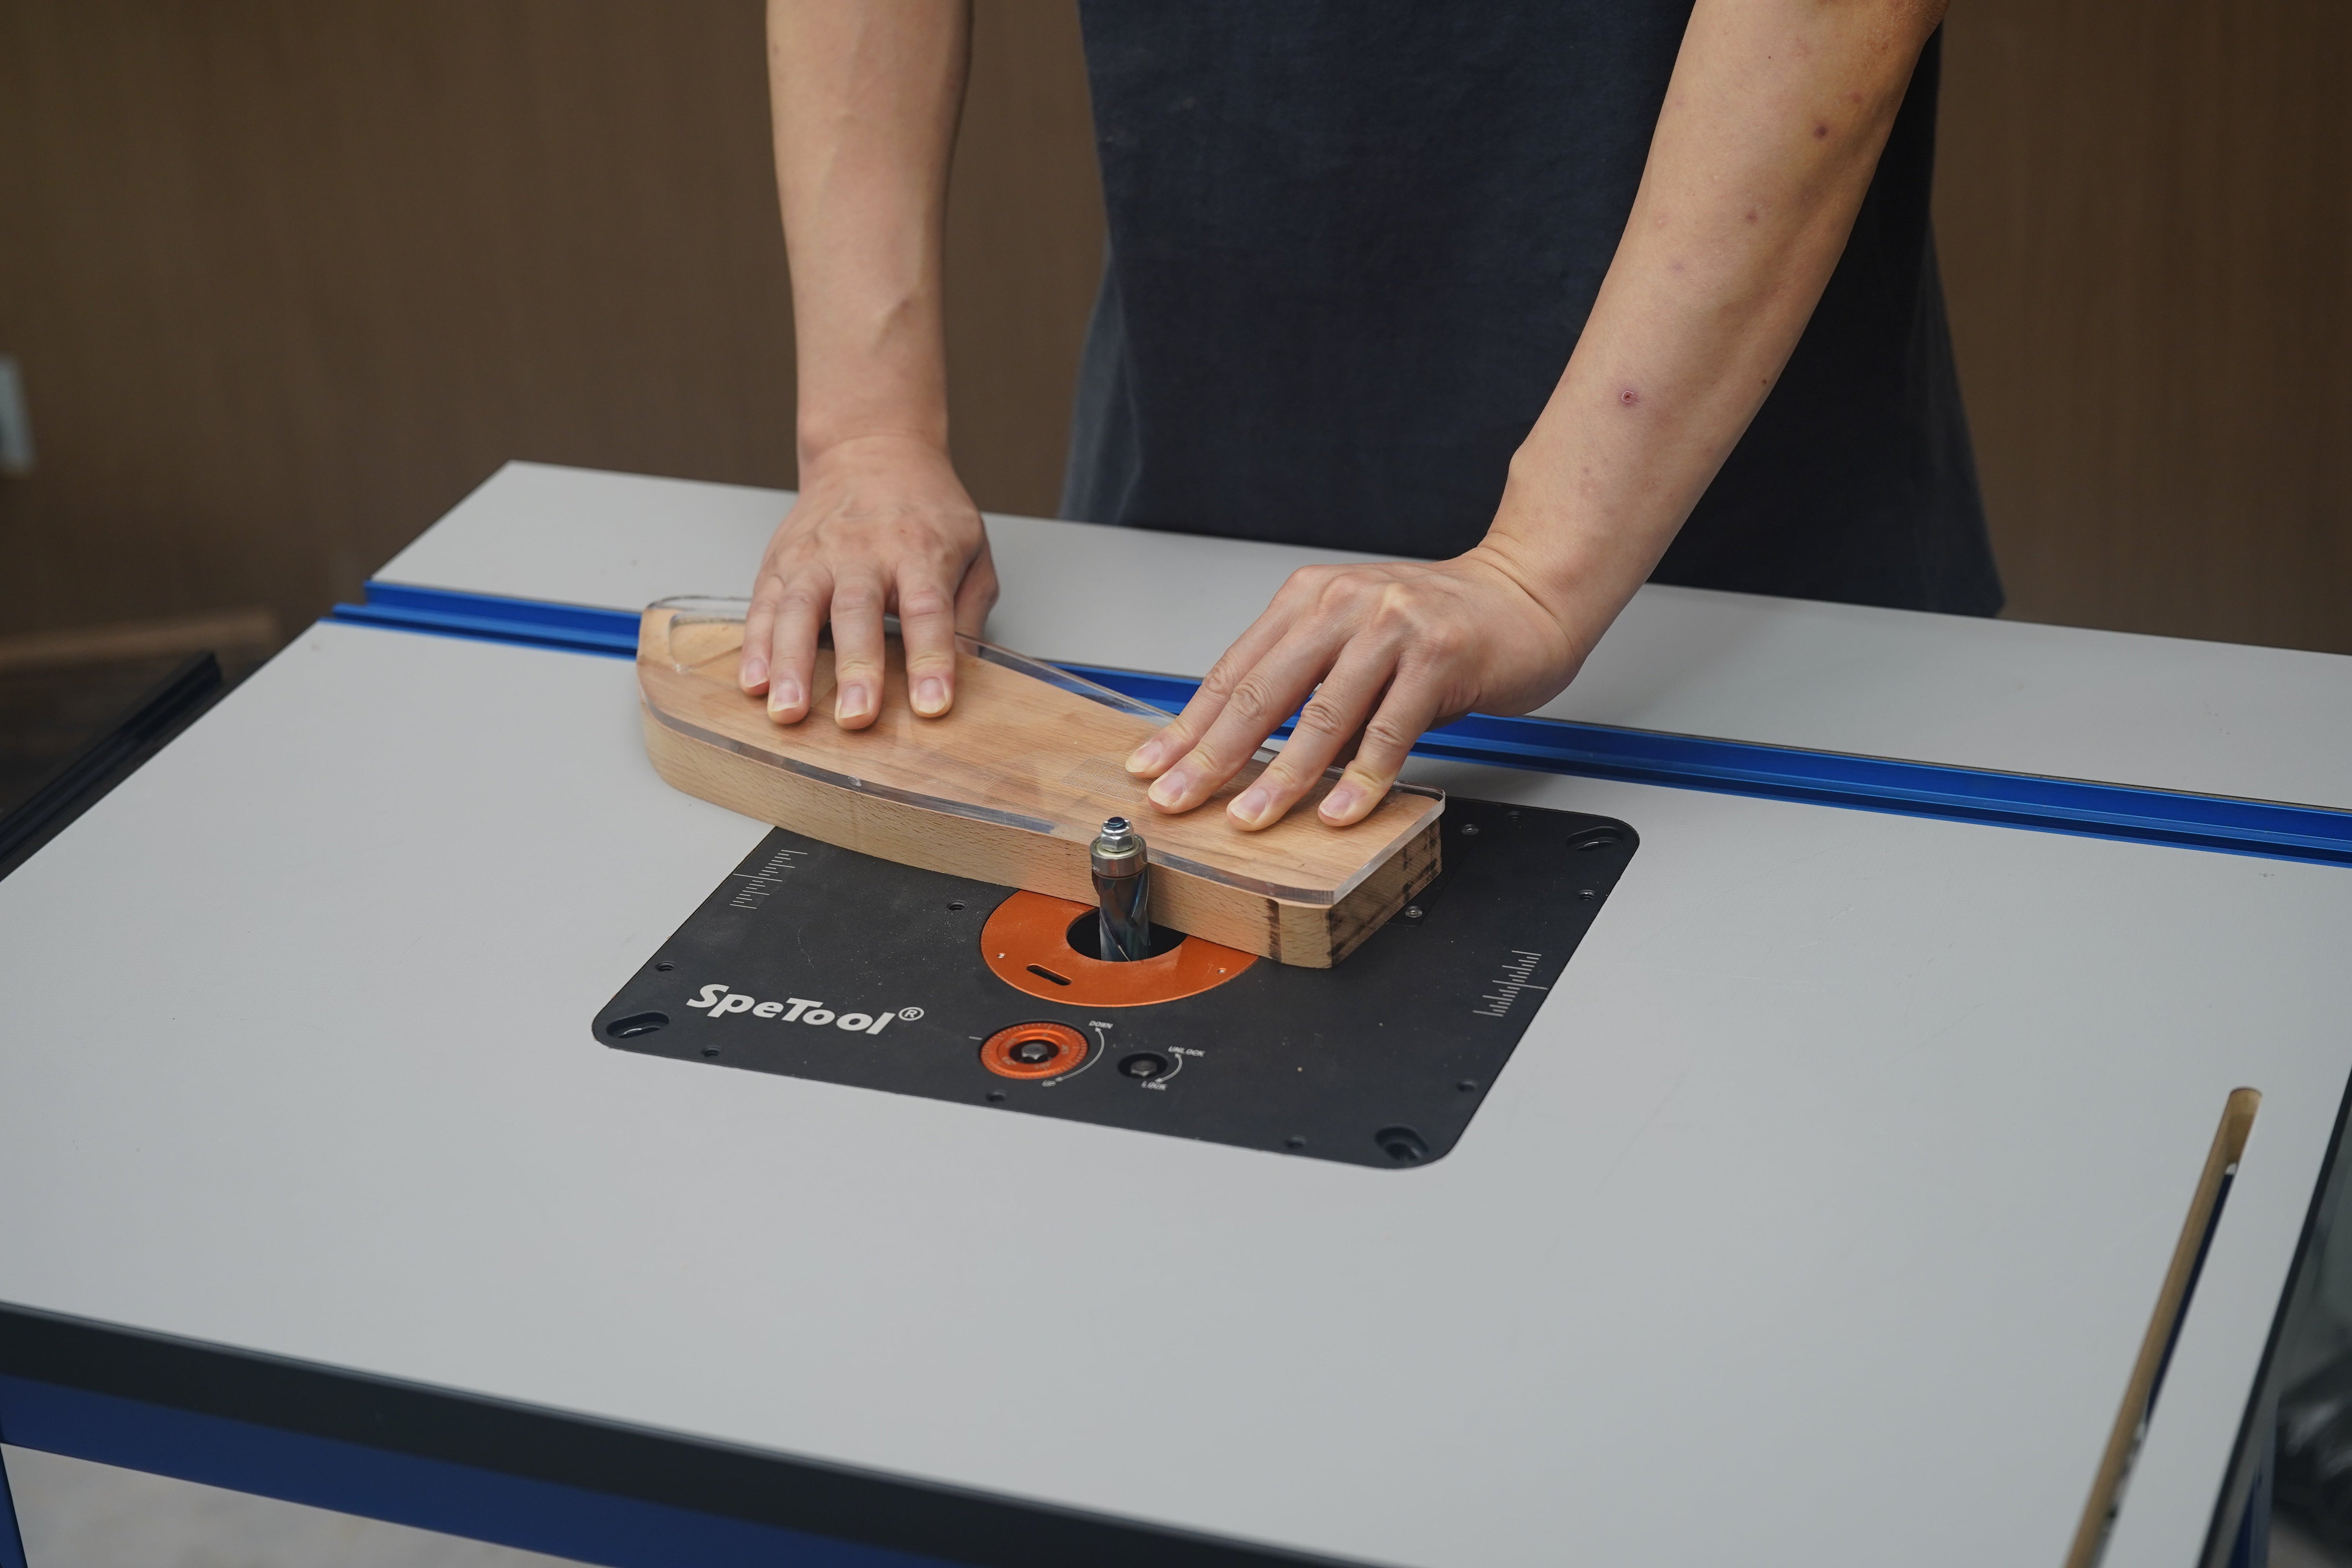
Lower the SpeTool universal router lift into the opening. The SpeTool model features a standard 9-1/4" x 11-3/4" plate, designed to fit most commercial tables. Ensure the plate is seated fully on the leveling screws.
3. The Straight Edge Test
Place a high-quality machinist's square or a reliable straight edge across the table, spanning over the outer insert plate with lift. Use a flashlight behind the straight edge; if you see light passing under it, the plate is too low. If the straight edge rocks, the plate is too high.
4. Adjusting the Leveling Screws
Using the provided hex key, adjust the corner screws. Work in a diagonal pattern (Top-Left, Bottom-Right, etc.). Aim for the plate to be perfectly flush or a maximum of 0.001 inches higher than the table—never lower. Any spetool router lift review will highlight that the heavy-duty precision aluminum construction makes these adjustments hold steady over time.
Featured: The SpeTool Router Table Lift System
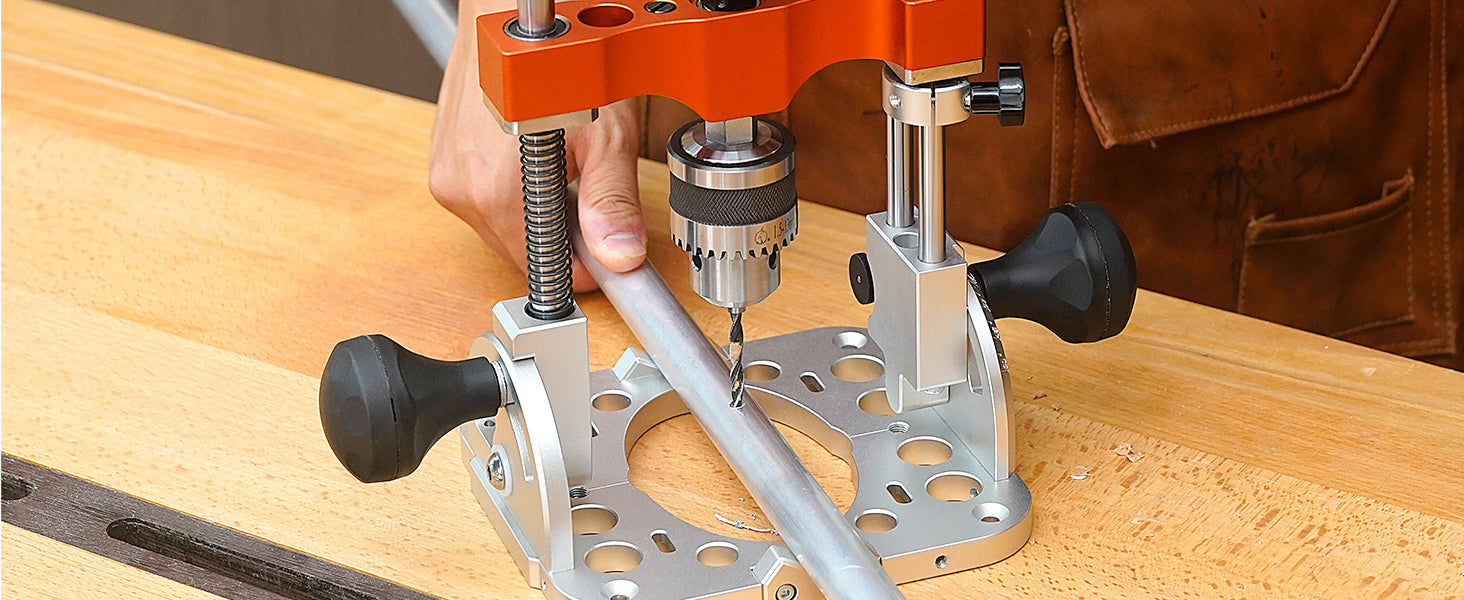
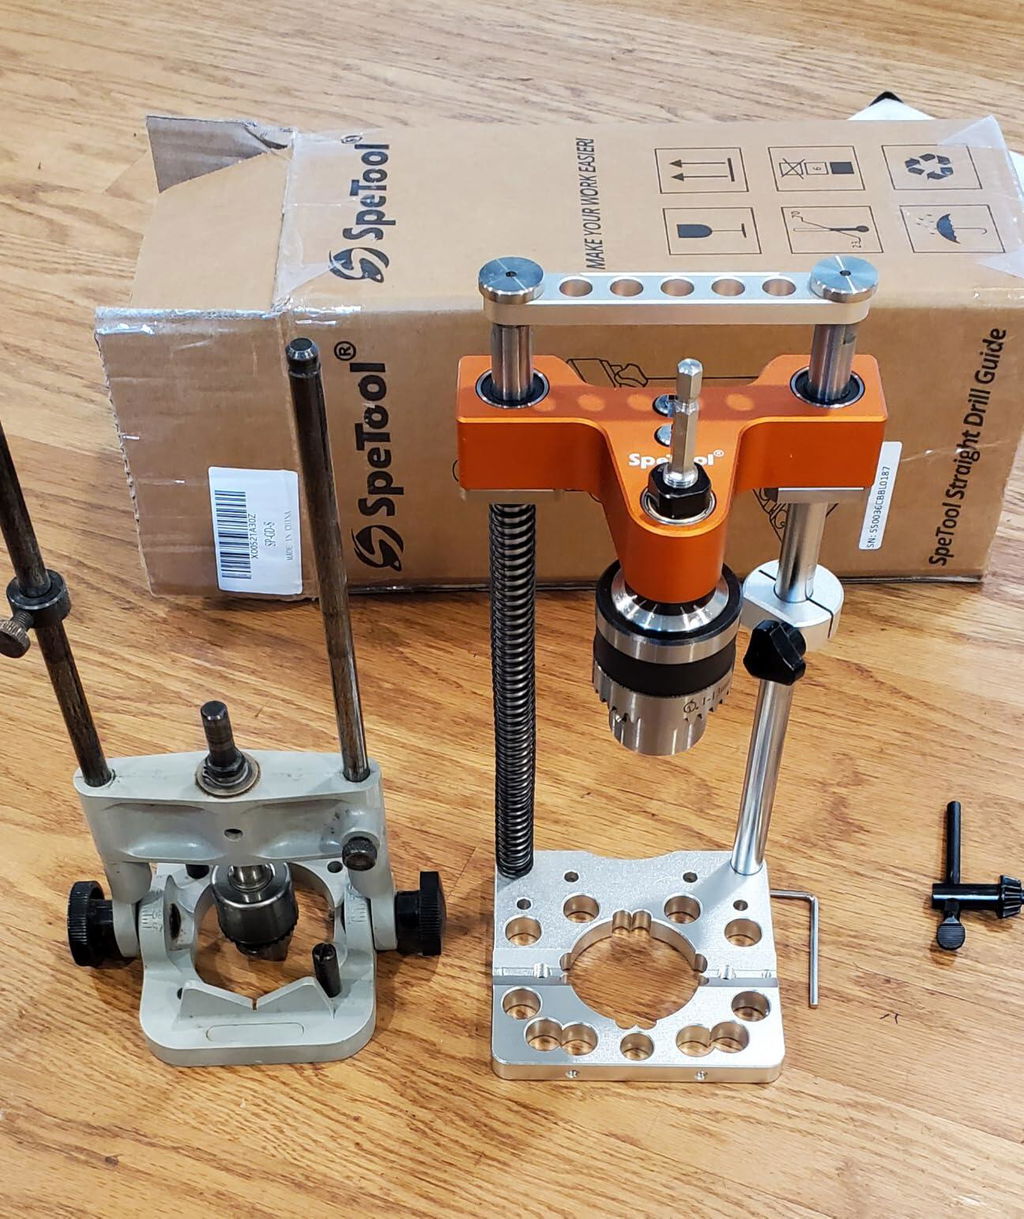
If you are tired of struggling with plastic plates that flex or sag, the SpeTool Router Lift (P01002) is the ultimate upgrade for your spetool router table. This system offers UNIQUE COMPATIBILITY, fitting 1.25 HP, 2.25 HP, and 3.25 HP routers (diameters from 2-9/16" to 4-1/4").
- Precision Height Control: Equipped with a 20-TPI screw and zeroing index ring, the adjustment accuracy is 0.001 inch.
- All-Aluminum Durability: The 3/8" solid aluminum plate is scratch-resistant and provides a stable surface for the heaviest motors.
- Dust Collection Ready: Includes a built-in interface compatible with SpeTool dust collectors.
- Easy Bit Changes: Change router bits directly from the top of the table without removing the motor.
Upgrade your workshop with the SpeTool Router Lift System today!
Common Mistakes to Avoid
Many users make the mistake of leveling the plate only at the four corners. Ensure you check the levelness at the center points of each side as well. If your router lift system is sagging in the middle, it may be due to the weight of a heavy 3.25 HP motor. This is why the SpeTool's 3/8" thick aluminum plate is preferred over thinner steel or plastic alternatives.
Maintaining Your Flush Surface
Vibration from high-speed routing can occasionally cause leveling screws to shift. Every few projects, revisit the straight edge test. If you find the screws are moving frequently, a tiny drop of low-strength thread locker can keep your spetool router table perfectly calibrated.